
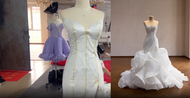
Mermaid Wedding Dress Manufacturing Process – Sequin Bodice & Ruffle Train Production
7th Aug 2026
From cutting to completion: a six‑week journey
Every stitch, every sequin — the full production record of our silver‑sequin mermaid gown
Many brides wonder what happens after ordering a custom wedding dress. From pattern drafting to final inspection, every handmade gown goes through multiple stages. A colleague asked me the same question yesterday — how long it actually took to go from cutting to finished sample on that silver‑sequin mermaid gown we delivered last month.
I flipped through the job cards — about six and a half weeks total, and we reworked the pattern three times along the way. Since the records are still on my desk, I figured I'd write it all out. Might save the new juniors some headaches down the road.
Pattern
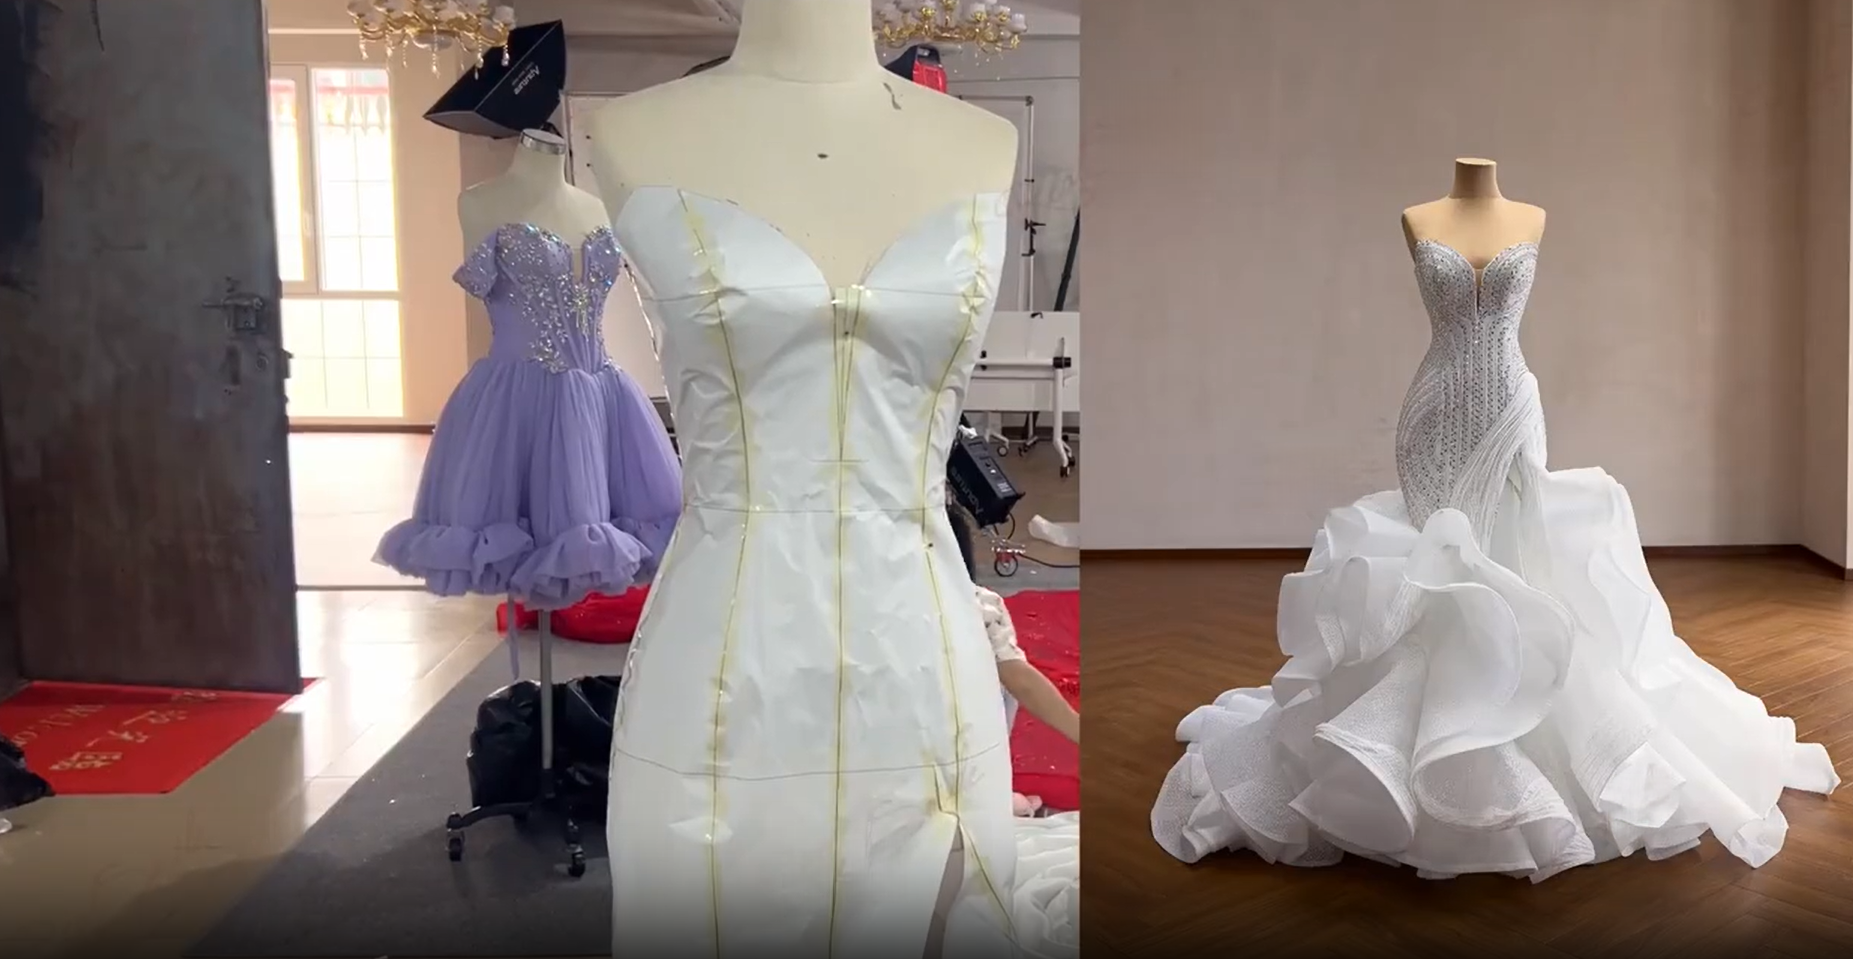
Used heavy muslin on a size 8 dress form. Marked neckline, bust darts, waist, hip, and the knee‑to‑hem flare transition with chalk. Took two days to get the hip curve right – first draft was too tight through the thighs. Opened the side seams on the muslin and added 1.5 cm ease, then recut the godets. Transferred final markings to paper. Labeled every piece: front bodice (2), side panels (2), back panels (2), skirt godets (4), ruffle sections (8). No issues with the pattern after the second revision.
Cutting
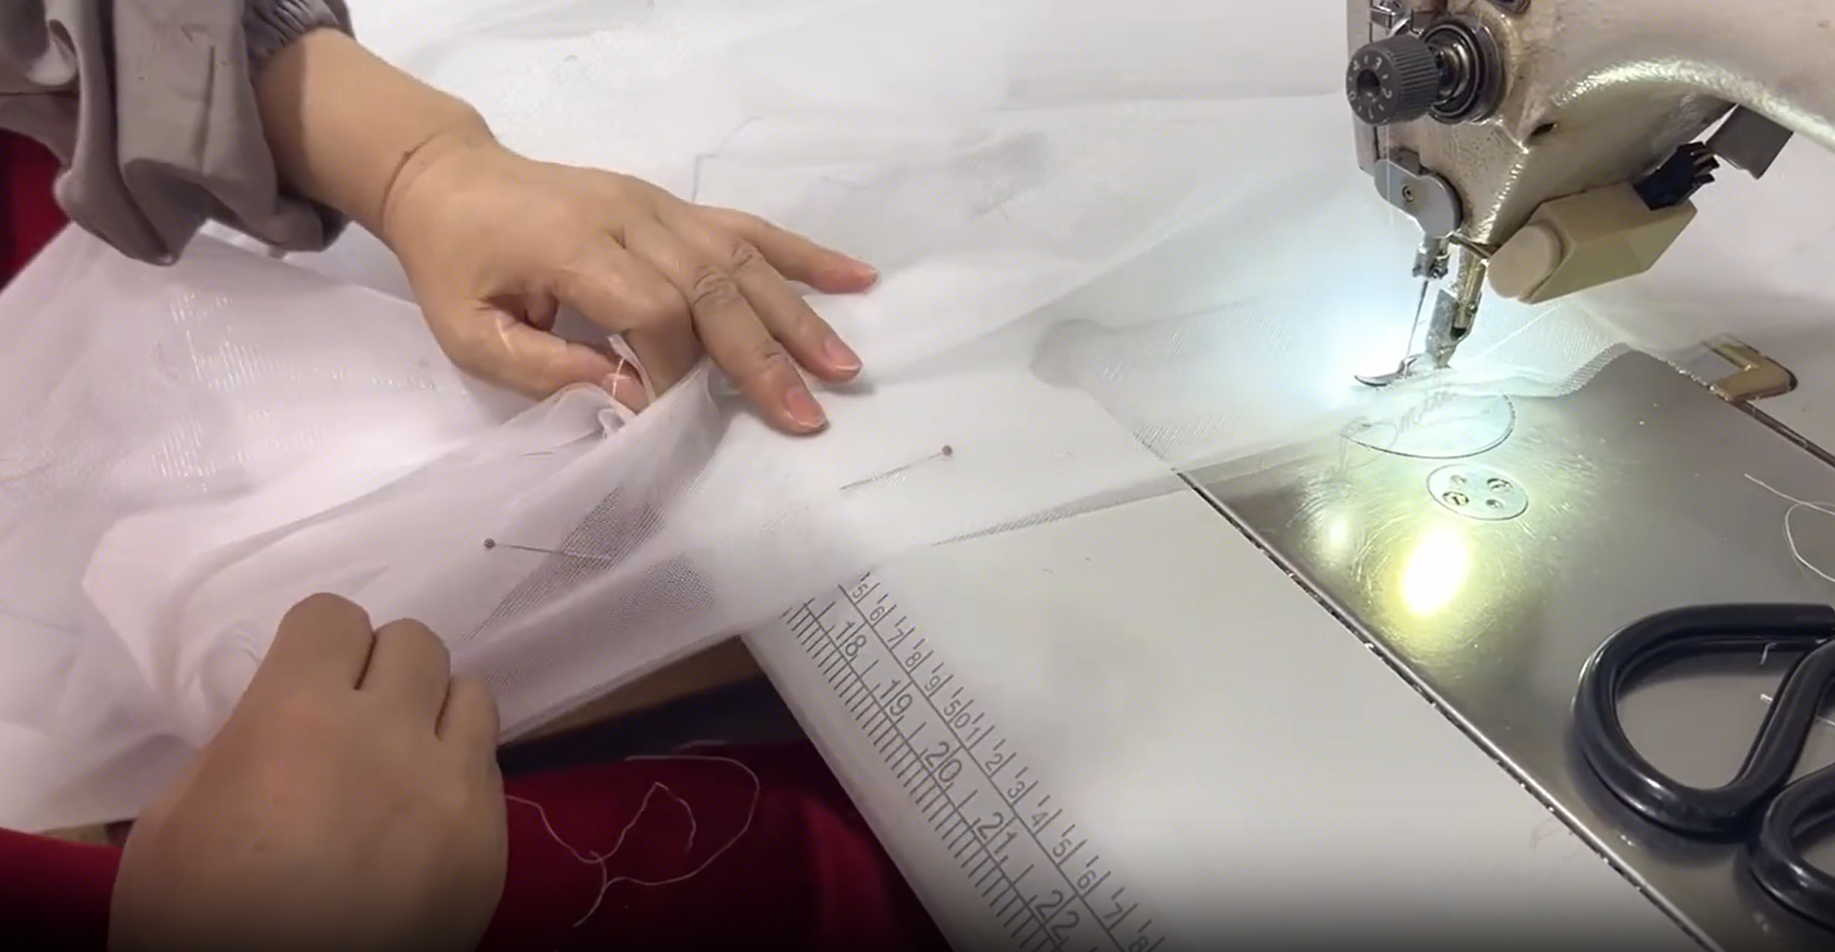
Outer tulle: 3 layers stacked on the table. Pinned every 10 cm to stop the bottom layer from shifting during cutting. Used straight shears, not rotary – rotary pulls lightweight mesh. Satin for train: cut single‑ply because it's heavy enough that stacking creates inaccurate edges. All pieces clipped with numbered tags and sorted into baskets: shell, lining, interlining, skirt, ruffles.
Cut time: 4 hours total.
Bodice lining & boning
Stitched darts on both shell and lining – bust, waist, back. Overlocked all seam allowances. The lining got 12 boning channels, stitched as straight double rows. Used spiral steel bones, 8 mm width, cut to length with rounded ends. These internal supports help the bodice keep its shape while allowing the bride to move comfortably throughout the wedding day. Channels measured and marked before stitching – no guesswork. Bones inserted after channels were finished, not during assembly. Lining and shell kept separate at this stage.
Sequin trim prep
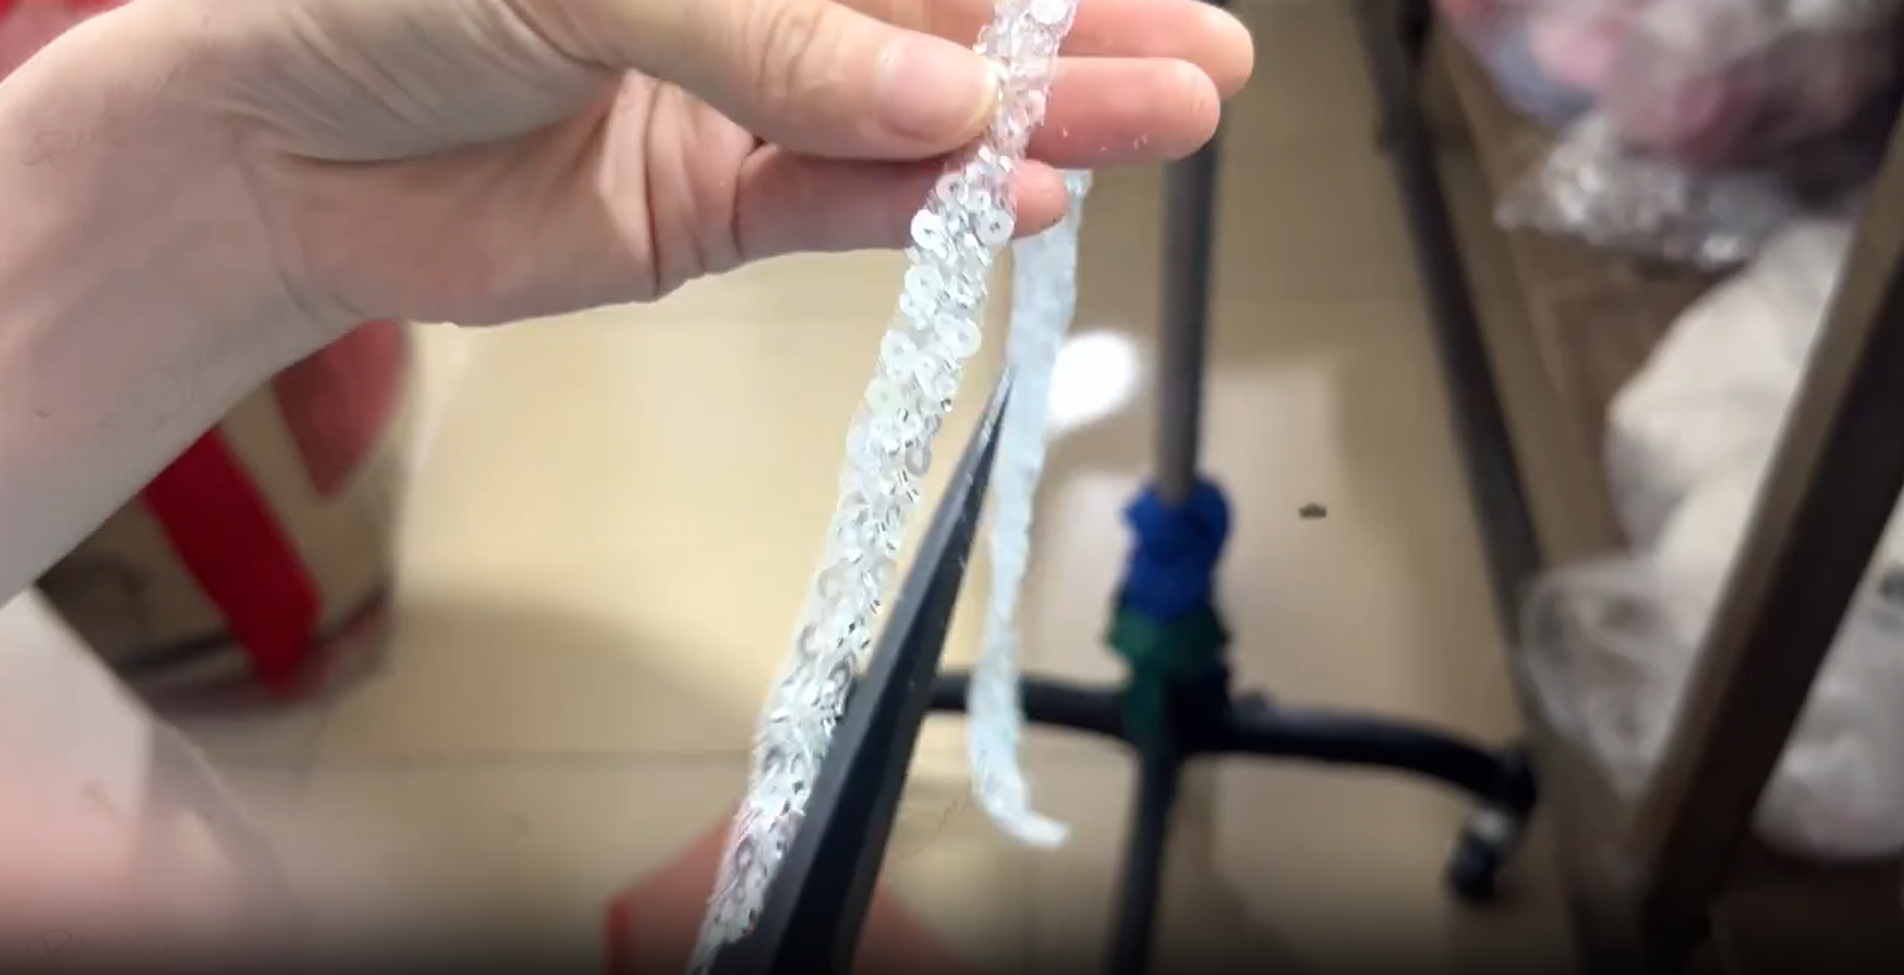
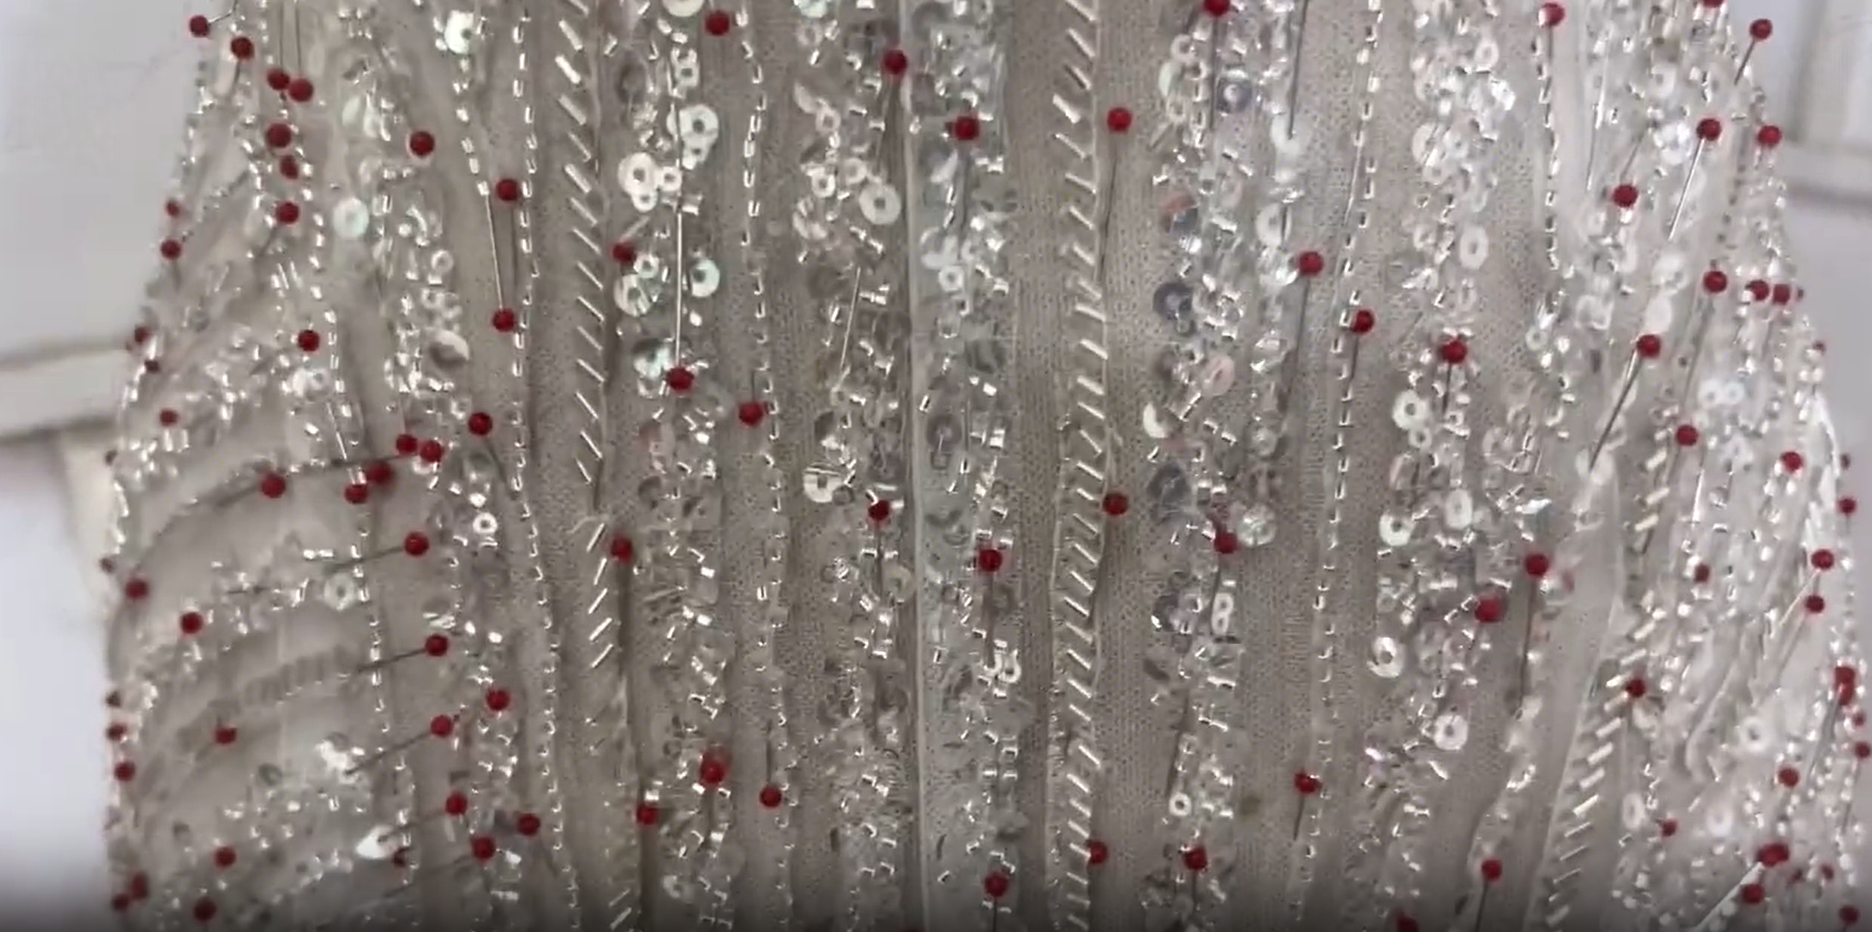
Received 22 meters of silver sequin tape on mesh backing. Checked each roll – rejected about 2.5 meters where beads were loose or spacing was uneven. Cut strips to lengths according to the pattern layout: longest 58 cm, shortest 14 cm. All cuts made with sharp scissors, straight across the tape. (Bias cutting makes the mesh fray – we seal cut ends with a drop of clear nail polish instead.) Sorted cut pieces by length into labeled envelopes.
Layout on shell
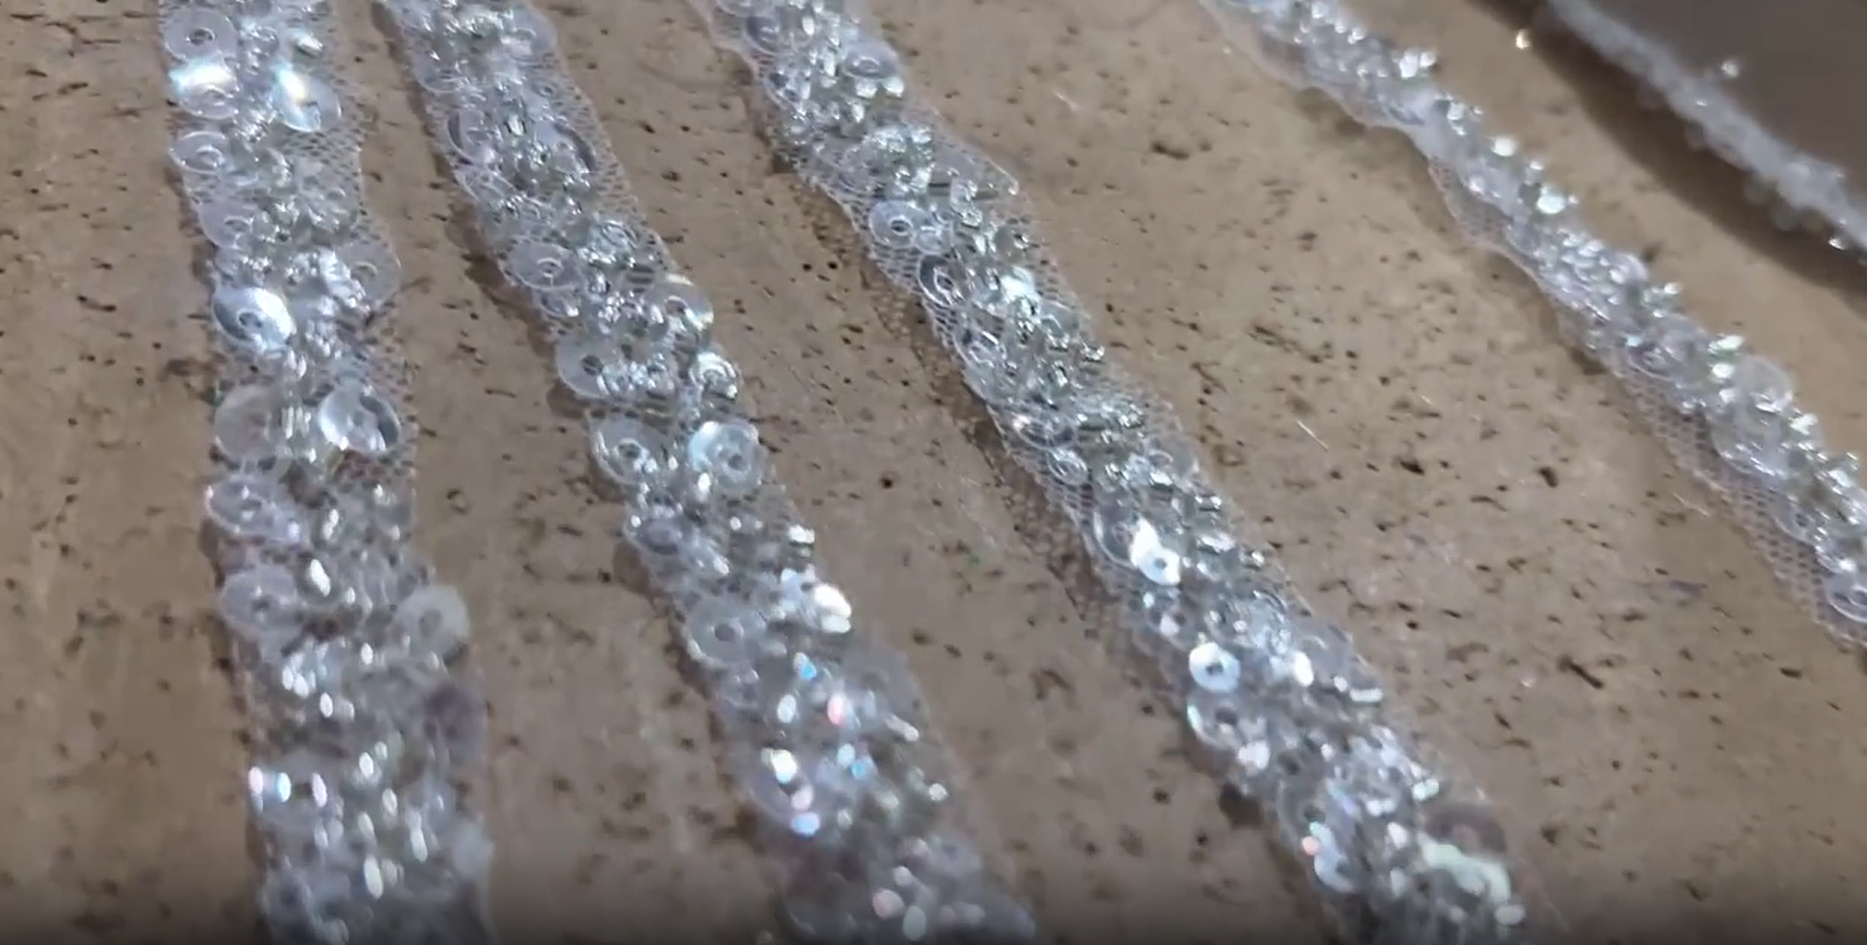
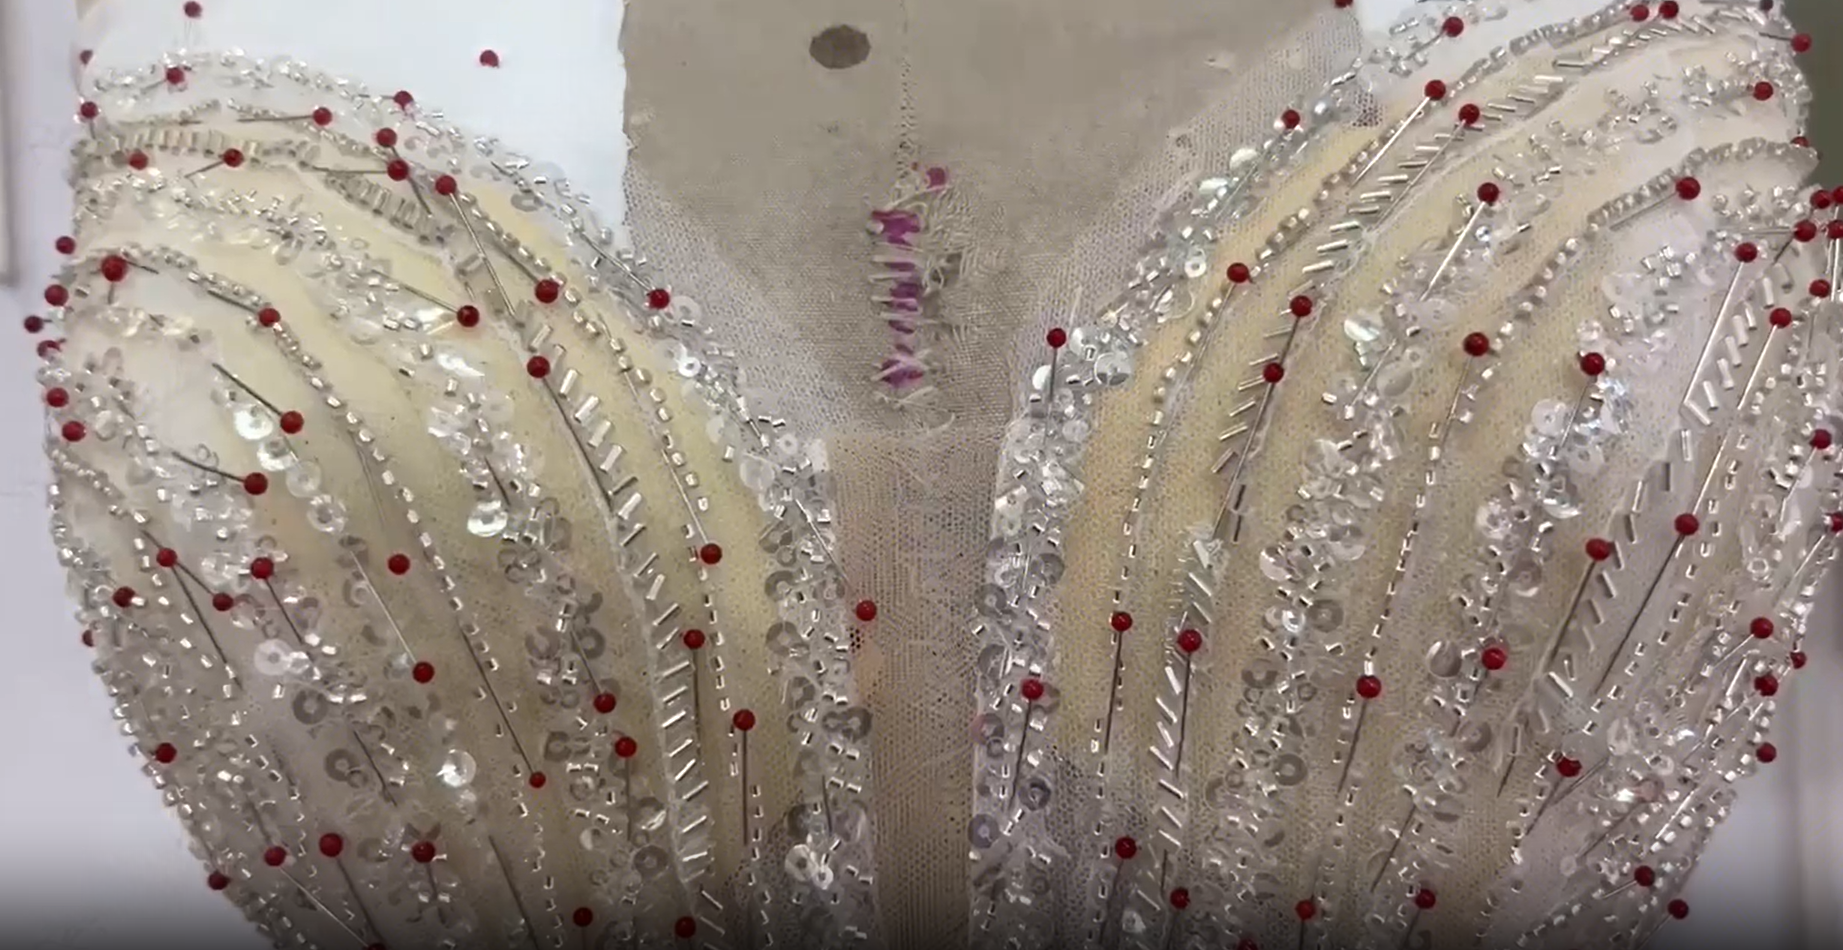
Laid the tulle shell flat on the worktable. Placed each cut strip according to the marked vertical lines on the pattern. Spacing between strips: 2 cm at bust, 2.5 cm at waist, 3 cm at hip – measured with a ruler, not eyeballed. Pinned both edges of each strip with steel pins, spacing pins 4 cm apart. Put the pinned shell back on the dress form to check the layout. Adjusted the two center strips – moved them 1 cm closer together – because the gap looked too wide on the form. Repinned. Took the shell off the form and left it pinned overnight before stitching.
Stitching trims
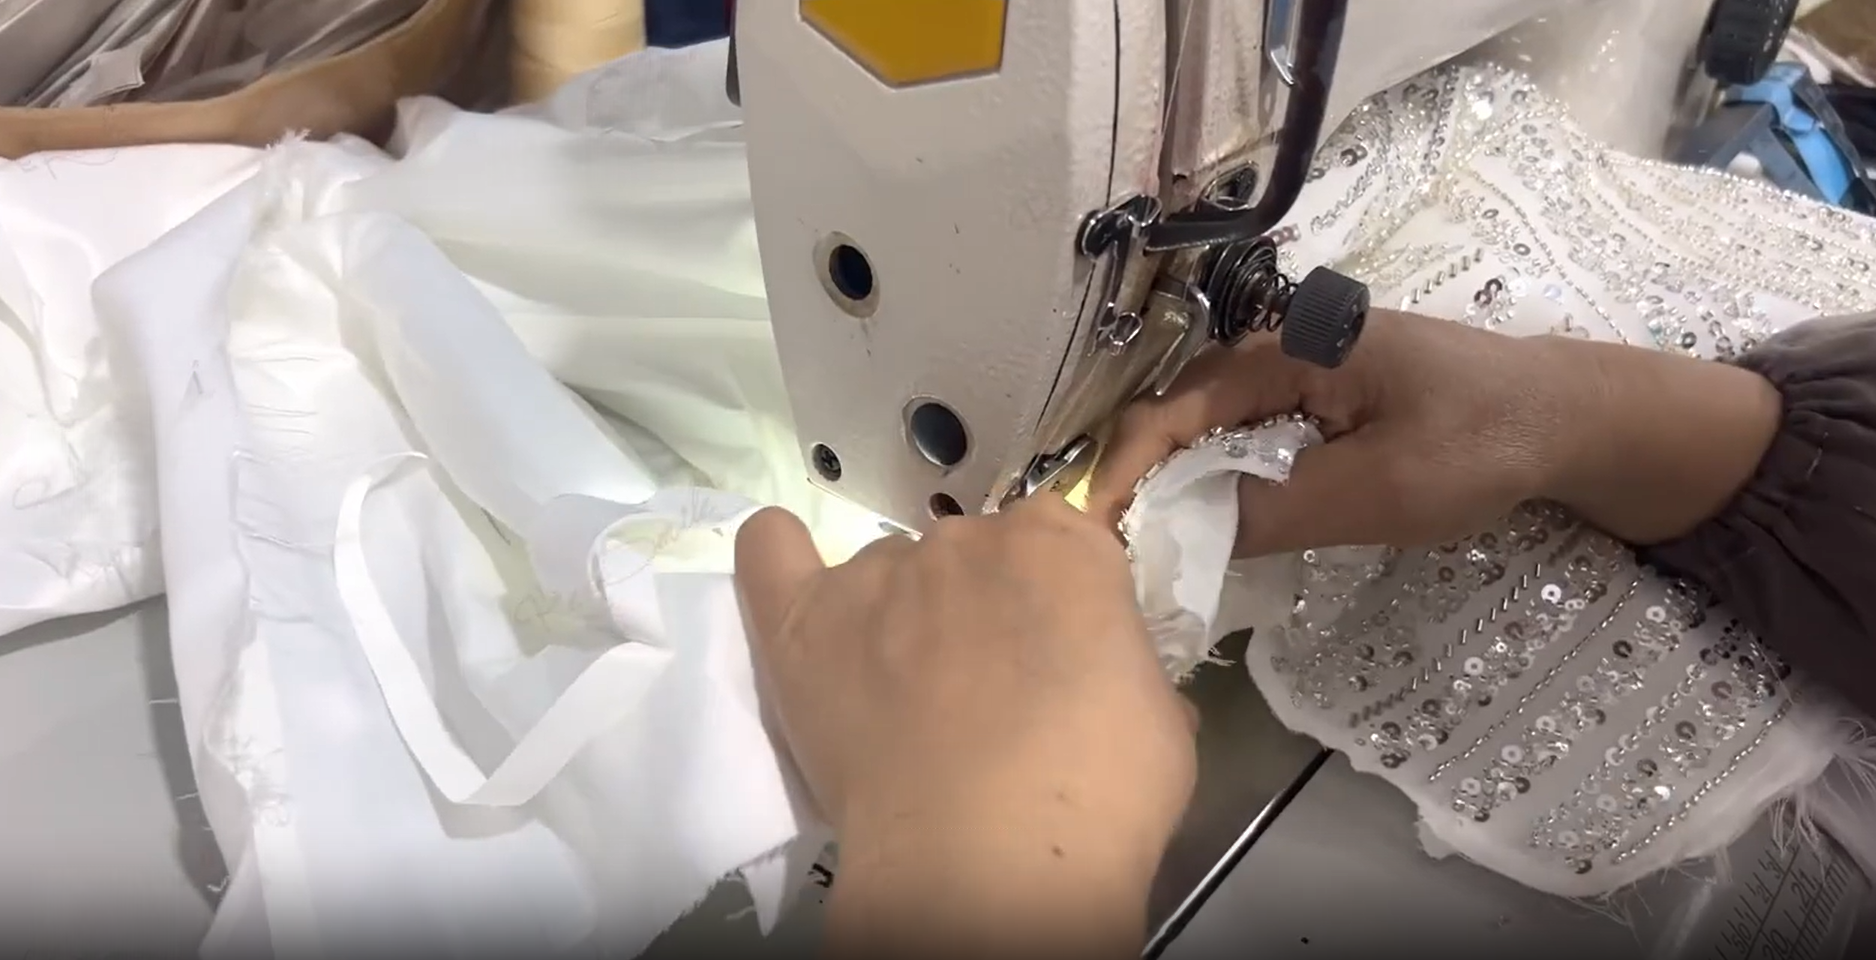
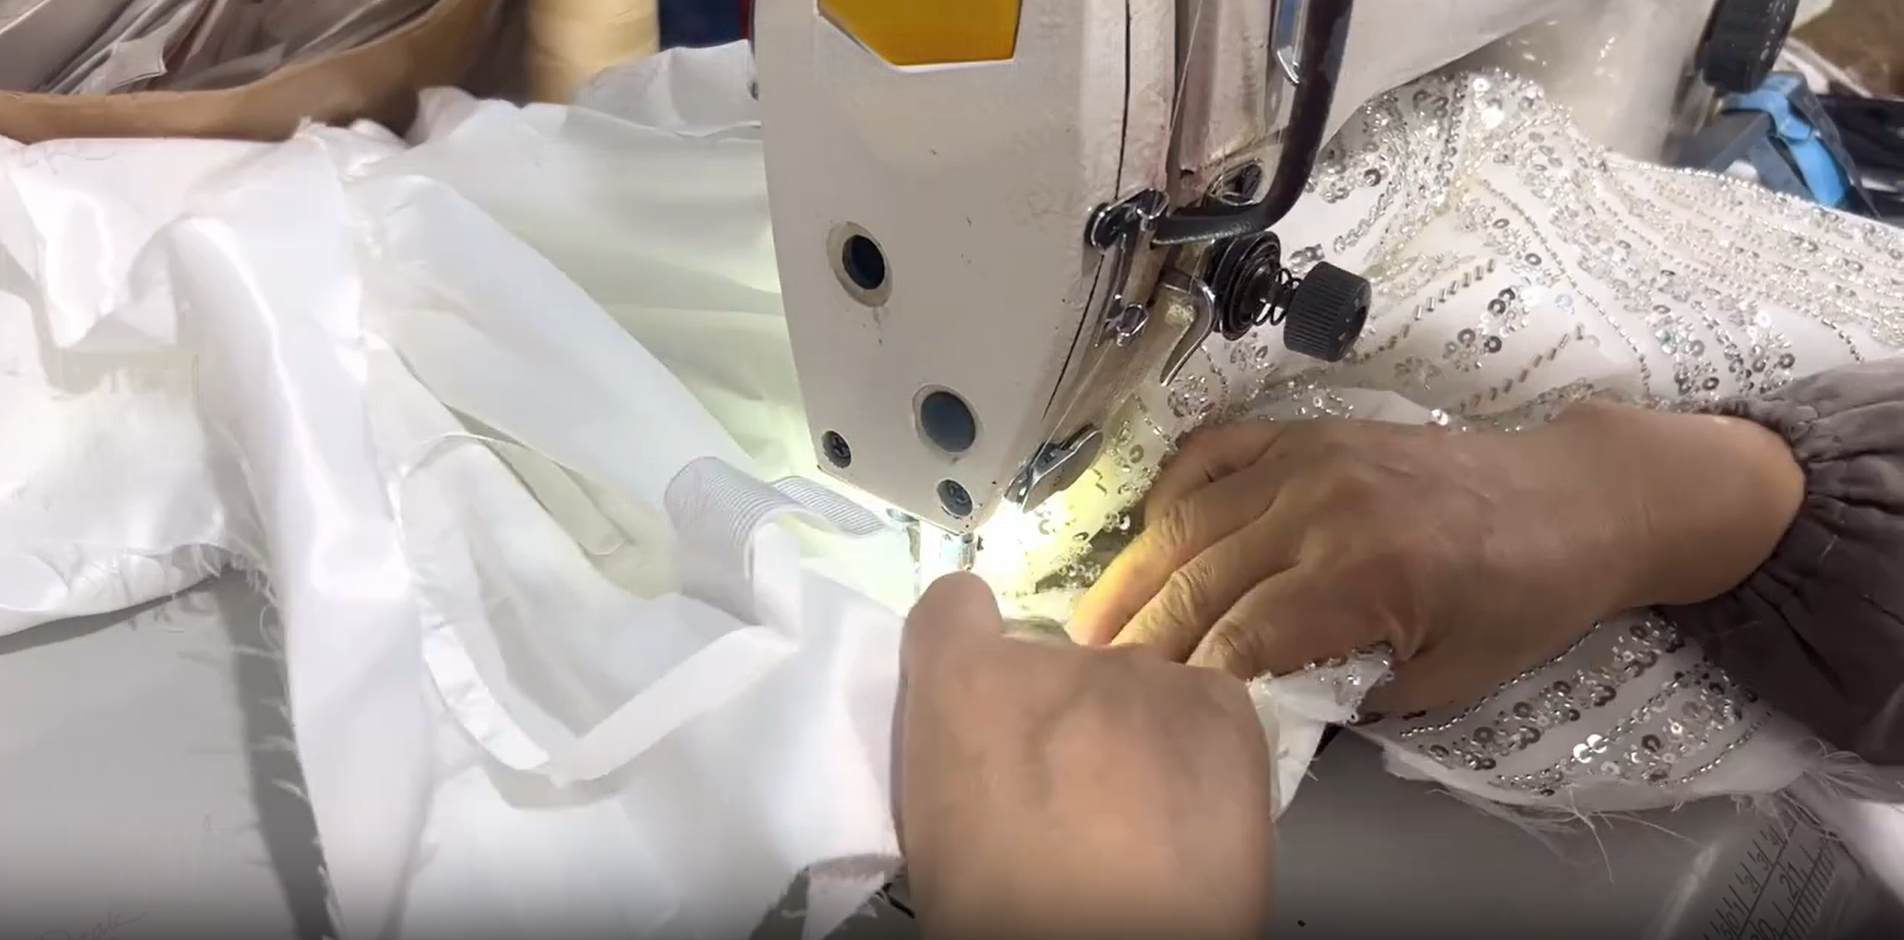
Sewed each strip along both edges using a standard lockstitch machine with a 70/10 needle. Machine speed set to minimum – about 300 stitches per minute. Did not sew over sequins where possible; shifted the needle position to run between them. Broke 6 needles over the whole bodice, not 14. After machine stitching, turned the shell over and clipped any loose threads. A few beads had shifted during sewing – those were re‑positioned and hand‑stitched down. Total machine time on trims: 3.5 hours.
Joining shell & lining
Pinned shell to lining right sides together along neckline and armholes. Stitched 1 cm seam allowance, clipped curves, turned right side out, pressed flat. Neckline binding: 3.5 cm bias‑cut satin, pressed in half lengthwise, stitched over the raw edge. Boning channels on the lining side stayed accessible from the inside – no bones were caught in the seam. Back closure: invisible zipper, 55 cm. Installed after the neckline was finished. Checked zipper clearance against the boning – no interference, so no repositioning needed.
Skirt assembly
Sewed the four skirt godets together to form the mermaid shape. Side seams pressed open. Attached the skirt to the bodice at the waist seam – 1.2 cm allowance, stitched twice for reinforcement. No easing needed; the waist measurements matched within 0.5 cm.
Train ruffles
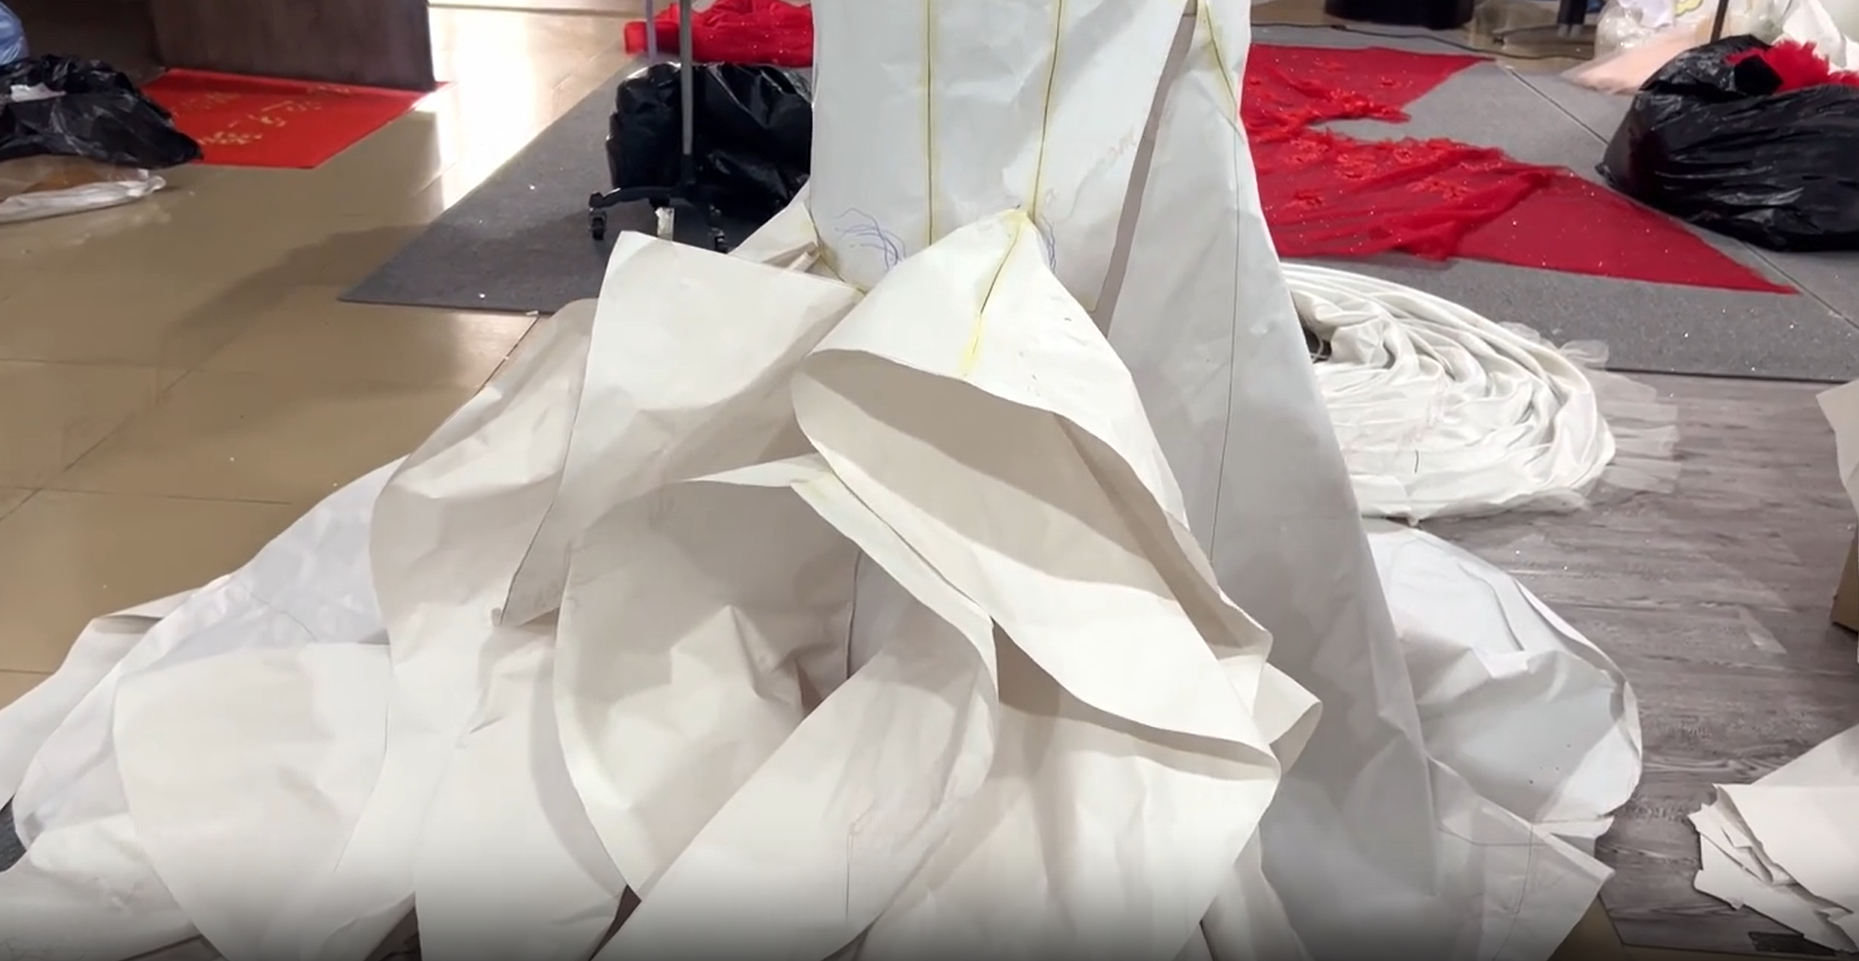
Cut 8 ruffle sections from satin. Each section pressed with medium‑weight fusible interfacing along the outer curved edge – 2 cm strip. Folded and stitched the hems before layering. Layered from bottom to top: largest ruffle first, smallest last. Seam lines staggered so they didn't stack. Attached each layer to the back skirt panel with a 1 cm gather stitch, pulled to fit the panel length, then stitched flat. Total ruffle assembly time: 6 hours.
Final assembly
Joined the train to the main skirt back seam. Waist seam covered on the inside with a satin waistband facing. All internal seams either overlocked or bound with bias tape – no raw edges left showing.
Inspection
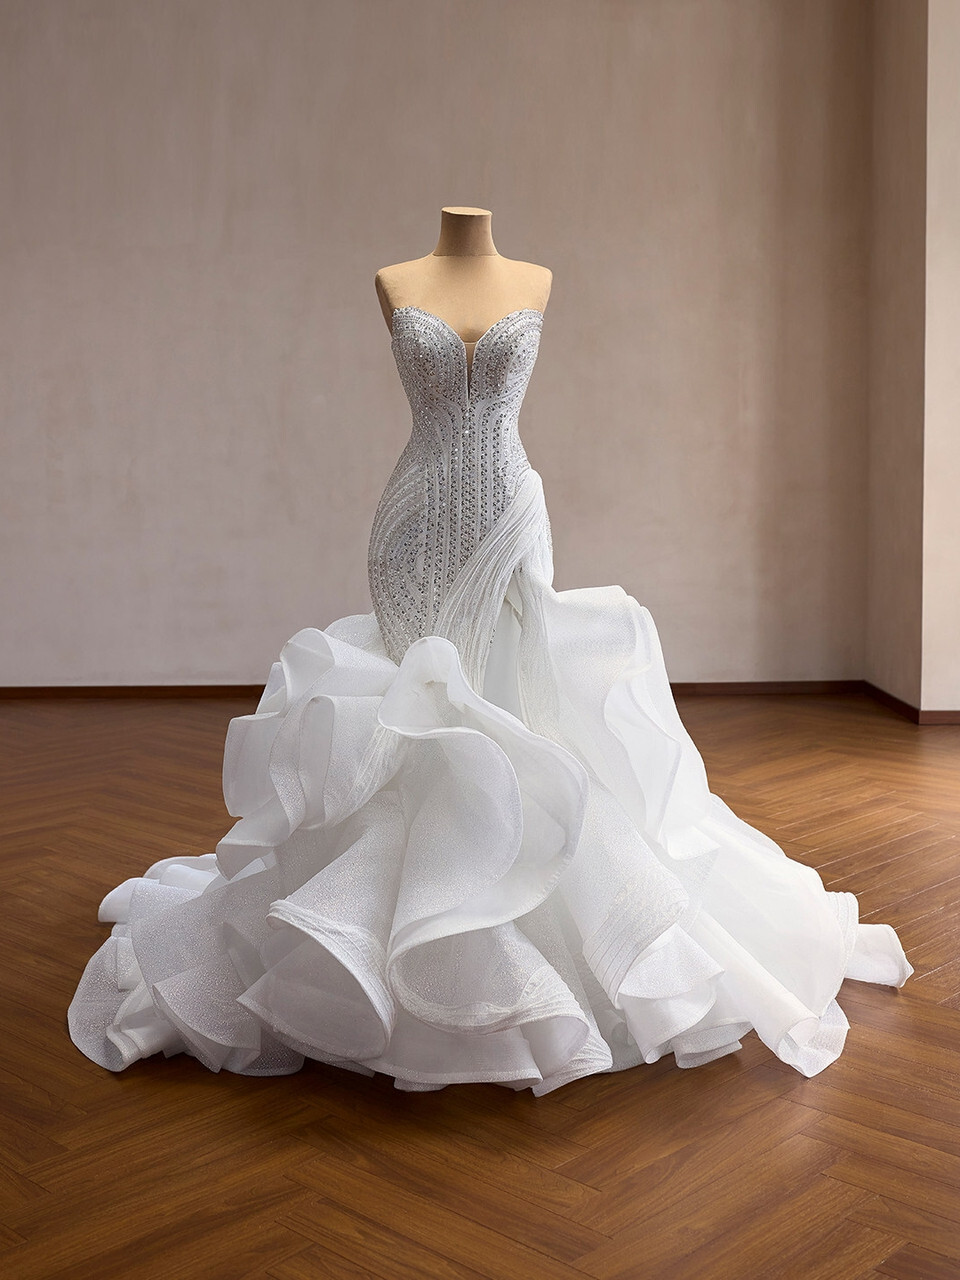
Checked on dress form:
- ✓ Waist seam level – passed
- ✓ Boning channels straight – passed
- ✓ Sequin strips evenly spaced – passed
- ✓ Zipper opens and closes without catching – passed
- ✓ Ruffle layers lie flat with no visible seam stacking – passed
- ✓ Train hem touches the floor evenly on both sides – passed
Found three loose sequins near the left armhole. Hand‑stitched them back. Found one ruffle edge with a skipped hem stitch – restitched by hand. Final inspection signed off.
That's it. No stories about tea breaks, no names, no drama. Just what got done, how long it took, and whether it passed. If you need something this detailed for a production record, this is the format we use internally – flat, numbered, and boring. Exactly the way shop logs should be.
About our workshop
Our bridal workshop specializes in custom haute couture wedding dresses and affordable in‑stock wedding dresses.