
Handmade Prom Dresses: How Our Studio Builds Every Gown From Scratch
14th Jun 2026
Most people think making a custom prom dress is just picking out some fancy fabric and running it through a sewing machine. If it were that easy, we wouldn't be staying at the studio until midnight half the time. So here's what actually goes into it—from the first cut to the moment someone finally says "okay, we're done."
1. Mess around with cheap muslin first
No matter how pretty the design sketch is, we never touch the good royal blue fabric right away. First step is always grabbing the cheapest cotton muslin and draping it on a dress form. It looks ugly—covered in pencil marks and crooked pins. But that's the point. We tweak the bodice curve, argue about how poofy the ruffles should be, redo the waistline maybe five or six times. Sometimes we rip the whole thing apart and start over. But hey, it's just muslin. Once everyone stares at that rough version for ten minutes and agrees "yeah, that's the shape," then we move on.
2. Cutting the real fabric is a two-person wrestling match
That royal blue formal fabric? Slippery as hell. Spreading it flat on the cutting table takes two people—one holding down one edge, the other slowly smoothing it out. If there's a single wrinkle, the cut pieces won't match up later. We lay the patterns on top, trace around them with chalk, real careful. Can't press too hard though—silk shifts if you breathe on it wrong. Then we cut with old-school shears, one smooth motion per line. Every single piece gets labeled immediately: front left, front right, ruffle layer one, ruffle layer two... You skip the labels, you'll be crying in an hour trying to figure out what's what.
3. Hand-placing rhinestones until your eyes go blurry
This dress sparkles because of the rhinestones. All hand-placed. No machine can do this. We lay each ruffle flat on the table, grab a pair of tweezers, and start arranging crystals in a pattern that looks random but actually isn't. The annoying part? You can't put rhinestones too close to the seam lines, or the sewing needle will snap. Can't put them right on a fold line either, or they'll pop off. Each stone gets a tiny dot of glue, pressed down with the tweezers. One person spends seven or eight hours just on rhinestones. You have to stop and rub your eyes every hour. But machine-applied stones look dead. You can always tell.
4. Gathering ruffles by hand is a workout
That wavy ruffle effect doesn't happen by magic. We run two long loose stitches along the top edge of each ruffle panel, leave the thread tails hanging, then grab the thread and gently pull. How tight? Pure feel. Too loose and the skirt looks sad. Too tight and it turns into an accordion. Usually we gather it to what looks right, pin it on the dress form, step back. Too flat? Pull a little more. Too scrunched? Loosen it a bit. And we sew the ruffles from the bottom tier upward. Finish one row, trim all the loose threads, then do the next. By the time you hit the third tier, your arms are sore. But then you look at that cascading effect and think... okay, worth it.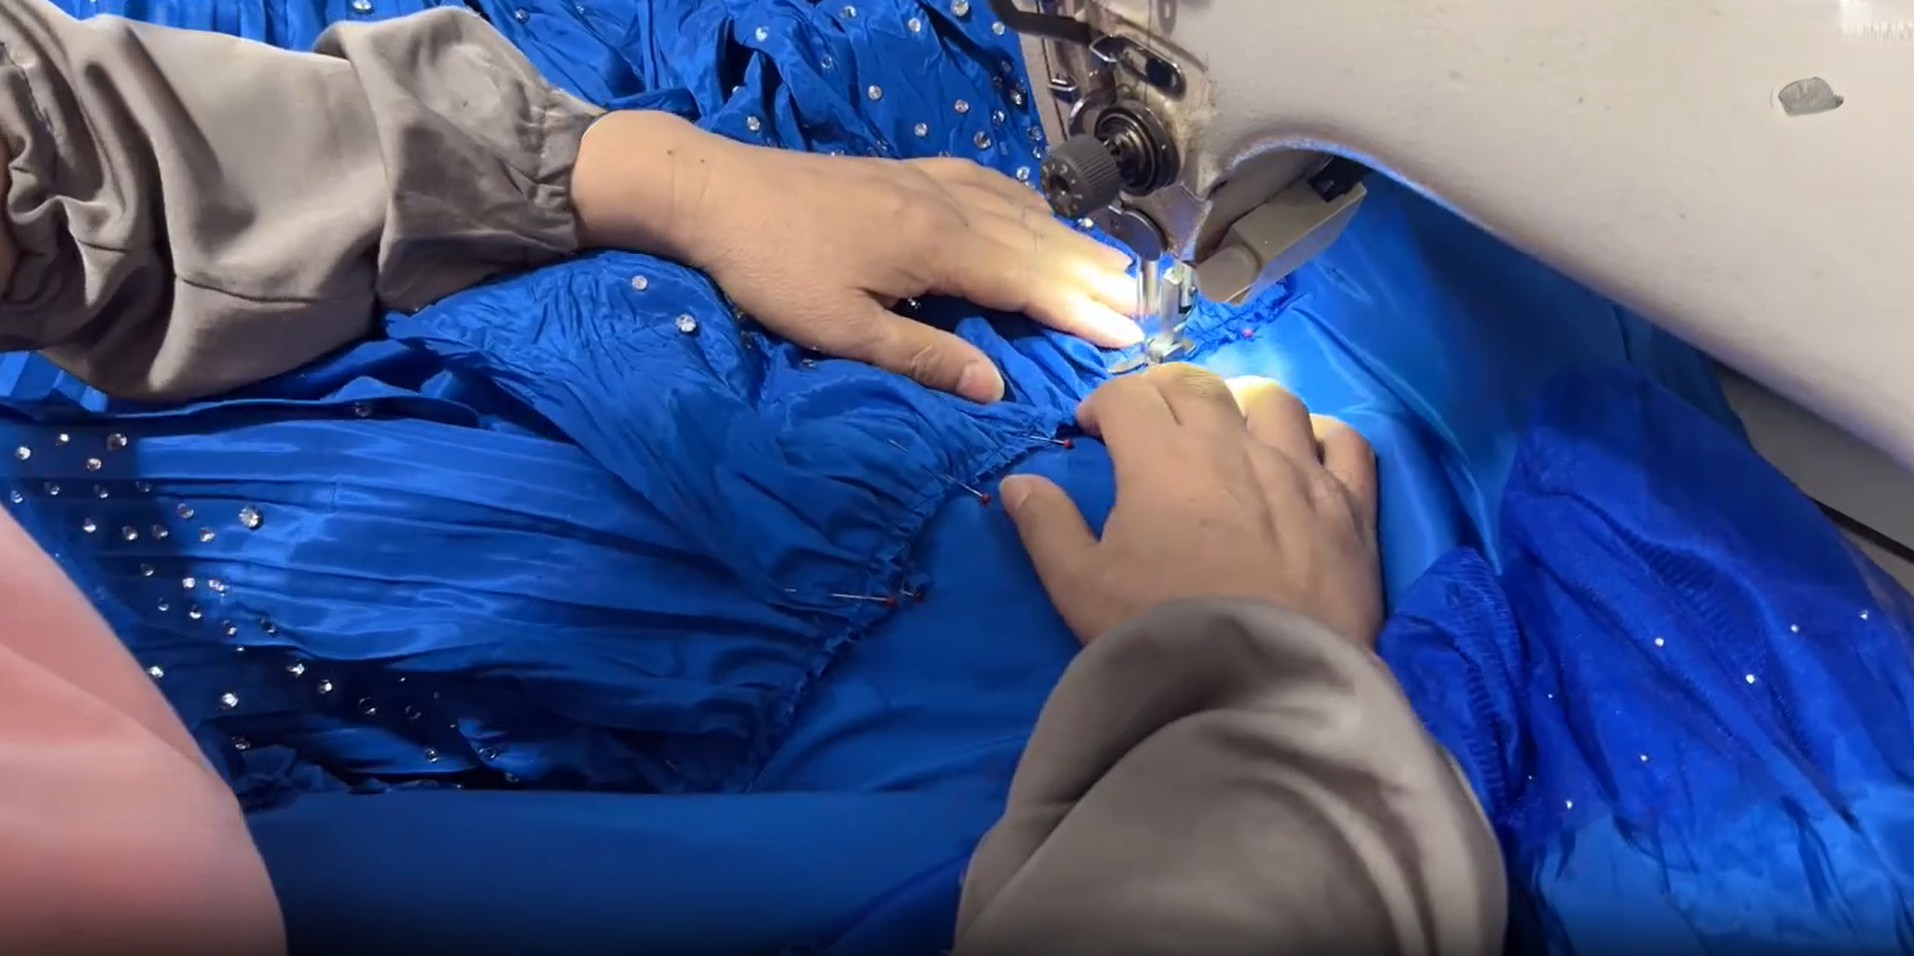
5. Attaching bodice to skirt—first try almost never works
Two different people sewed the top and the bottom. They followed the measurements, sure. But when you pin them together for the first time? Seven or eight times out of ten, something's off. Waistline doesn't match? Rip it. Side seams off by a few millimeters? Rip it. Sometimes the bodice is too long and the fabric bunches up. Sometimes it's too short and creates weird tension. Here's our old trick: pin it together, put it back on the dress form, step back three feet. See how the ruffles hang? If one side droops, mark it with a straight pin, take it down, adjust. Then hang it again. Do that three or four times until the whole silhouette looks right from every angle.
6. Final finishing—the invisible stuff that matters
At this point the dress looks almost done. But there's still a bunch of boring, tedious work left. All the seam allowances on the inside get hand-stitched down so nothing frays. The bodice gets boning—those thin flexible steel strips sewn into the lining so the strapless top actually stays up without constant tugging. And the back has a lace-up closure, not a zipper. Punching those eyelets one by one, making sure they line up perfectly so when you pull the ribbon, the fabric gathers evenly on both sides. Last step: ironing. But you can't iron directly on the fabric. Use a protective cloth, light steam, smooth out the wrinkles from shipping and sewing. Skip the rhinestones though—heat loosens the glue.
Once everything's done, someone holds the dress up to the window light and scans it: Any missing rhinestones? Any stray threads? Does the lace-up pull smoothly? If it passes, into the garment bag it goes.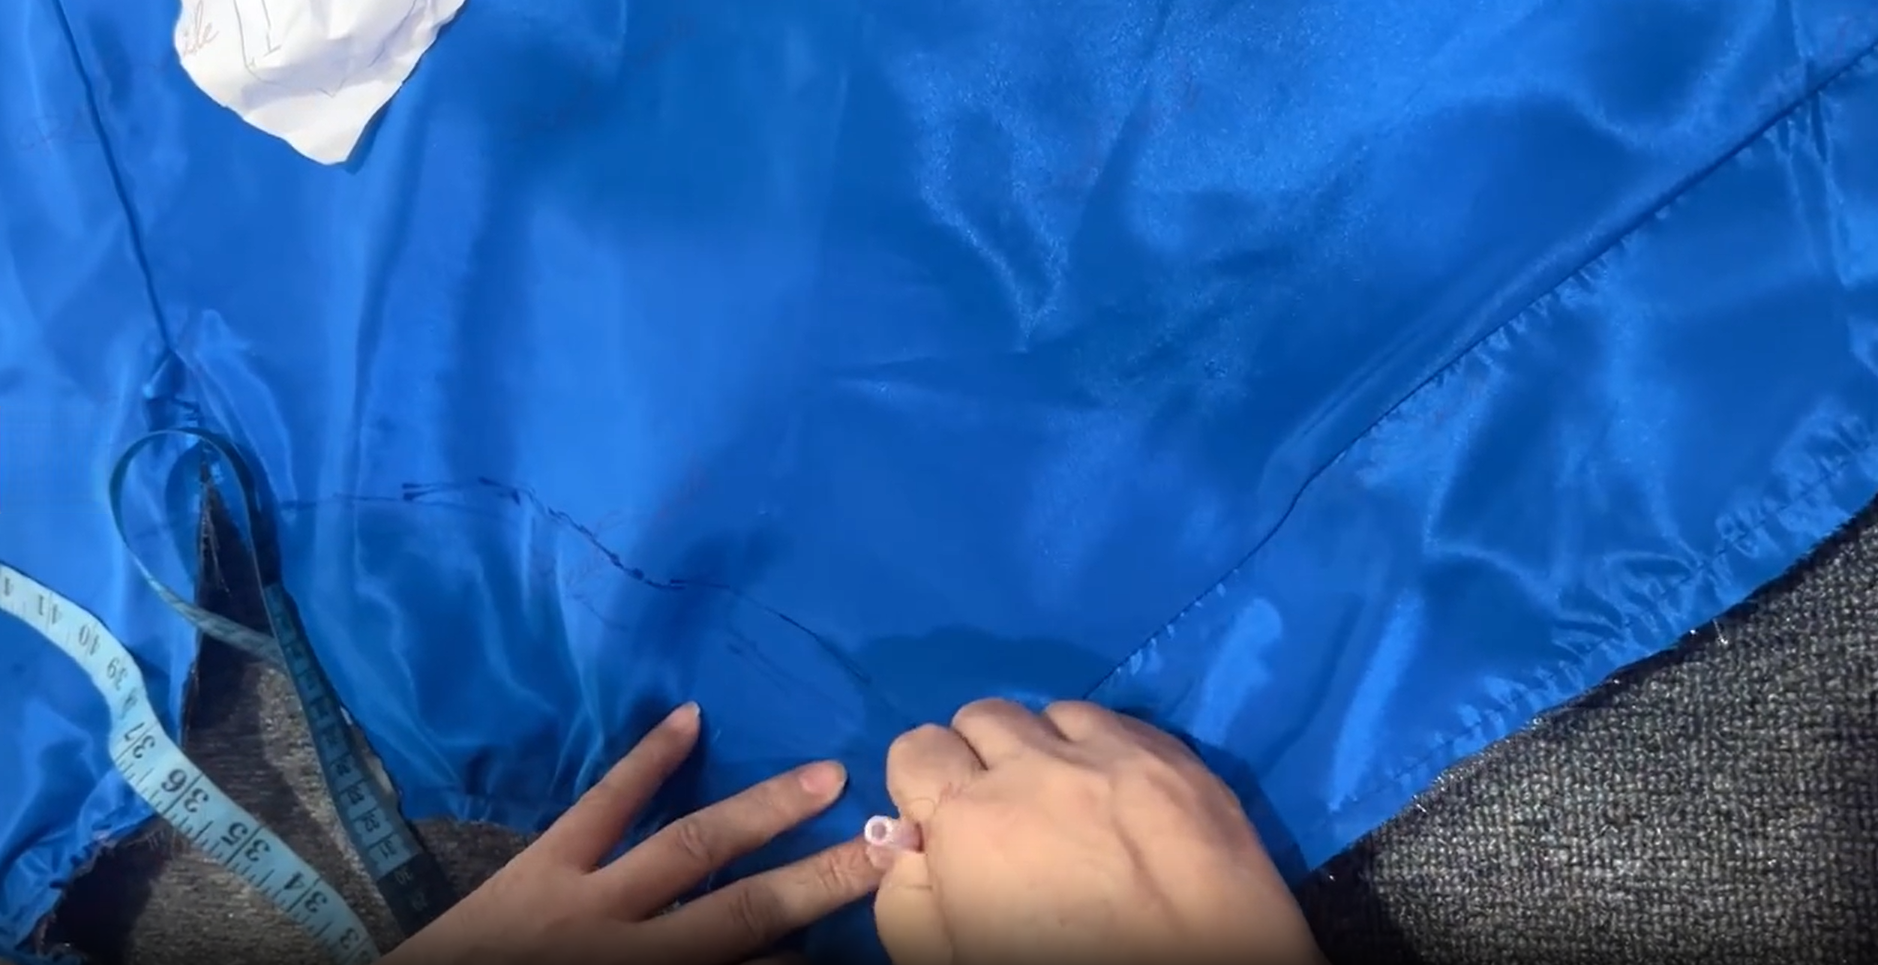
Look, making one dress is exhausting. But every time we see a girl put it on and just light up in the mirror? That's when the late nights, the pricked fingers, the blurry eyes from rhinestones—all of it feels worth it.