
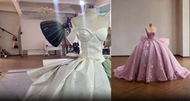
Step-by-Step Photo Gallery: How We Make a Blush Pink Ball Gown
28th Jun 2026
Hi everyone, welcome back to our little studio blog. Today I want to share how we made this blush pink ball gown prom dress – the one with the big bow and all the sparkles. It’s not a super fancy process, but we put a lot of heart into it. Let me walk you through it step by step.
Step 1: Getting the pattern right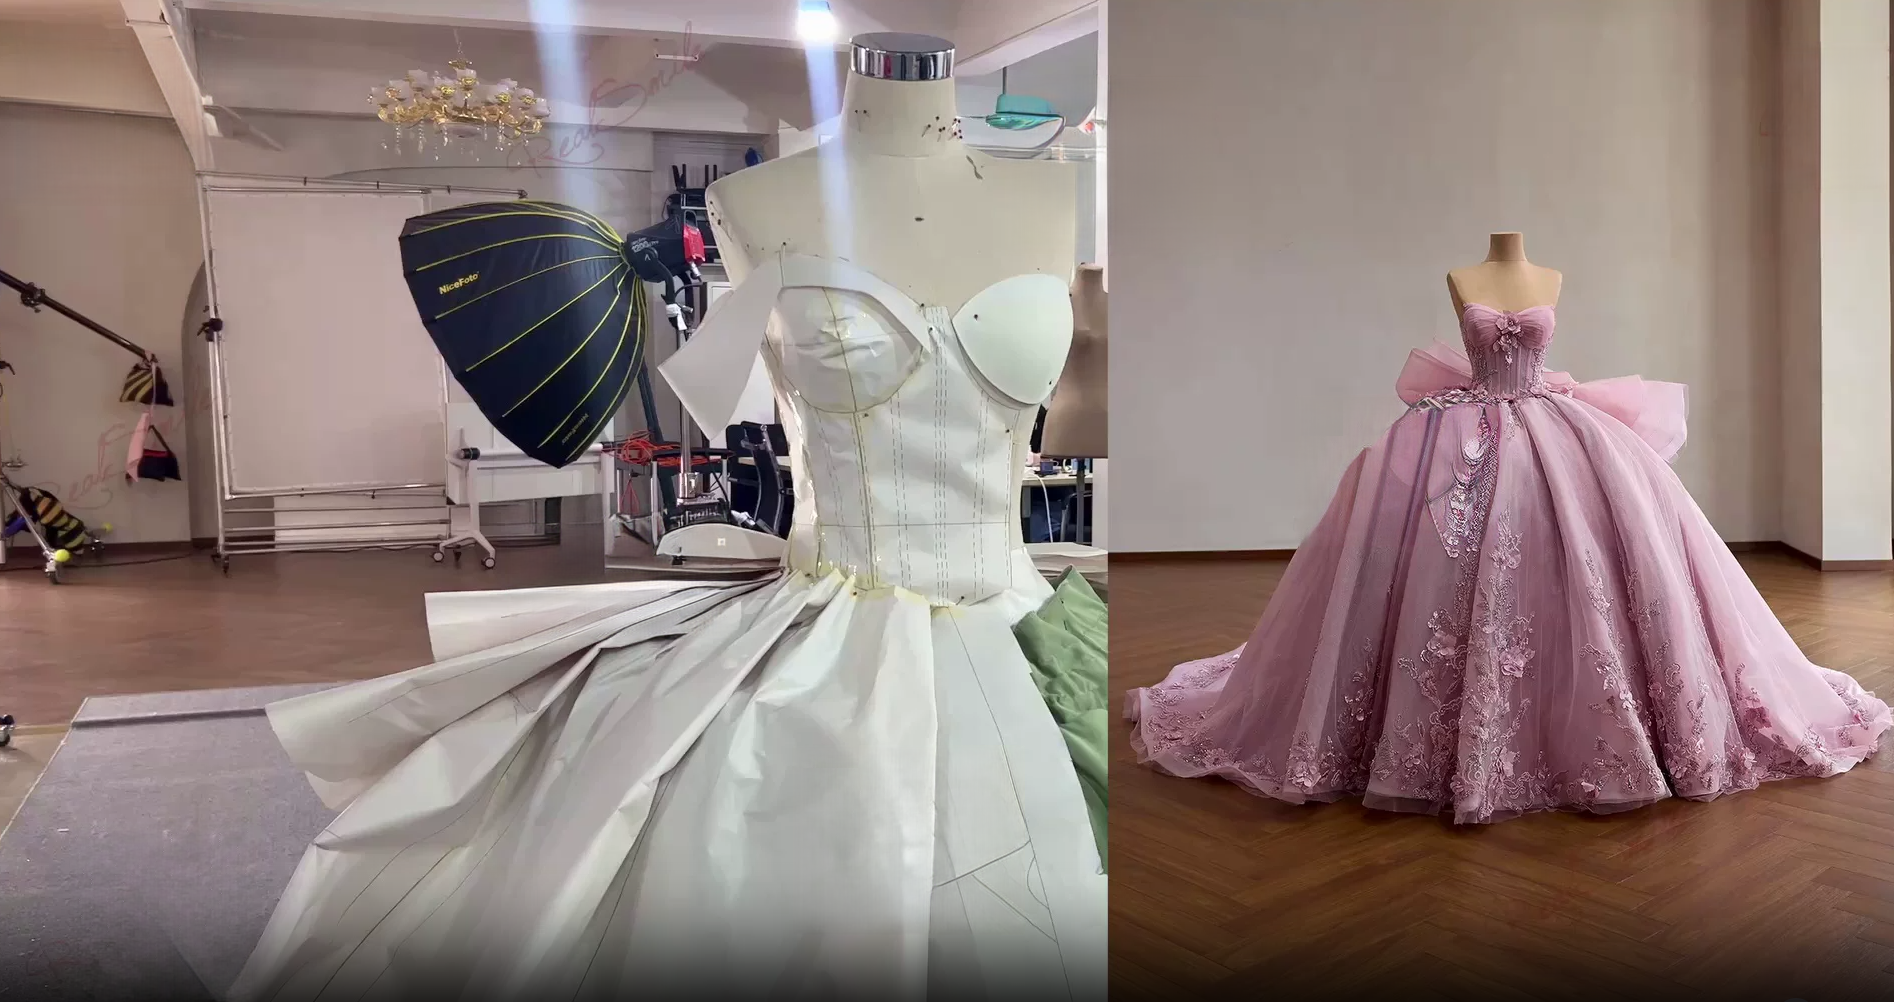
We always start with paper patterns. First, my colleague helped me fit the corset part on our dress form – we adjusted the curves so it hugs the body but still comfortable. For the skirt, we wanted that big, dramatic ball gown shape, so we drafted a full circle skirt with extra layers. The back bow took some trial and error – the first version was too small, so we redid it. Paper is cheap, so it's fine to mess up here.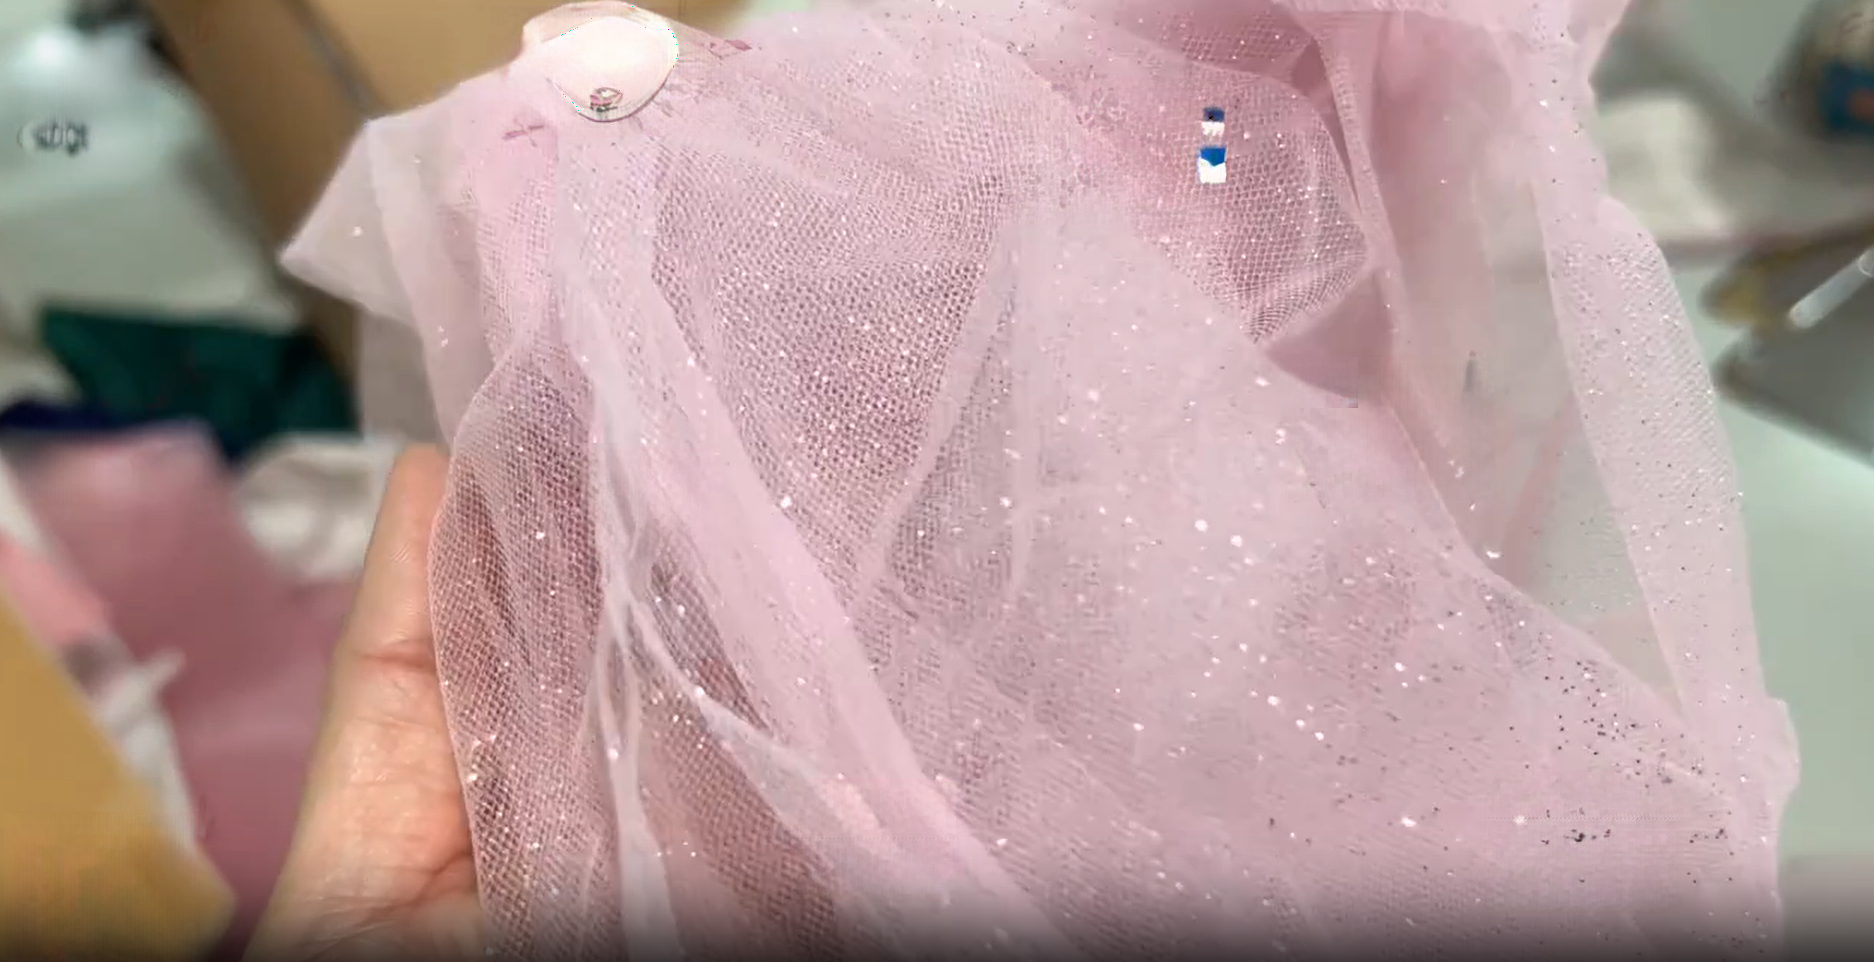
Step 2: Making the corset bodice
The bodice is the most important part. We used glittery blush tulle over a sturdy lining, then sewed in the boning channels. The sweetheart neckline – we padded it just a little, not too much, to keep it looking natural. I remember my teacher used to say, "mark everything with tailor's tacks or you'll regret it." So I did. Lots of pins and chalk marks everywhere.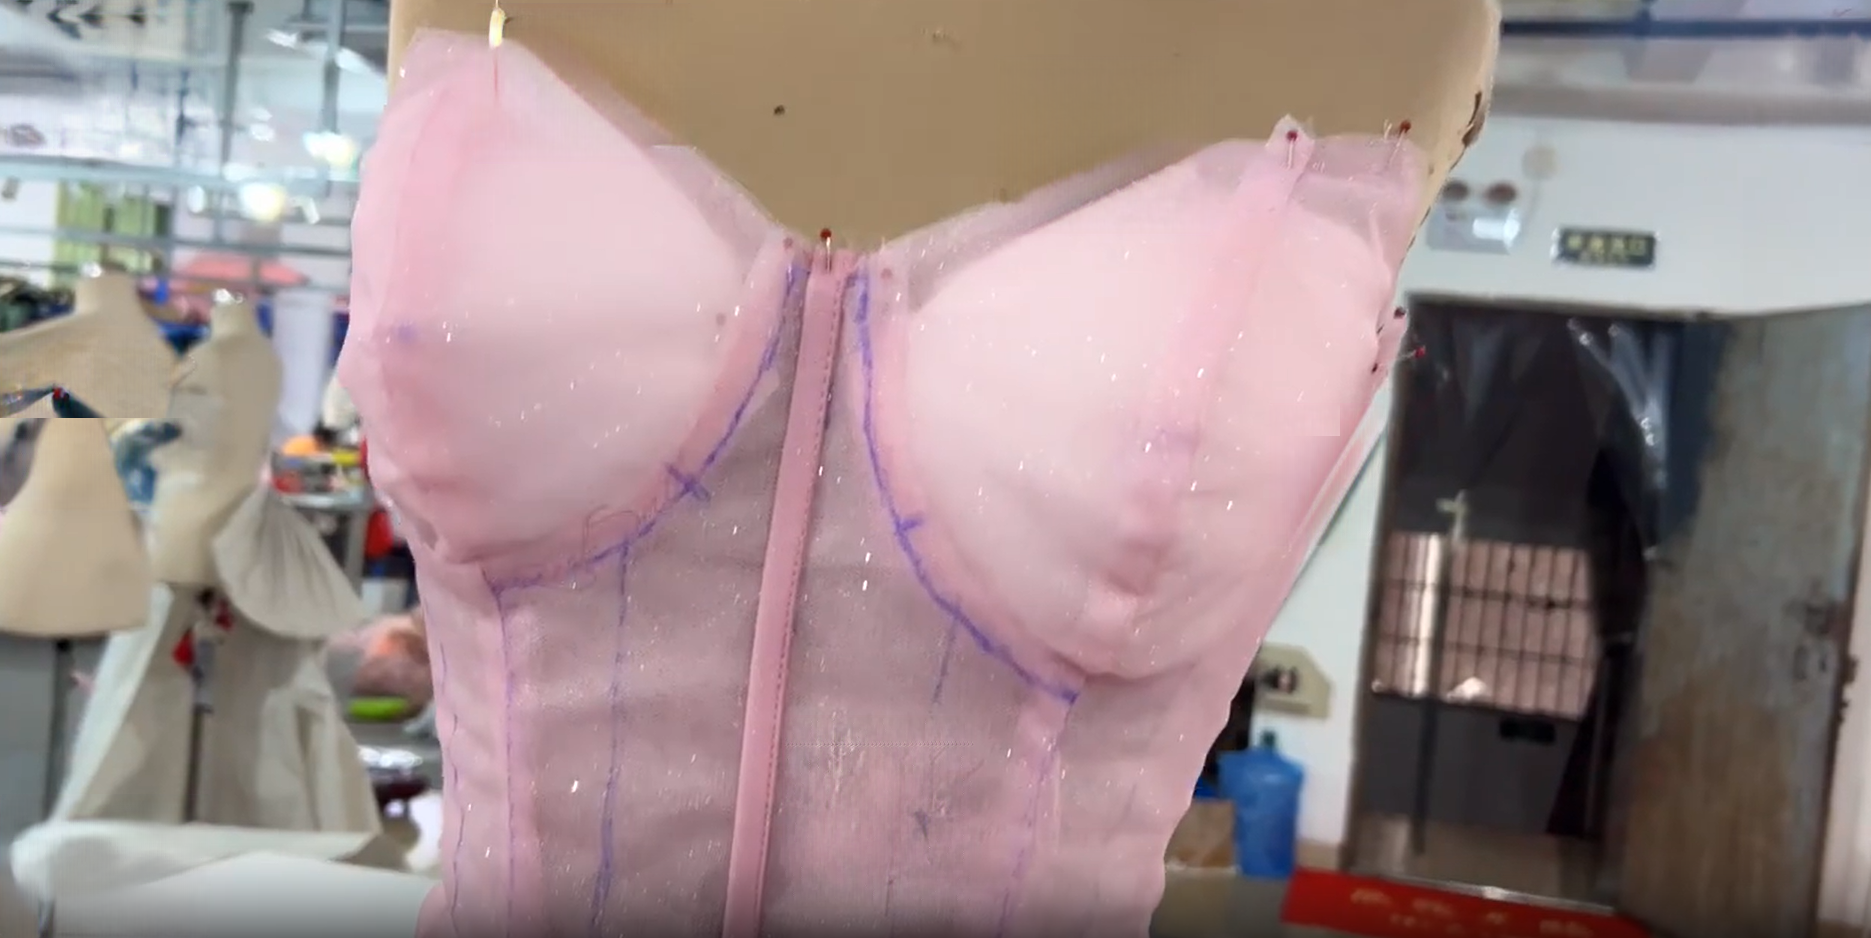
Step 3: Hand beading – the slow part
Okay, this step takes forever. We made floral appliqués with pink sequins, tiny glass beads, and embroidery thread. Each petal is sewn on by hand. I usually pin the appliqué onto the dress form first, step back, look at it, move it around, then start stitching. Sometimes my fingers hurt after a few hours, but when the light hits those beads... it's worth it. We focused the heaviest beading on the corset front and let some flowers "fall" down the skirt.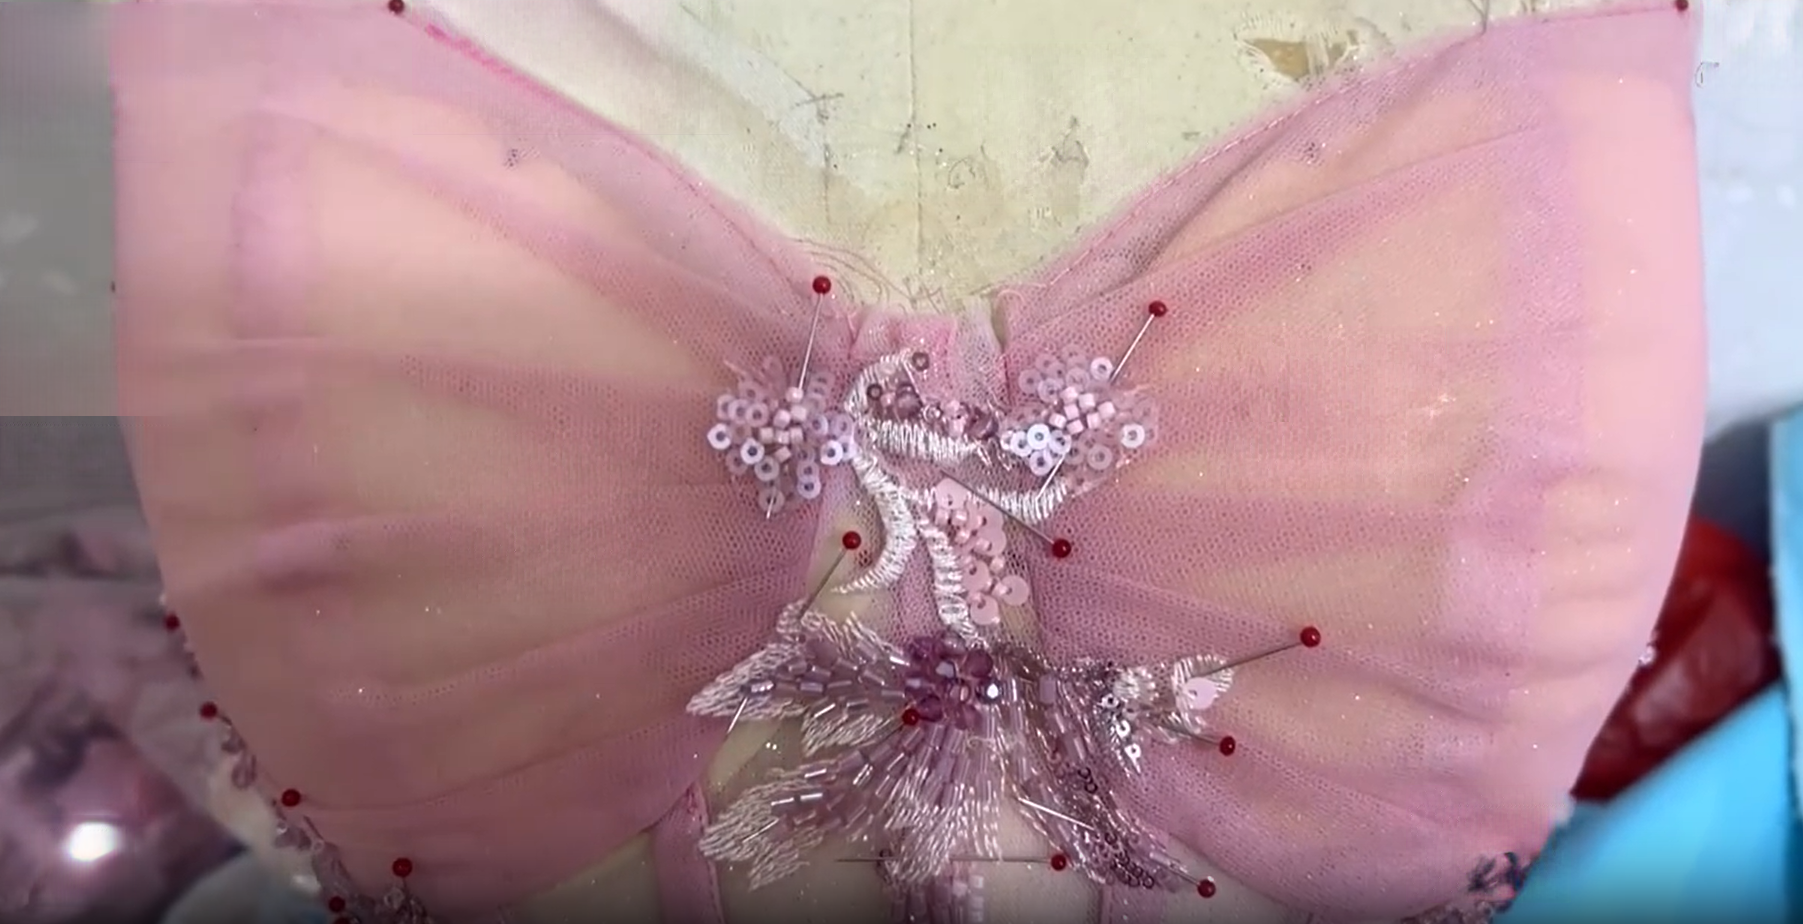
Step 4: Sewing everything together
Once the pieces were ready, I used the sewing machine for the long straight seams – like attaching the tulle to the lining. Then we gathered the skirt layers. Blush tulle is not easy to gather evenly; you have to be patient. My assistant held the fabric while I pinned. The waistline took two tries to get smooth. The back bow we made separately and hand-stitched on at the end. It's big but not too heavy.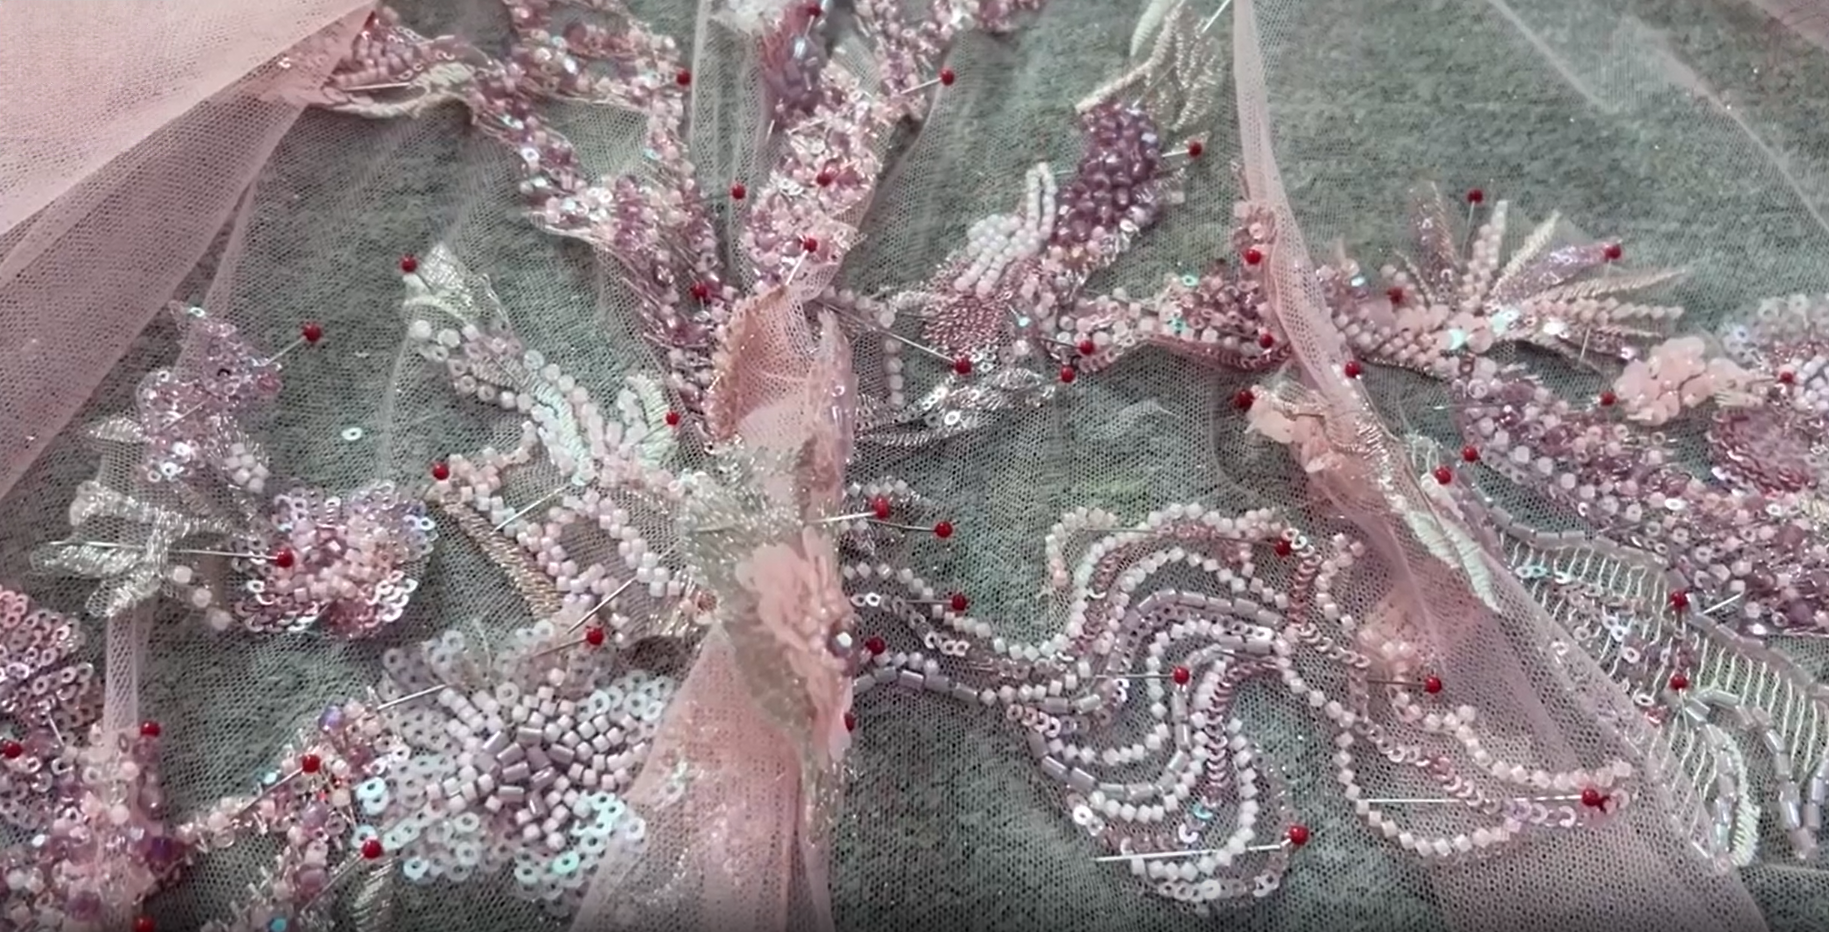
Step 5: Choosing the tulle and building volume
This glitter tulle is my favorite. It's soft but holds shape. We used three layers for the skirt – each layer slightly shorter than the one below, so it creates that fluffy, dreamy look without being too stiff. The train is just one extra long panel at the back. The blush color is the same all through – we didn't want to mix different pinks because it might look messy.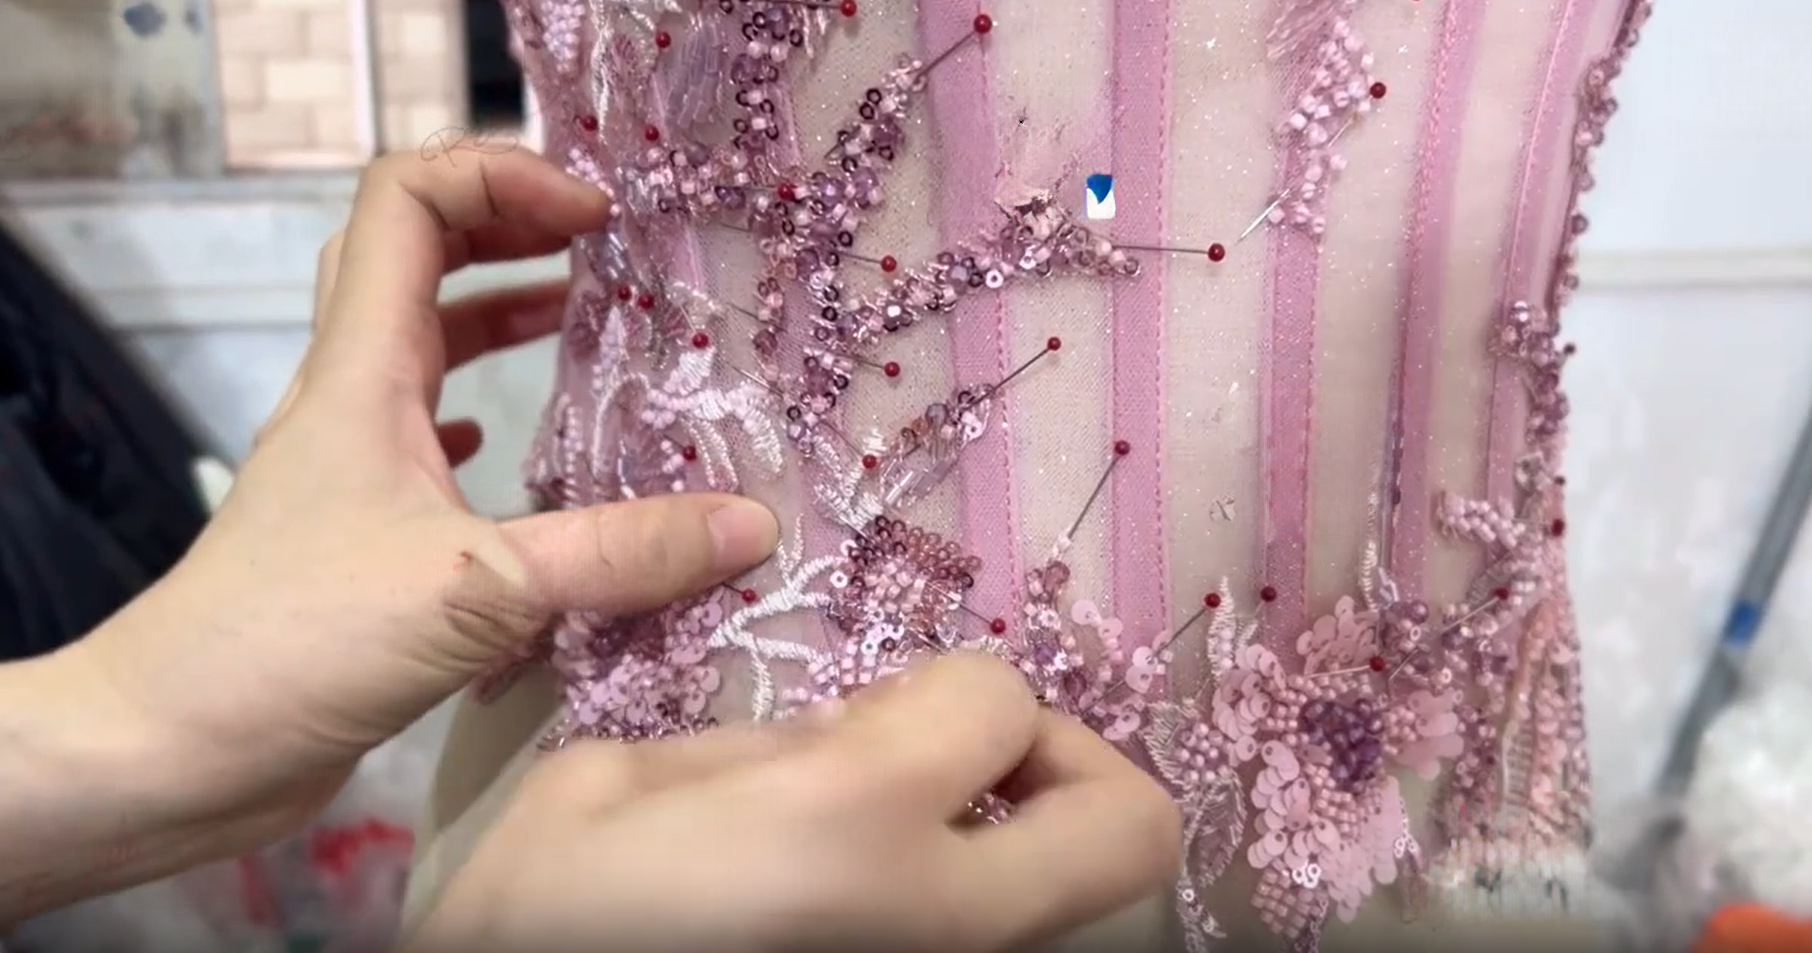
Step 6: Final check and the reveal
After all that, we put the dress on the form one last time. The corset fit well – no wrinkles. The skirt had good bounce. Every bead stayed where it should. Honestly, I stood there for a minute just looking at it. From a paper pattern to this... that feeling never gets old.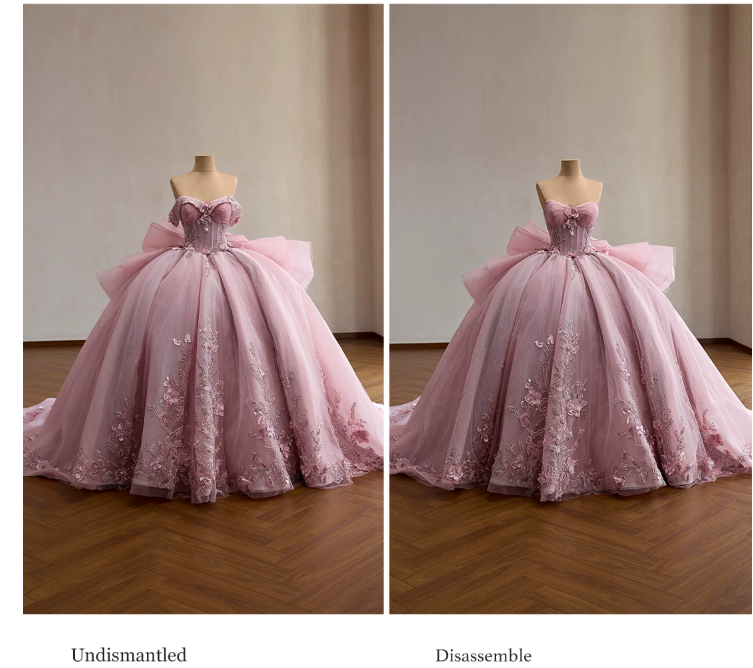
Thanks for reading! If you want to see us make something else, just leave a comment. I read all of them. Happy sewing! ?