
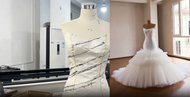
Why Our Mermaid Wedding Dress Doesn't Feel Shackled – Workshop Secrets
11th Aug 2026
How We Make This Mermaid Satin Tulle Wedding Dress
A Handmade Bridal Gown Process – from pattern to final stitch

I’m the pattern maker. I work with two seamstresses, both been doing this longer than I have. We’re a small team. Three dress forms, two machines, one overlocker that jams if you look at it wrong.
This is what we did on one dress last month.
The Mermaid Satin Tulle Wedding Dress
Summer wedding. Bride wanted mermaid but didn’t want to be stuck in it all day.
Bodice is satin. Skirt is tulle.
We dropped the flare lower than usual, below the knee. Standard mermaid flares higher up, behind the thigh. In summer that’s a problem. The fabric sits right at the bend of the knee, sticks to damp skin, and the bride ends up shuffling instead of walking. Lower flare leaves the knee pit open. Just tulle covering it. She moves fine.

Weight is lighter than usual. Not saying exact numbers here—you can feel it when you pick it up. The bride could lift it with one hand.
Step 1: Creating the Toile and Perfecting the Wedding Dress Pattern
Made a muslin mock-up first. Cheap cotton. Always do this.
Drafted the paper pattern. Marked center front, where the ruching starts and ends, and where the darts feed into the ruching. If you don’t mark these, you’re guessing.
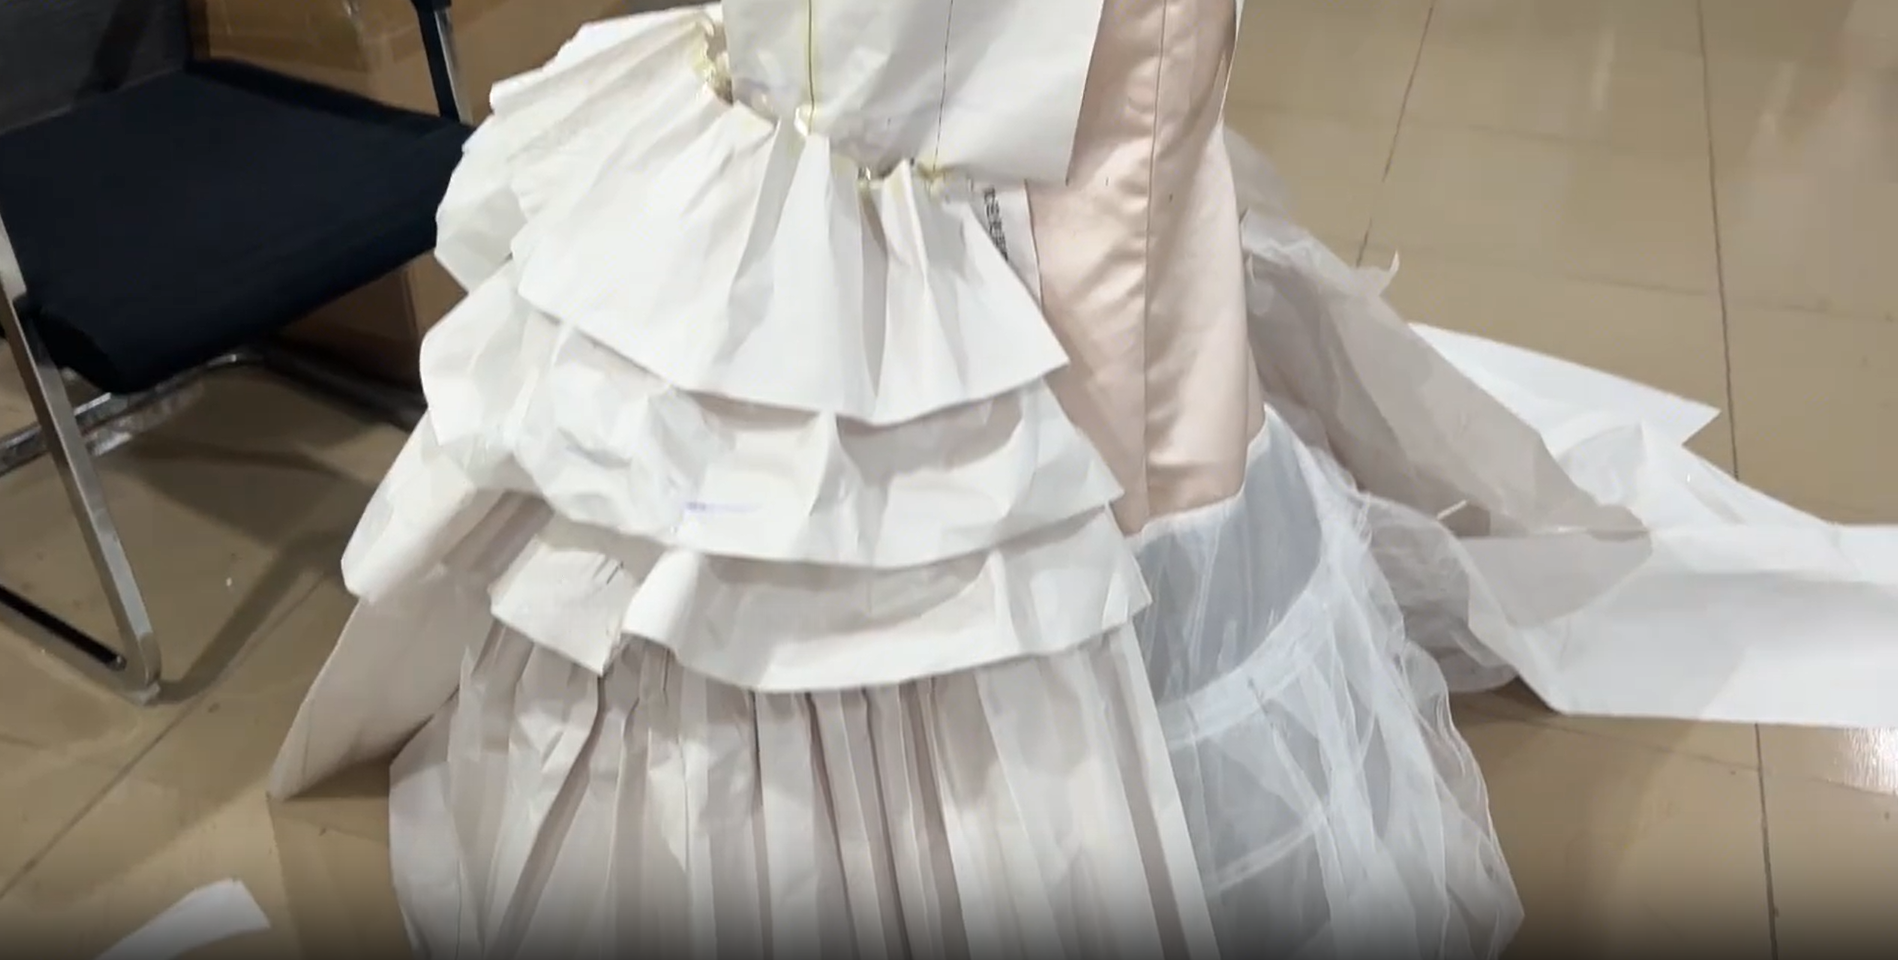
Pinned muslin to the form. Form was padded to the bride’s measurements with a bit of ease.
Started ruching from the right waist. Pinched each fold upward, pinned it. Stepped back. First round was wrong. Too tight at the waist, too loose at the underarm. Marked corrections with blue marker. Took pins out. Started over.
Took four rounds before the folds sat right. Not every fold is identical—some deeper, some shallower. That’s the point. Machine-made ruching is uniform. Hand-made ruching shouldn’t be.
Transferred the final muslin back to paper.

Step 2: Creating the Satin Bodice for a Handmade Mermaid Wedding Dress
Italian satin. Has some give sideways but not up and down. Cut with the vertical grain straight. If you don’t, the bodice stretches out of shape after a few hours of wear.
Cut each piece individually. Stacking is faster but the satin slides and you get one side longer than the other. We don’t stack.

Bones are spiral steel. Eight total. We make casings with a little slack in each. Not a lot, just enough so the bone can move when the bride sits down. Without that slack, the bone pushes into her ribs.
Ruching takes the most time. Mark the fold lines from the toile onto the satin. Seamstress pinches each fold by hand, tacks it with needle and thread. All folds go the same direction—toward the waist.

Then she runs a machine stitch along the base and pulls out the temporary tacking. This part is nerve-wracking. Satin scratches. A needle drag across the surface ruins the whole piece. No fixing it.
Neckline is folded in twice and hand-stitched. No thread visible outside. Bottom edge we left unfinished—we’ll deal with it when attaching the skirt.
Step 3: Building the Tulle Skirt Panels for the Mermaid Wedding Gown

Imported tulle. Very fine. Snags if you’re not careful.
We don’t gather it in one piece. One-piece gathering is faster but the gathers are uneven—dense at the top, floppy at the bottom.
We cut multiple panels. Front panels shorter, side panels longer, back panels longest. Each gets ruched separately.

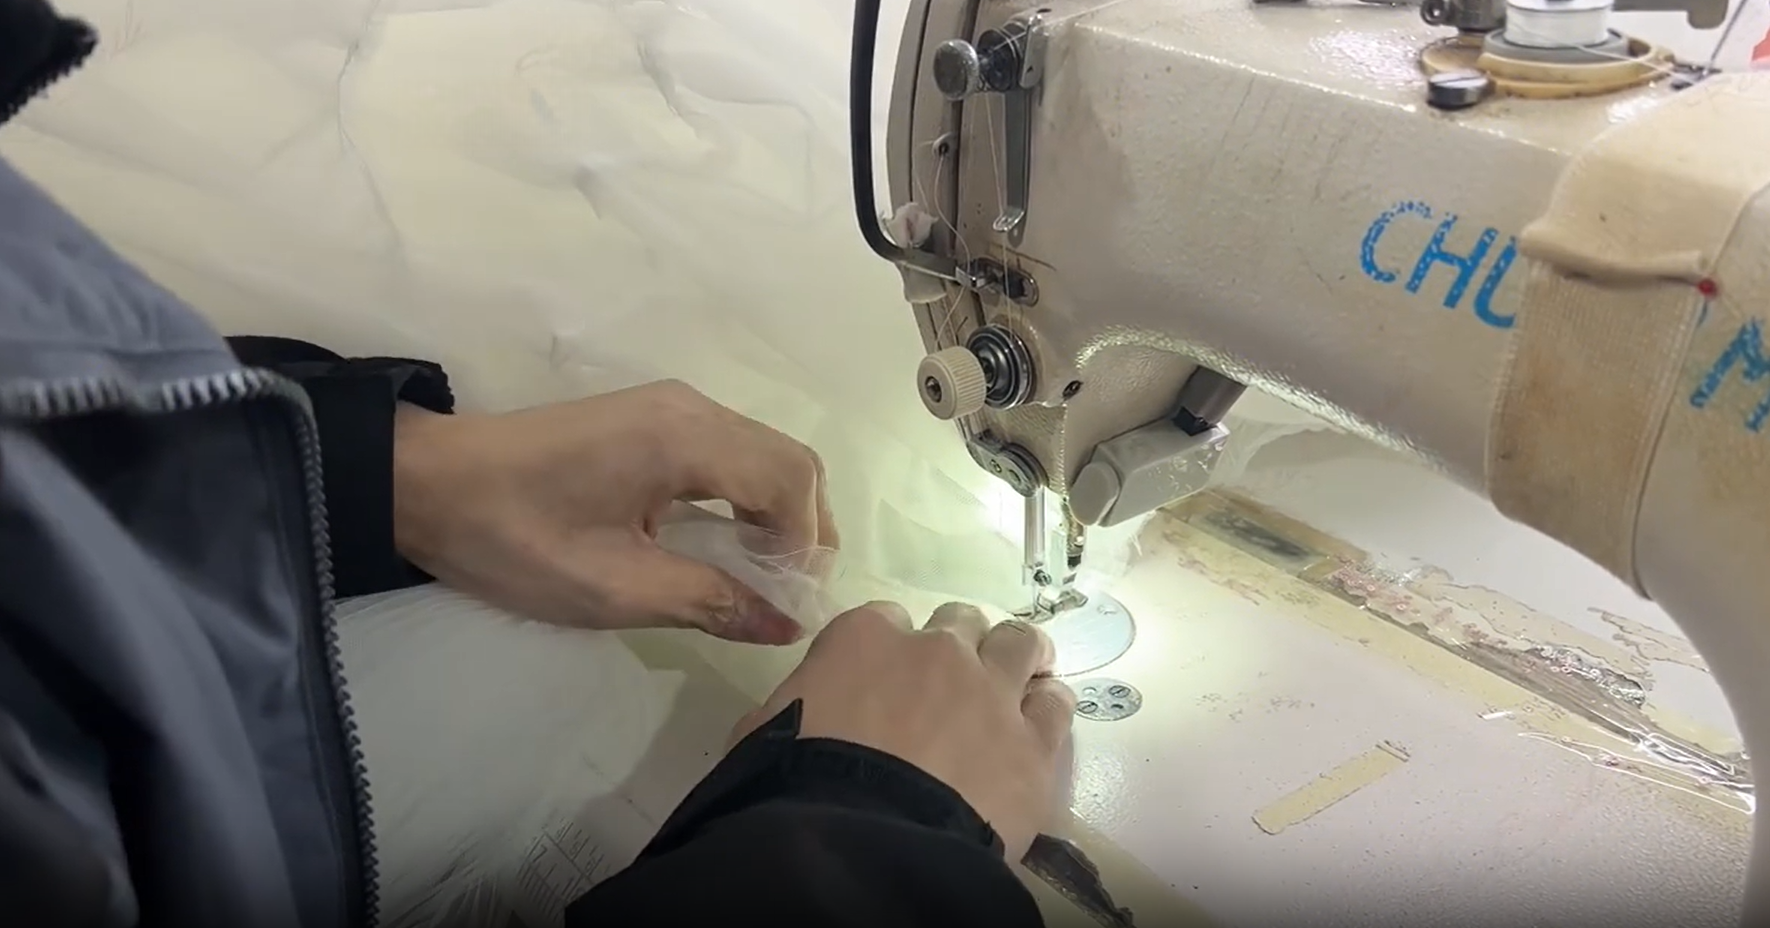
Machine at long stitch. Bobbin tension loose so you can pull the threads. Left hand holds the fabric with light resistance. Right hand feeds. How much tension? You just feel it. Too much and the tulle tears. Too little and you get no gathers.
After ruching, shake the panel in the air. This breaks up the gathers so they’re not uniform. Then a quick steam from a distance. Don’t touch the tulle with the iron. It shrinks.
Check each panel against a light. Snags, tears, uneven sections. Redo if anything’s wrong.
Step 4: Adding the Lining for Comfort and Structure
Microfiber lining. Four layers. All cut the same.
Serge edges. Pin all four together at the waist and side seams. Stitch the waist. That’s the only place they’re sewn to each other. They hang free otherwise, which lets air move between them.
Hem is rolled. Clean finish.

Step 5: Attaching the Satin Bodice and Wedding Dress Lining
Two people. One holds the bodice on the form. The other slides the lining up from underneath.
Match the waist edges. Pin all around, distributing the ease evenly. Stitch once, then stitch again over the same line. Waist gets pulled a lot. One stitch line isn’t enough.

Check for puckers. If the machine overfed the fabric anywhere, unpick and redo. This took us a couple of hours.
Step 6: Attaching the Tulle Overskirt to the Mermaid Wedding Dress

Panels go on in order. Front first, back next, then fill in the sides.
Pin each panel, check the shape, then pin the next. Don’t stitch everything and hope it works out. It won’t.
Each panel overlaps the next at the waist. This keeps the waist from getting bulky and hides the seams.
After all panels are on, hang the skirt upside down from the waist for a few hours. Let gravity settle the folds. Then turn it right-side out and hand-fluff. Spread the gathers that are too tight, push together the ones that are too loose.
Step 7: Final Quality Check Before Shipping the Bridal Gown
Bodice gets steam from a distance. Iron doesn’t touch it. That would flatten the ruching.
Tulle doesn’t get ironed at all. Just steam. If a section needs fixing, wet your fingers, pinch the base, and let it air dry.
Final walk-around on the form:
- Folds match left to right
- Hem looks level
- Shape is right
- Weight feels good
Bag it. Hang it for a day. Check once more. Pack it. Send it.

The Final Result: A Handmade Mermaid Satin Tulle Wedding Dress
That’s the dress. Took us about a month, start to finish. Not counting the bride’s fitting appointments or shipping.
We make them one at a time. Same team. Same process. No shortcuts, because shortcuts show.
Our Approach to Handmade Bridal Gown Craftsmanship
Every custom wedding dress we create begins with careful pattern making and a fitting process designed around the bride’s measurements. From the first muslin toile to the final steam and inspection, every step is handled by our small bridal design team.
A mermaid satin tulle wedding dress requires balance between structure, comfort, and movement. The satin bodice provides support, while the soft tulle skirt creates a lightweight and romantic bridal silhouette.
Frequently Asked Questions About Making a Mermaid Wedding Dress
How long does it take to make a handmade mermaid wedding dress?
A custom mermaid wedding dress requires multiple stages including pattern drafting, fitting, fabric cutting, sewing, and final adjustments. For this dress, our complete process took about one month.
Why use satin and tulle together for a wedding gown?
Satin provides structure and a smooth fitted silhouette, while tulle adds softness, movement, and a lightweight bridal feel. Combining both fabrics creates an elegant mermaid wedding dress that looks beautiful while remaining comfortable.
What makes a handmade wedding dress different from a factory made gown?
A handmade bridal gown allows details such as ruching, fitting adjustments, and fabric placement to be carefully controlled. Small details like handmade folds and personalized fitting can make the final dress feel unique.
Can a mermaid wedding dress be comfortable for all day wear?
Yes. A well designed mermaid wedding dress should not only focus on silhouette but also movement. In this design, we adjusted the flare position and fabric layers so the bride could walk, sit, and move comfortably throughout the wedding day.
Looking for a Custom Mermaid Satin Tulle Wedding Dress?
Every wedding dress we create follows the same approach: careful pattern making, quality fabrics, detailed sewing, and final inspection before shipping.
If you love this mermaid satin tulle wedding dress style, explore more bridal designs and find the gown that matches your wedding vision.
At Kemedress, we continue creating wedding dresses with attention to craftsmanship, fit, and the small details that make every bridal gown special.
More Wedding Dress Workshop Stories
Explore construction, fitting, beading and detachable details behind custom bridal gowns.
Follow the production process behind a fitted mermaid wedding silhouette.
Discover how detailed bridal embellishment is developed and finished.
See what goes into testing a detachable wedding dress design.
Understand why detailed custom bridalwear requires time.