
2-in-1 Formal Dress: Short to Long in 2 Minutes | Custom Mint Gown
9th Aug 2026
How We Made a Custom Two Way Prom Dress: From Sketch to Final Gown
Let's be real—most formal dresses are gorgeous in photos and miserable to actually wear.
You pick the big train, you get your princess moment walking down the aisle, and then you're stuck. Can't dance, can't walk to the bathroom without an entourage, can't even turn around in a crowded room without stepping on your own skirt. Or you go short, you can move all night, but when you're standing at the altar next to someone in a full-length gown, yours just looks like a party dress.
So we thought—why not both?
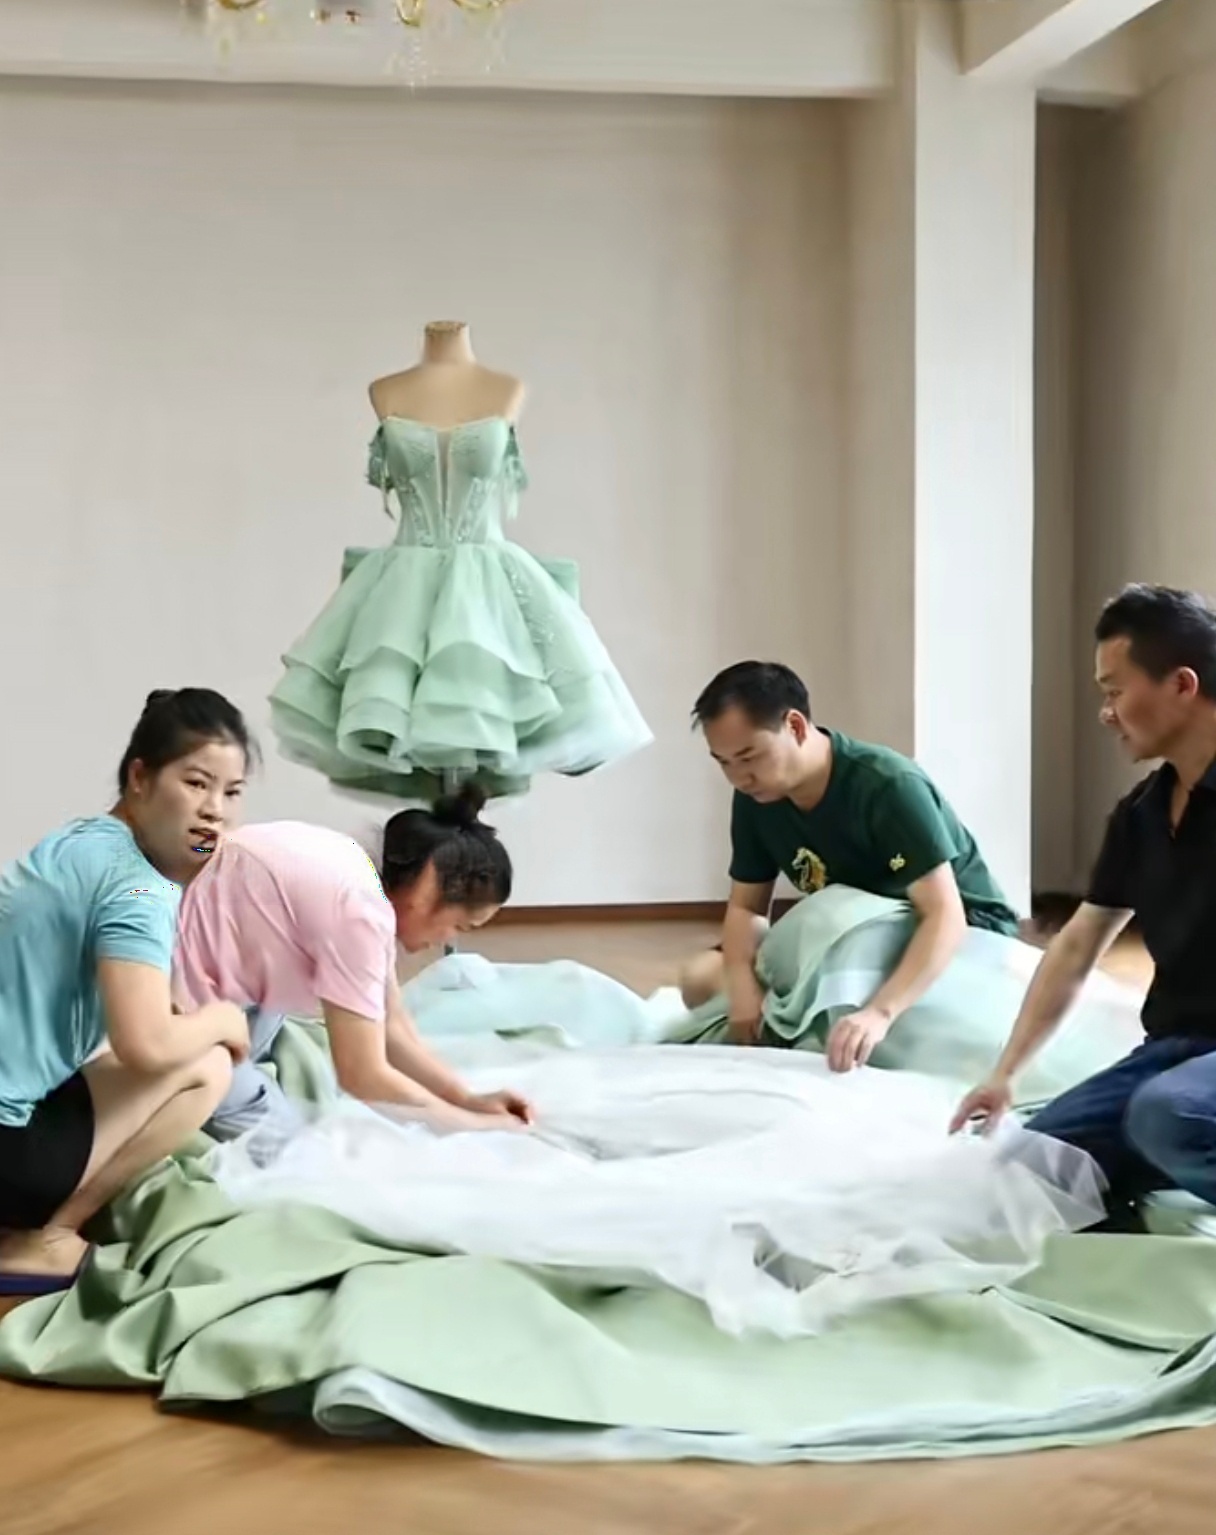
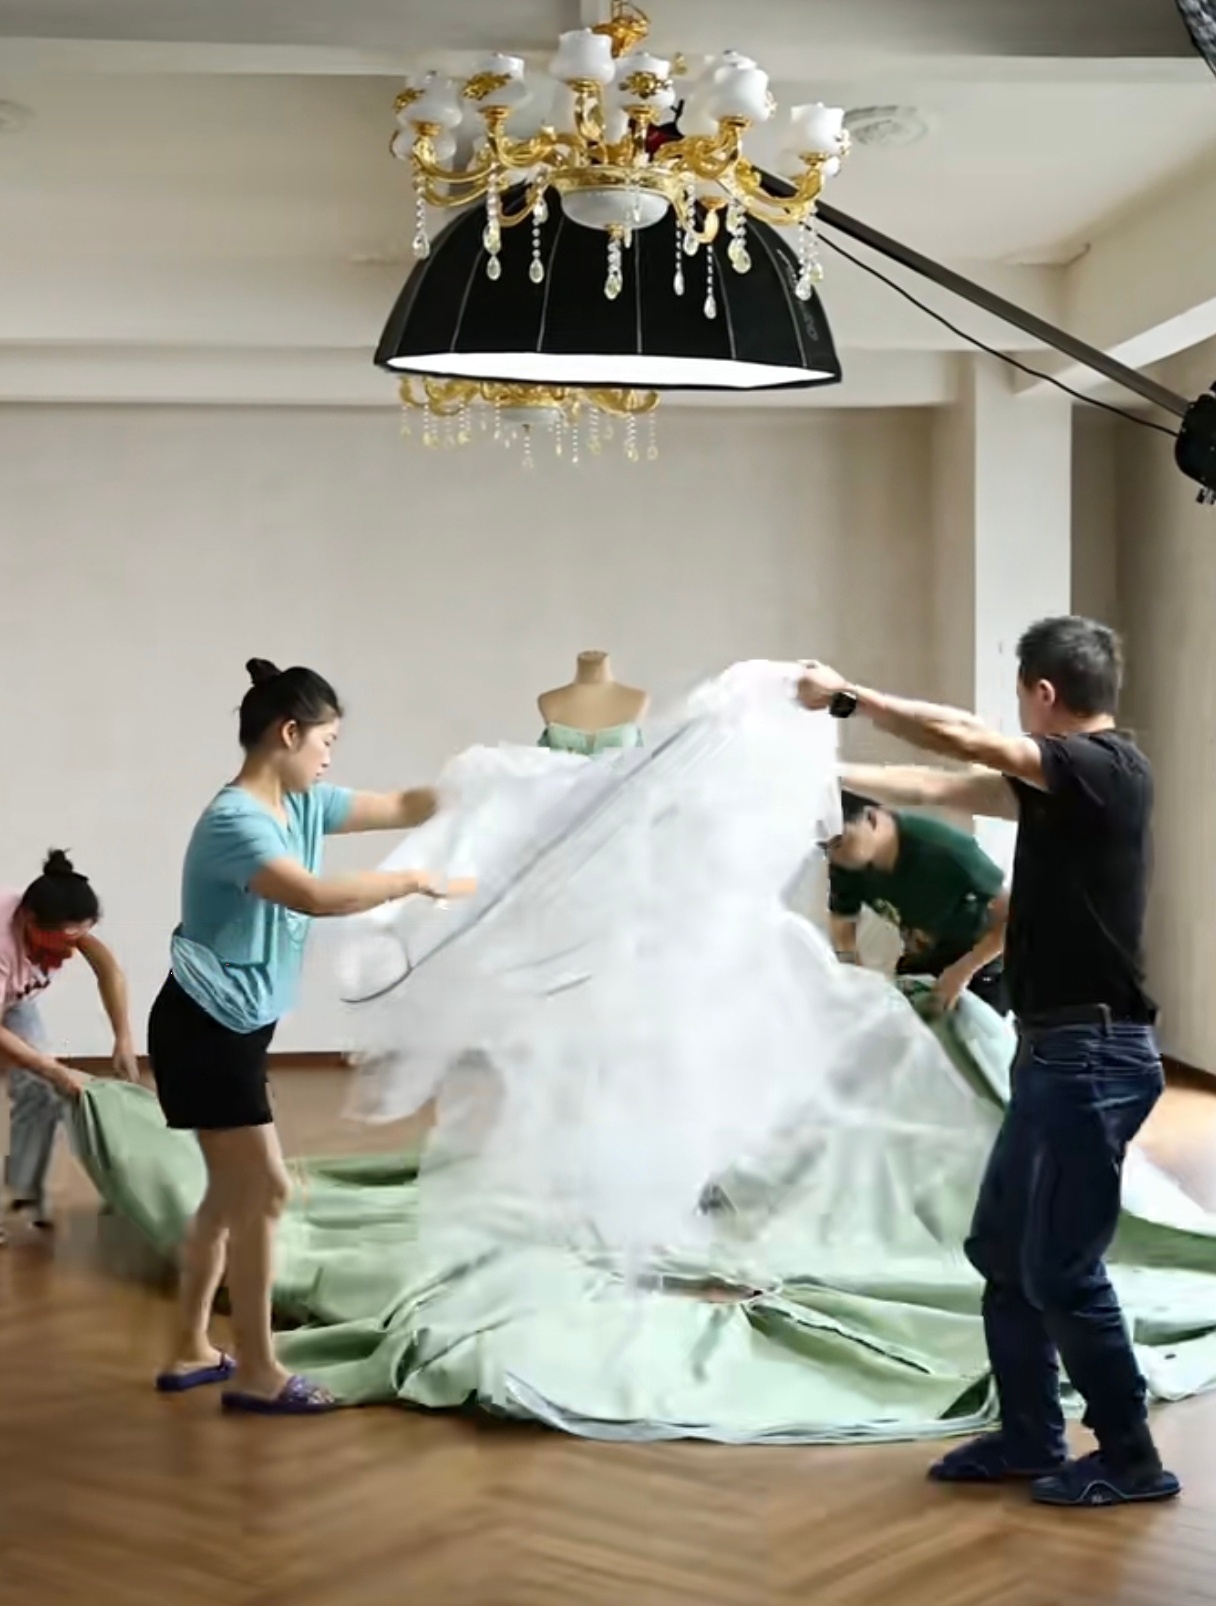
This mint green thing came from that exact argument. Detachable two-piece setup. Same bodice, inner short skirt, giant outer train overlay. Takes maybe two minutes to switch with a second pair of hands, but you get two entirely different looks out of one dress.
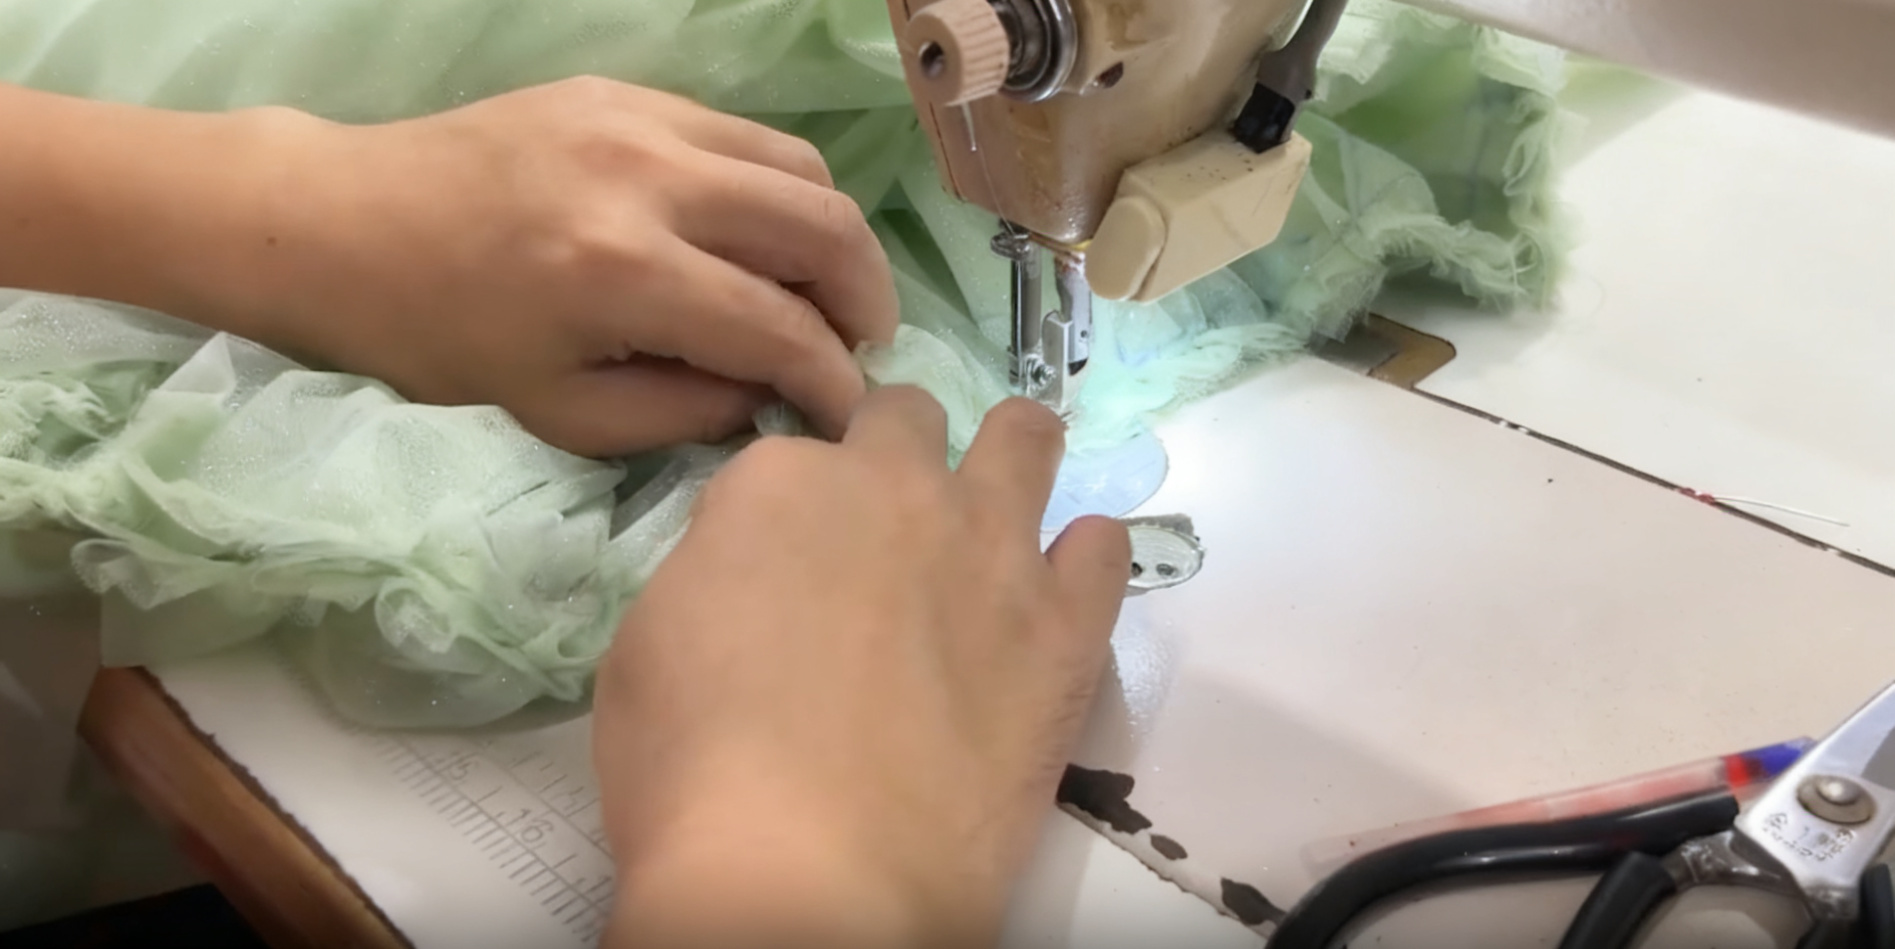
Sounded clever on paper. Took forever to actually make work.
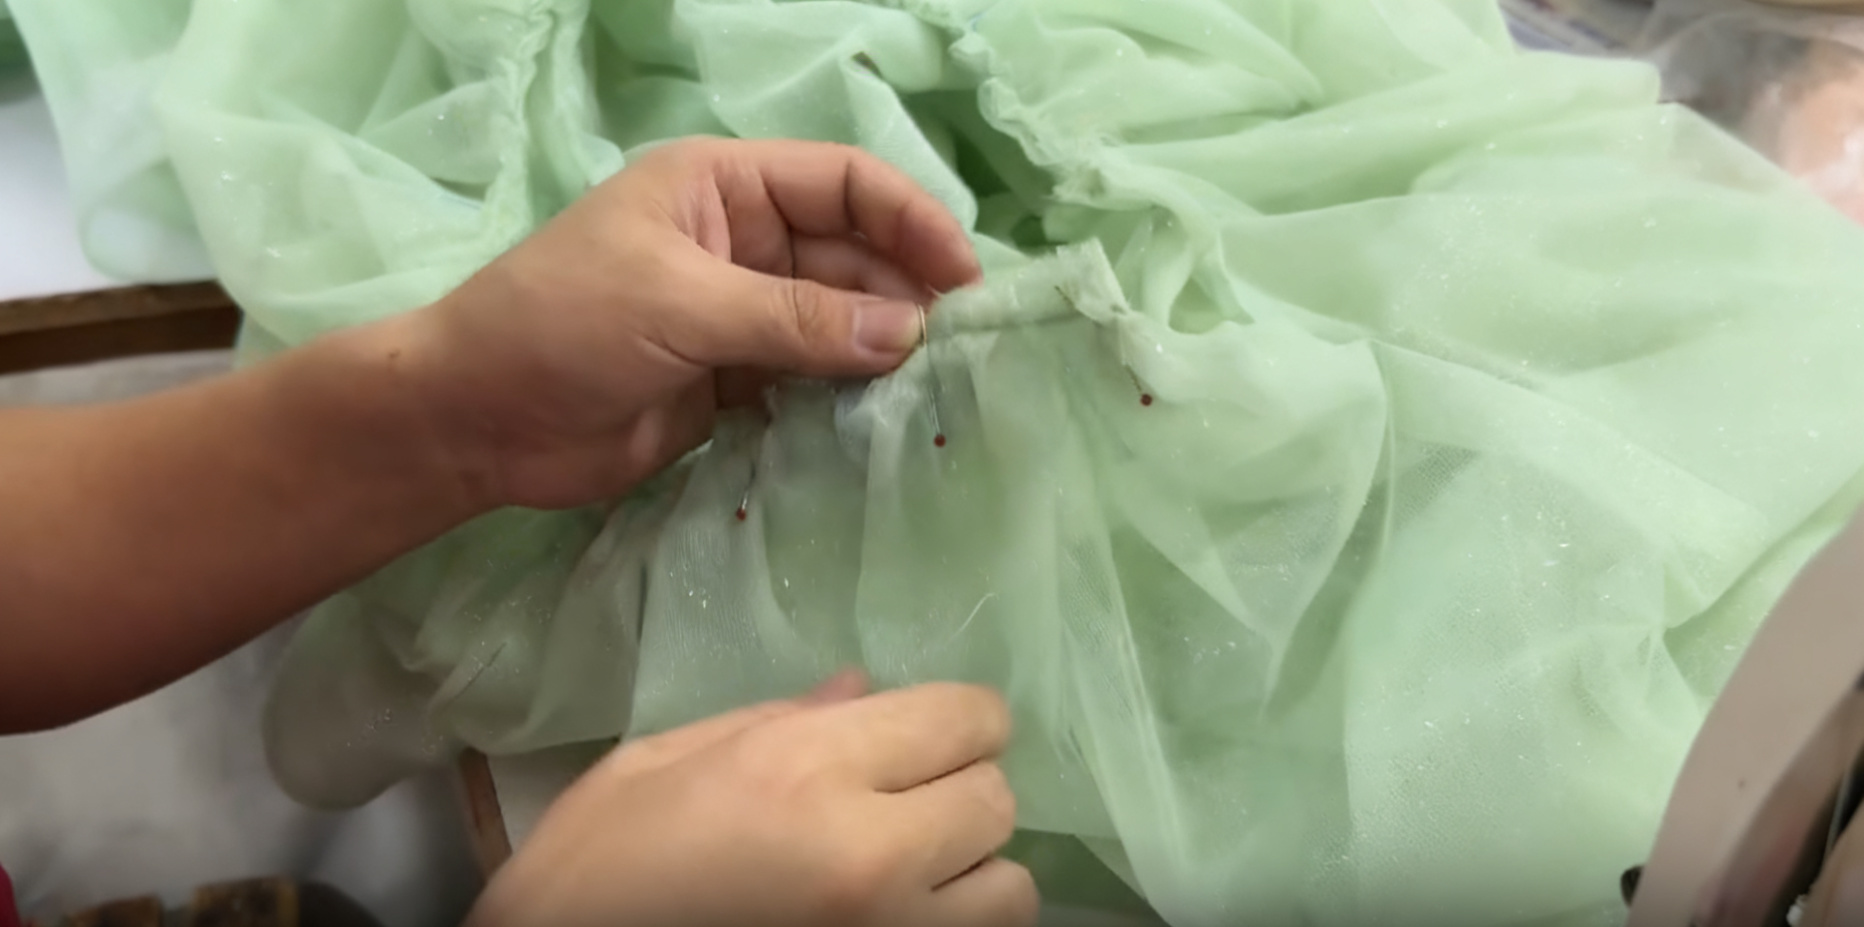
The bodice was the first headache.
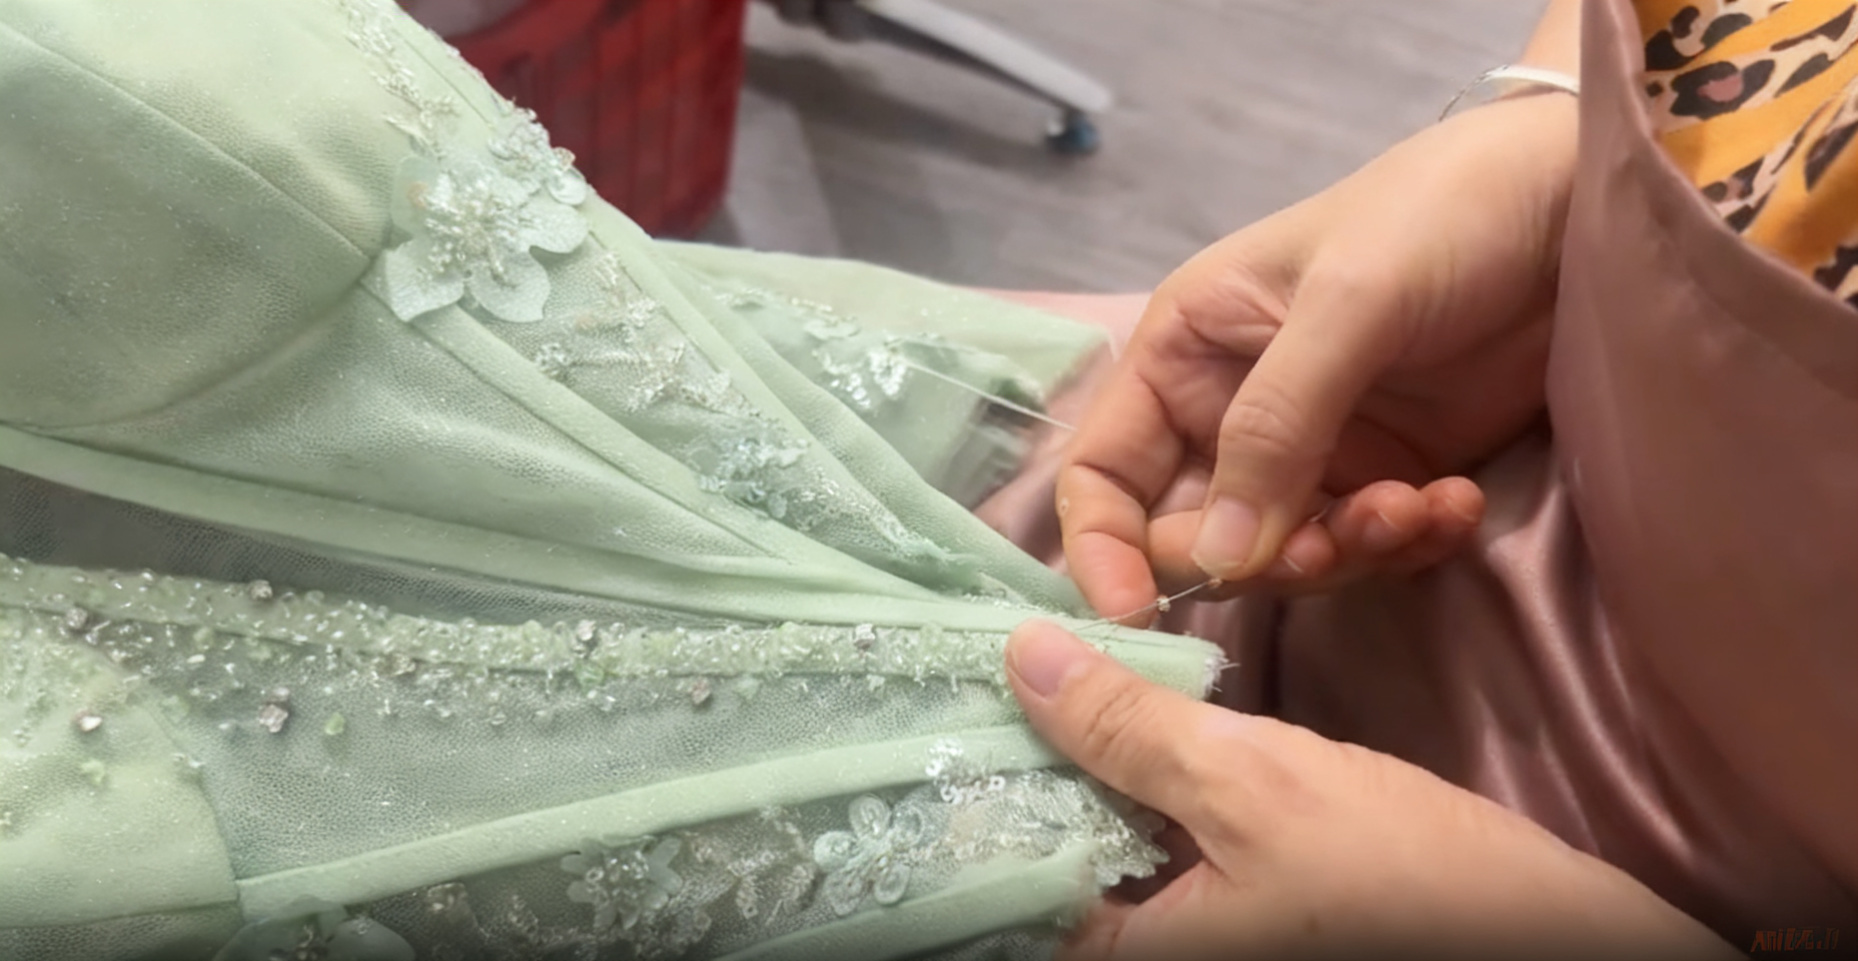
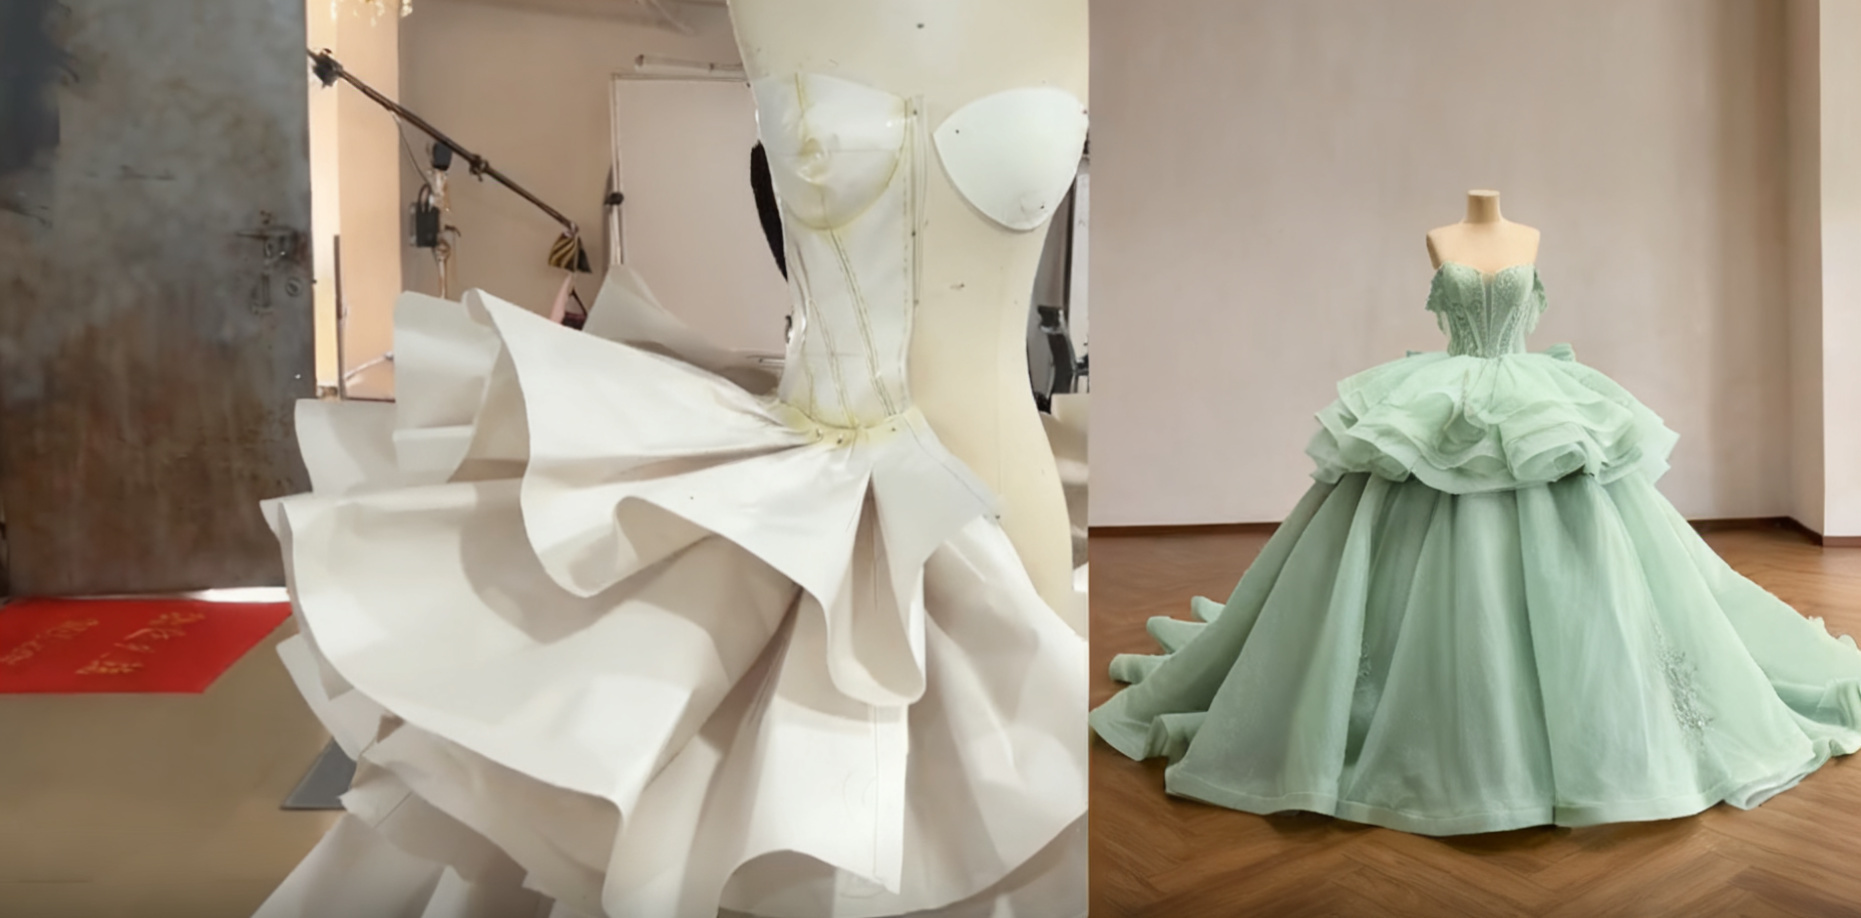
Our lead tailor doesn't do flat patterns for stuff like this. She drapes directly on the dress form—muslin, pins, endless tweaking. You can't sketch a strapless sweetheart neckline on paper and expect it to sit right on a real body. That one-shoulder sleeve went through four versions before it stopped pulling to one side. Every time we thought we had it, she'd pin it up, step back, frown, and start over.
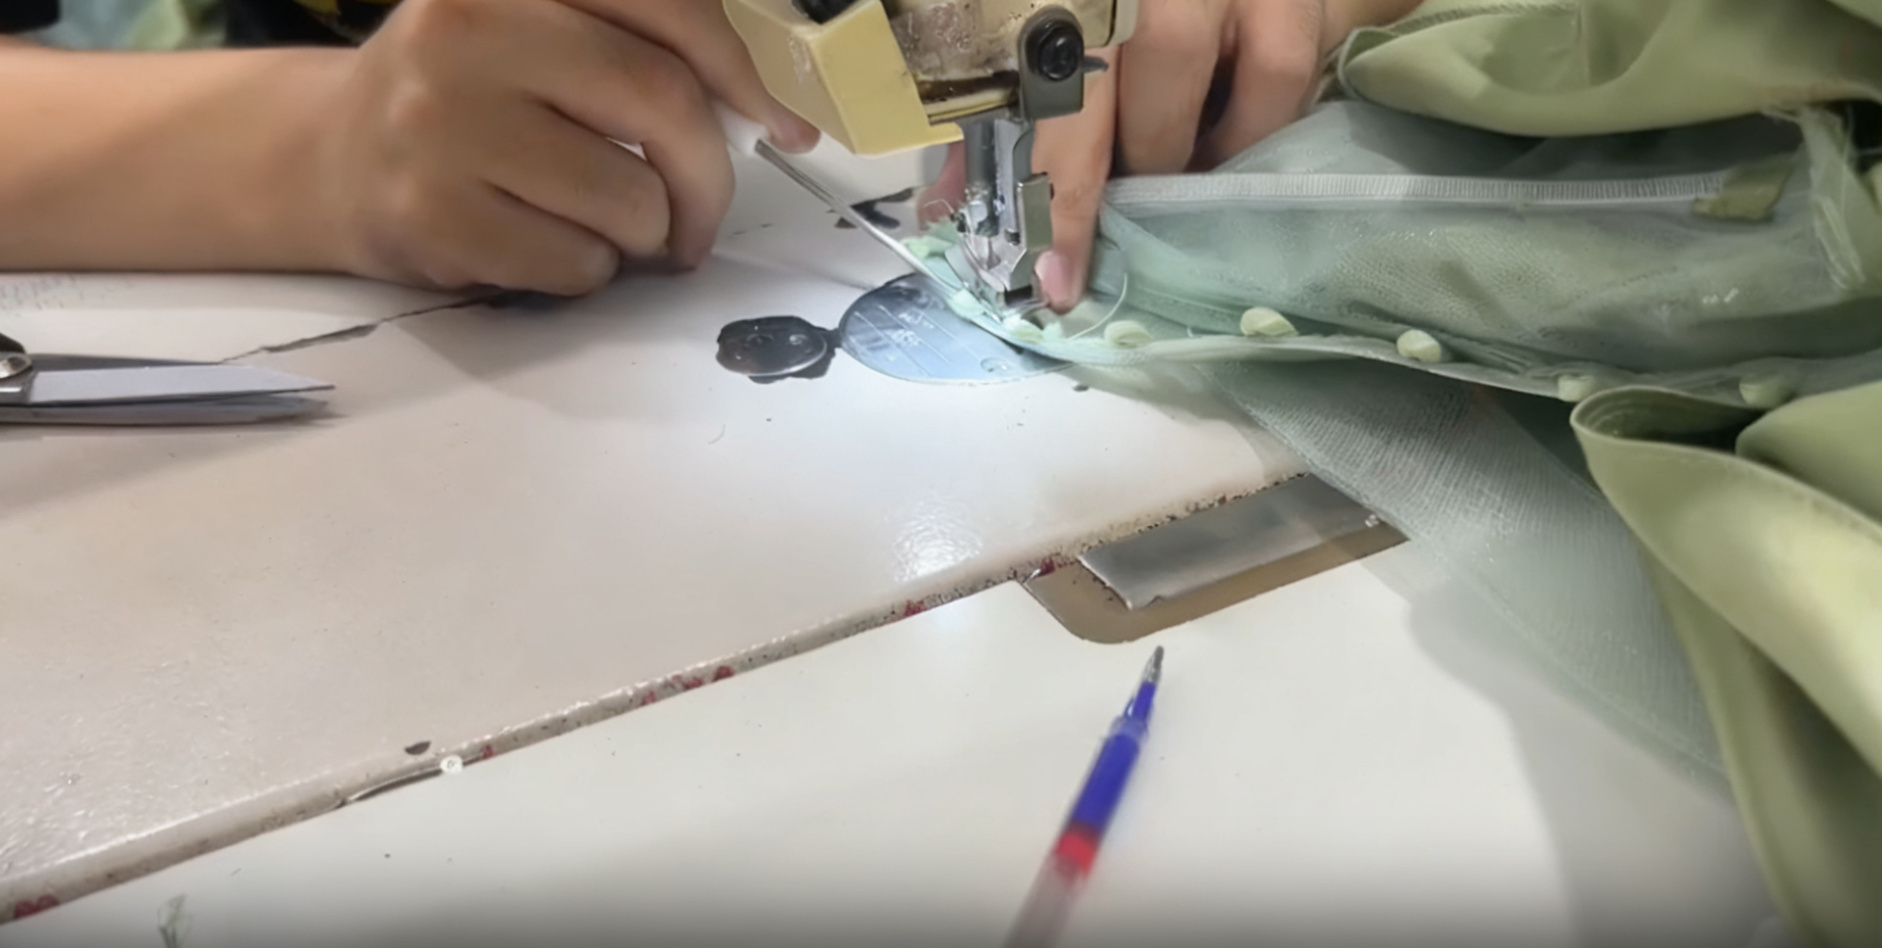
We used high-elastic bones in the bodice—not the stiff straight ones. Tried those on an earlier dress and the client couldn't breathe sitting down. The spirals flex with you. Still holds the shape, but you're not getting poked in the ribs by hour two.
The waist shaping is the part people get wrong. Most designers just crank the laces tighter and call it hourglass. That just squishes everything up and down, doesn't actually create shape. We put curved bones along the side seams and back princess seams—four on each side—so the structure itself does the work. The lace-up back is there for fine-tuning, not for torture.
The one-shoulder sleeve took three tries by machine before we gave up and hand-gathered it. Machine gathers come out too uniform—looks like curtains. Hand gathering is uneven by nature, which is exactly what you want for soft folds. Took longer but we stopped hating it after the first five inches.
The fabric is custom-dyed mint green shimmer tulle.
Sounds fancy. The annoying part is the color—too blue and it reads cold, too green and it looks like a bridesmaid dress from 2007. We went back to the dyer twice before it landed right. The tulle itself is a mid-weight, soft enough to move but stiff enough to hold a ruffle without collapsing.
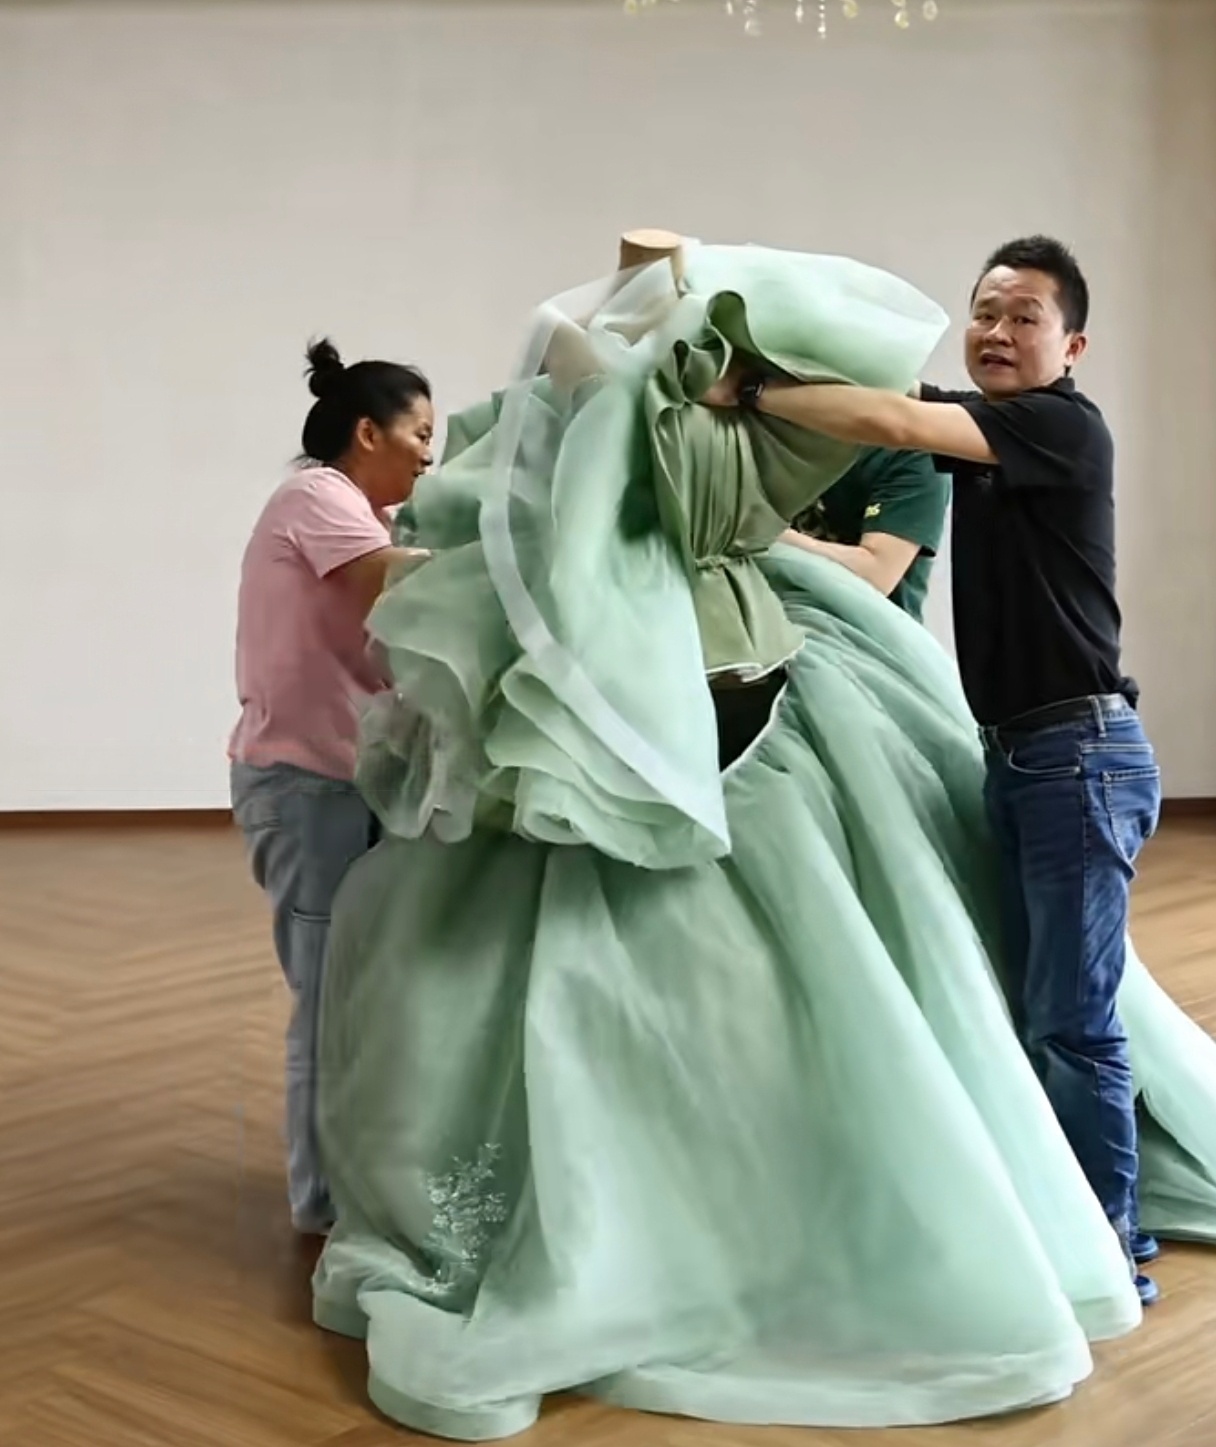
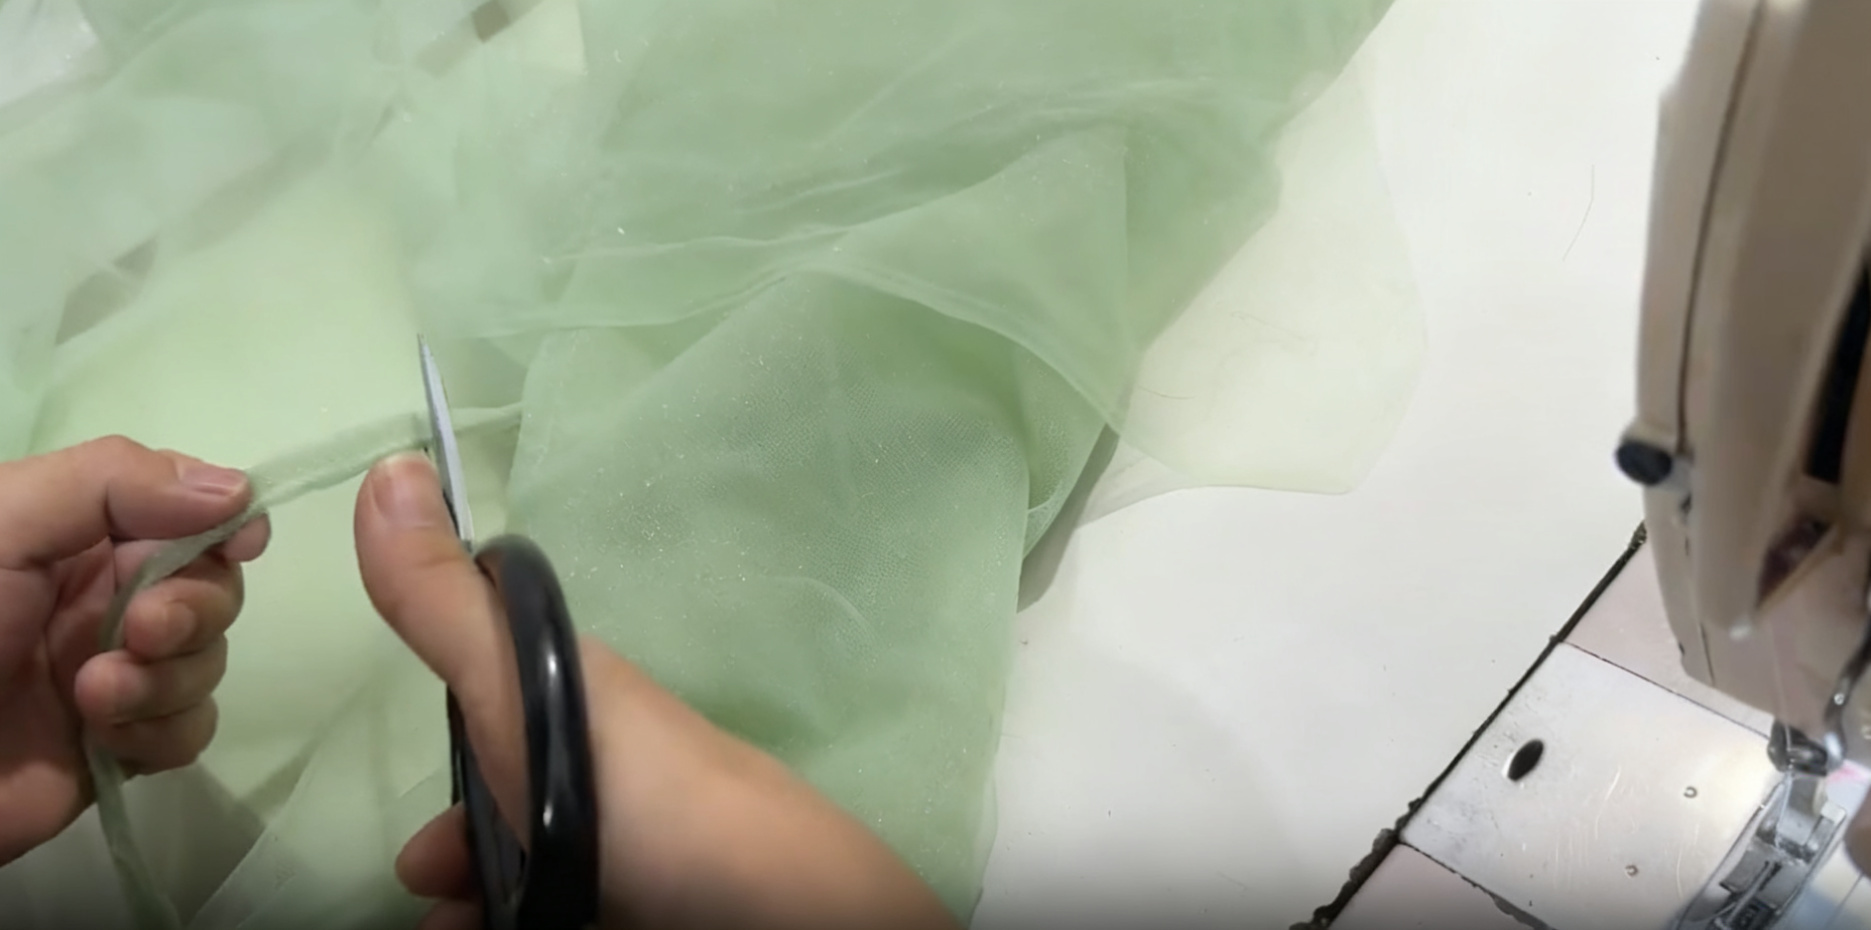
One thing we learned the hard way: you have to let tulle rest before cutting. The bolt comes rolled tight, and if you cut straight off the roll, the pieces warp within 48 hours. First time we ignored that, the front panel ended up two inches shorter than the back after hanging overnight. Had to reorder and start over. Now we unroll everything, lay it flat, and leave it for a full day before scissors touch it.
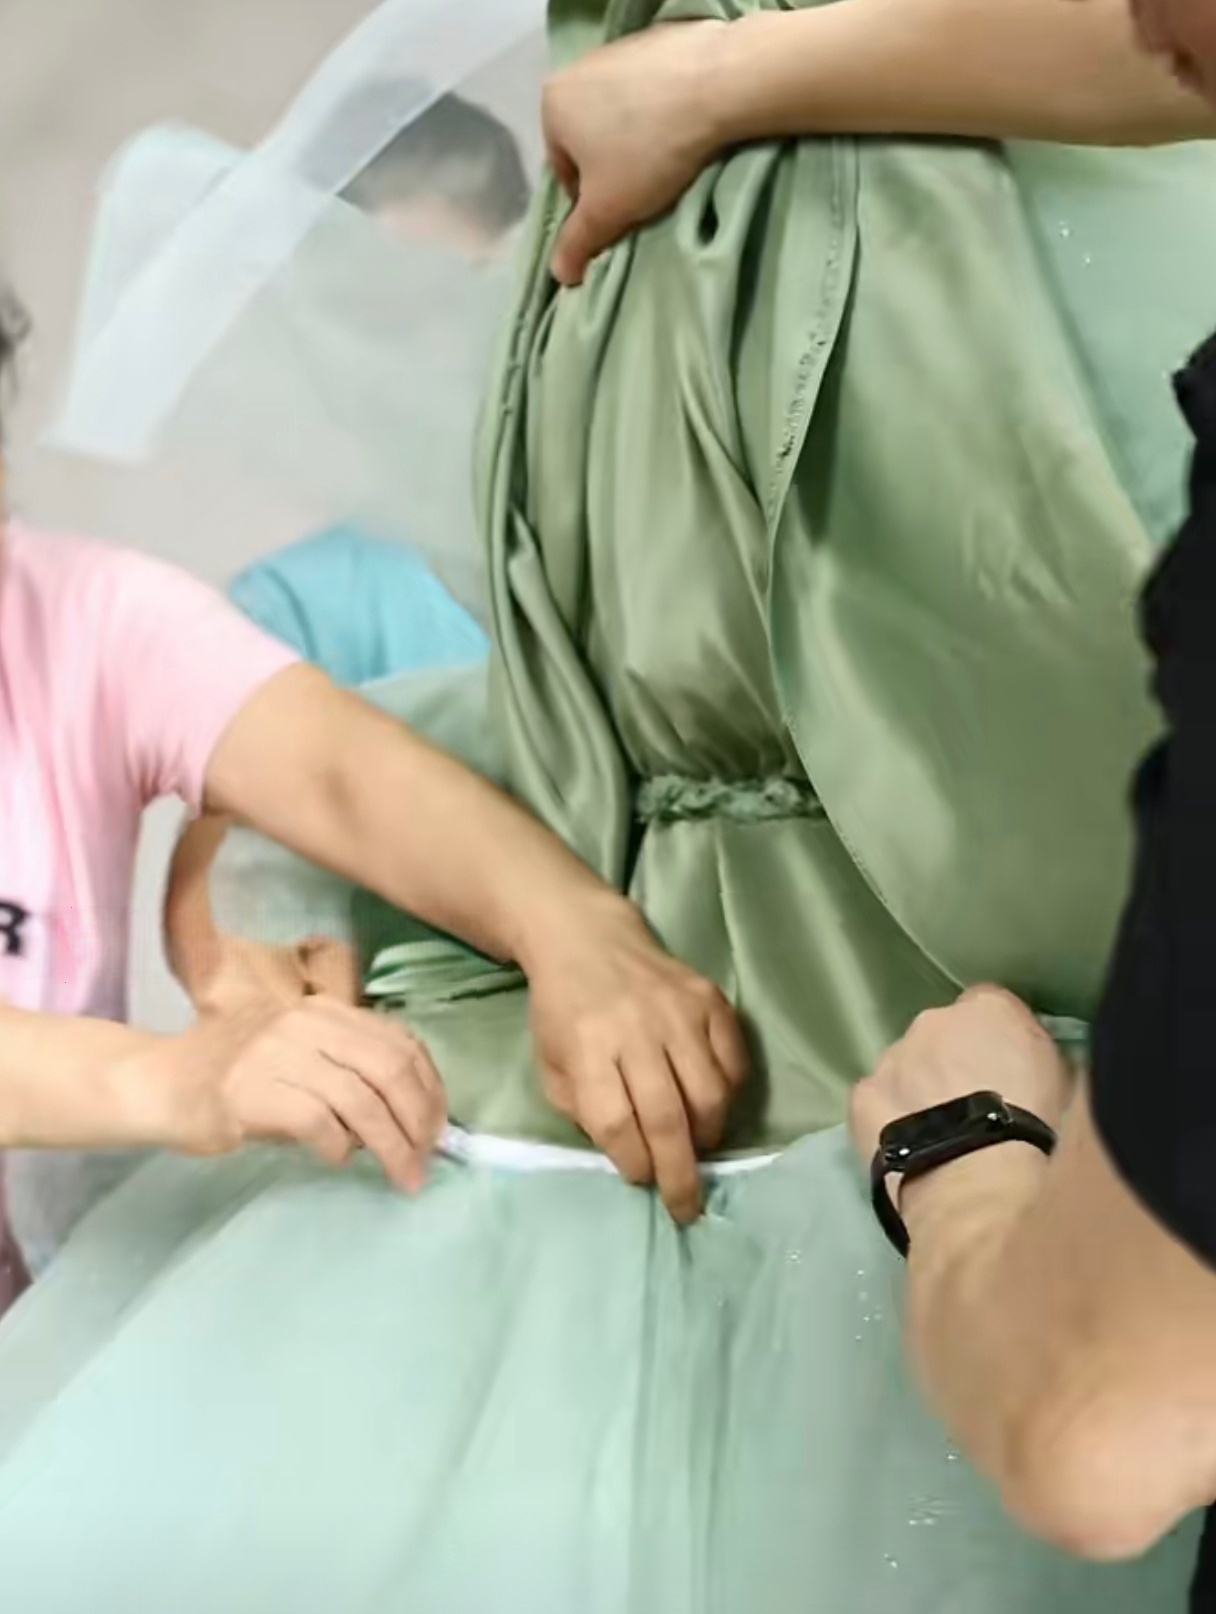
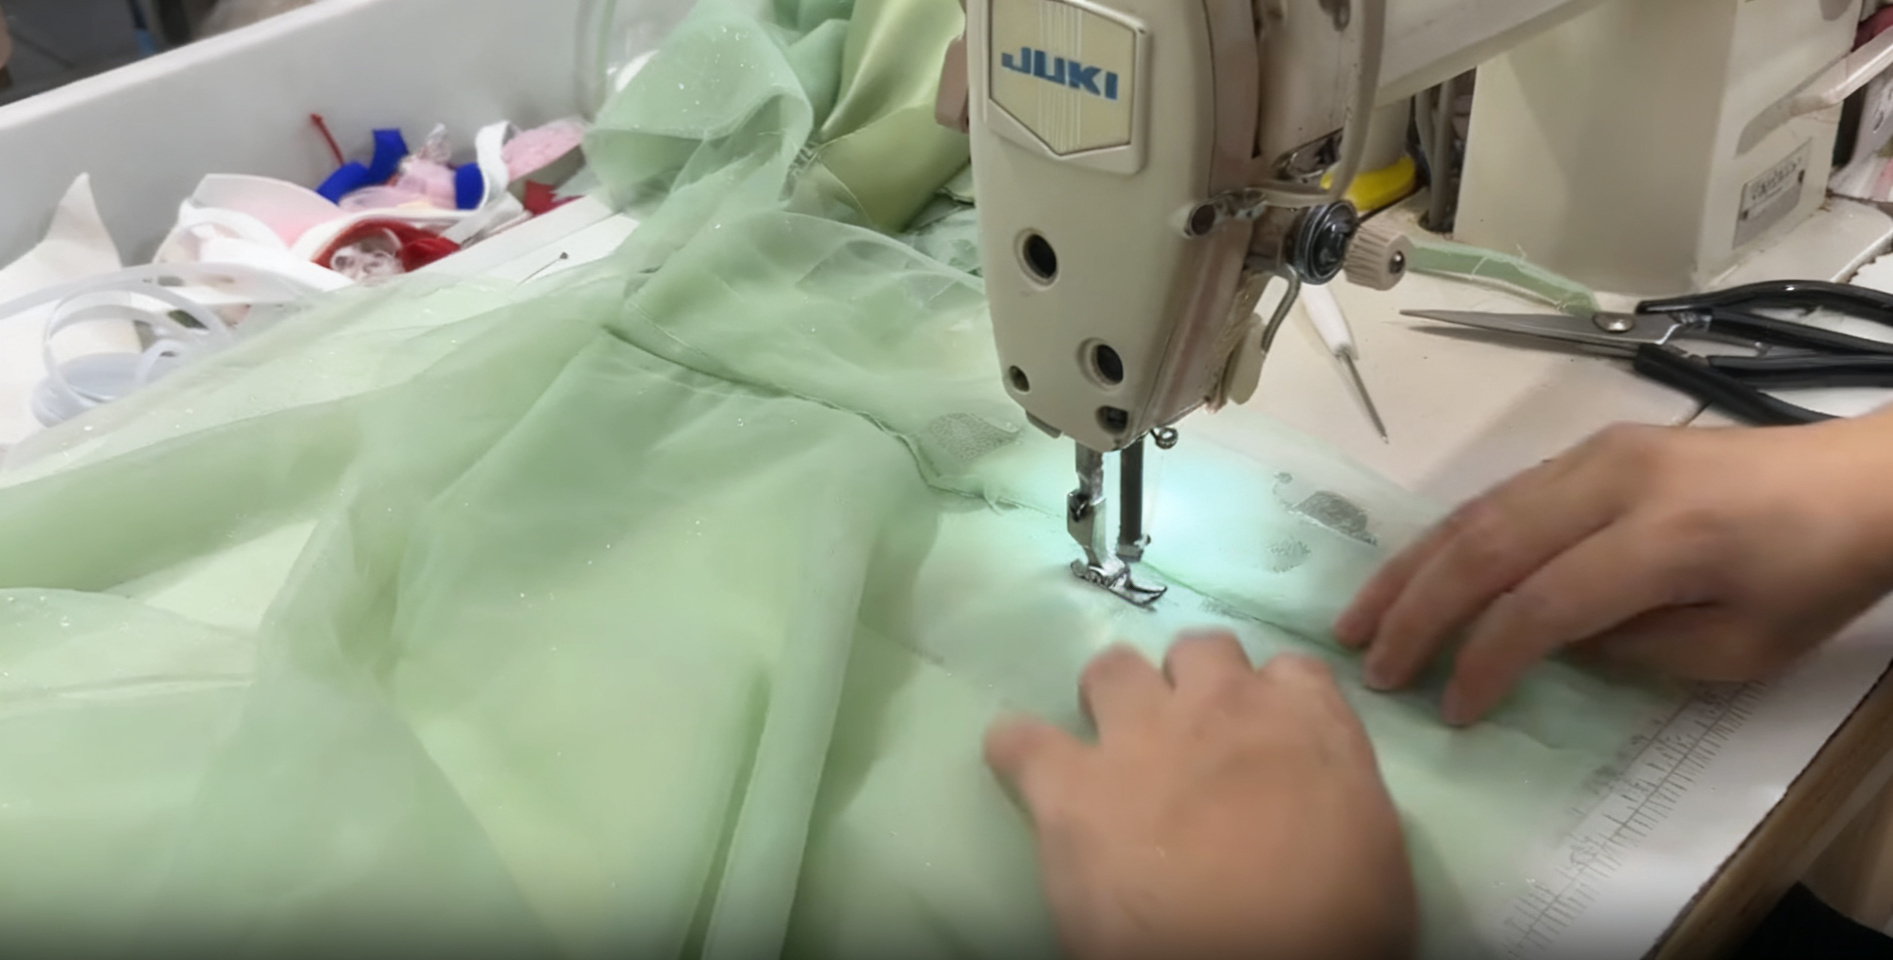
Cutting is just slow, boring work. Lay it flat, follow the grain exactly, no pulling. We use dressmaker's pins every few inches to keep it from shifting. The inner short skirt uses softer tulle so it bounces when you move. The outer train is stiffer—otherwise those big hip ruffles go limp before you even step onto the floor.
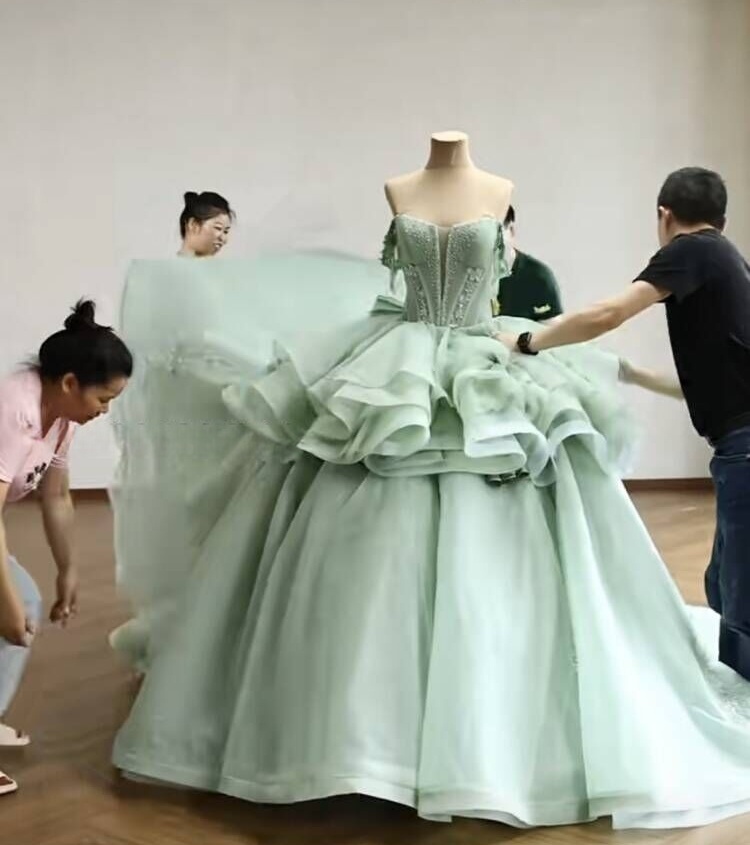
The embroidery and beading is where the real time goes.
We've got two ladies in the studio who do nothing but hand-sewing—flowers, beads, sequins, all of it. Machines can't place dimensional flowers on a curved neckline without flattening them. So it's all done by hand, one piece at a time. We concentrated most of the decoration around the neckline and the shoulder strap, then gradually thinned it out toward the waist. Keeps the eye moving without looking like a craft project exploded.
One small detail that made a huge difference: we ran a line of tiny rice beads—like, barely visible—along the edge of the train. You don't see them up close, but when you walk under side lighting, the whole hem catches a thin line of sparkle. That wasn't in the first sample. We added it after the first fitting because the train just looked dead at the bottom. That little strip of beads brought it back to life.
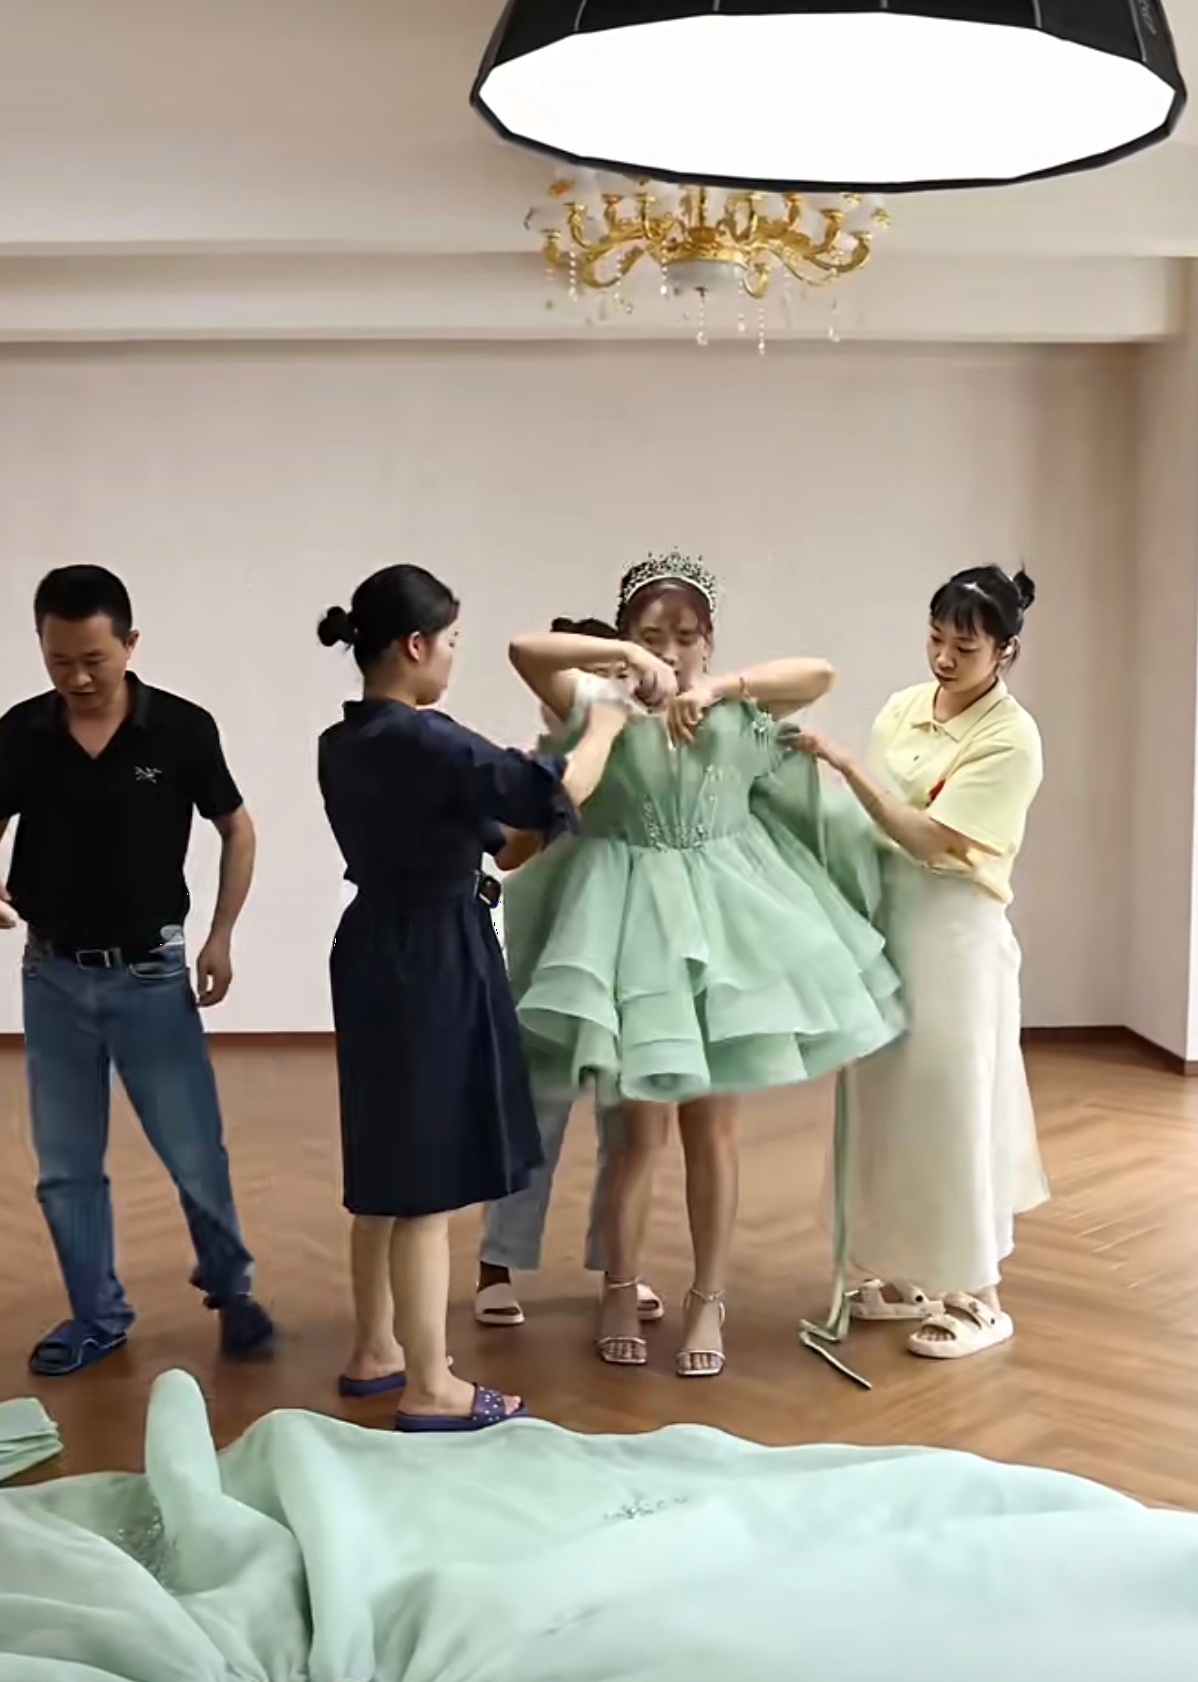
The connection system between the two skirts was the biggest most challenging part of the construction process.
First prototype, we used hidden snaps around the waist. Looked clean. Lasted about ten steps before three of them popped open and the inner skirt twisted sideways. Embarrassing.
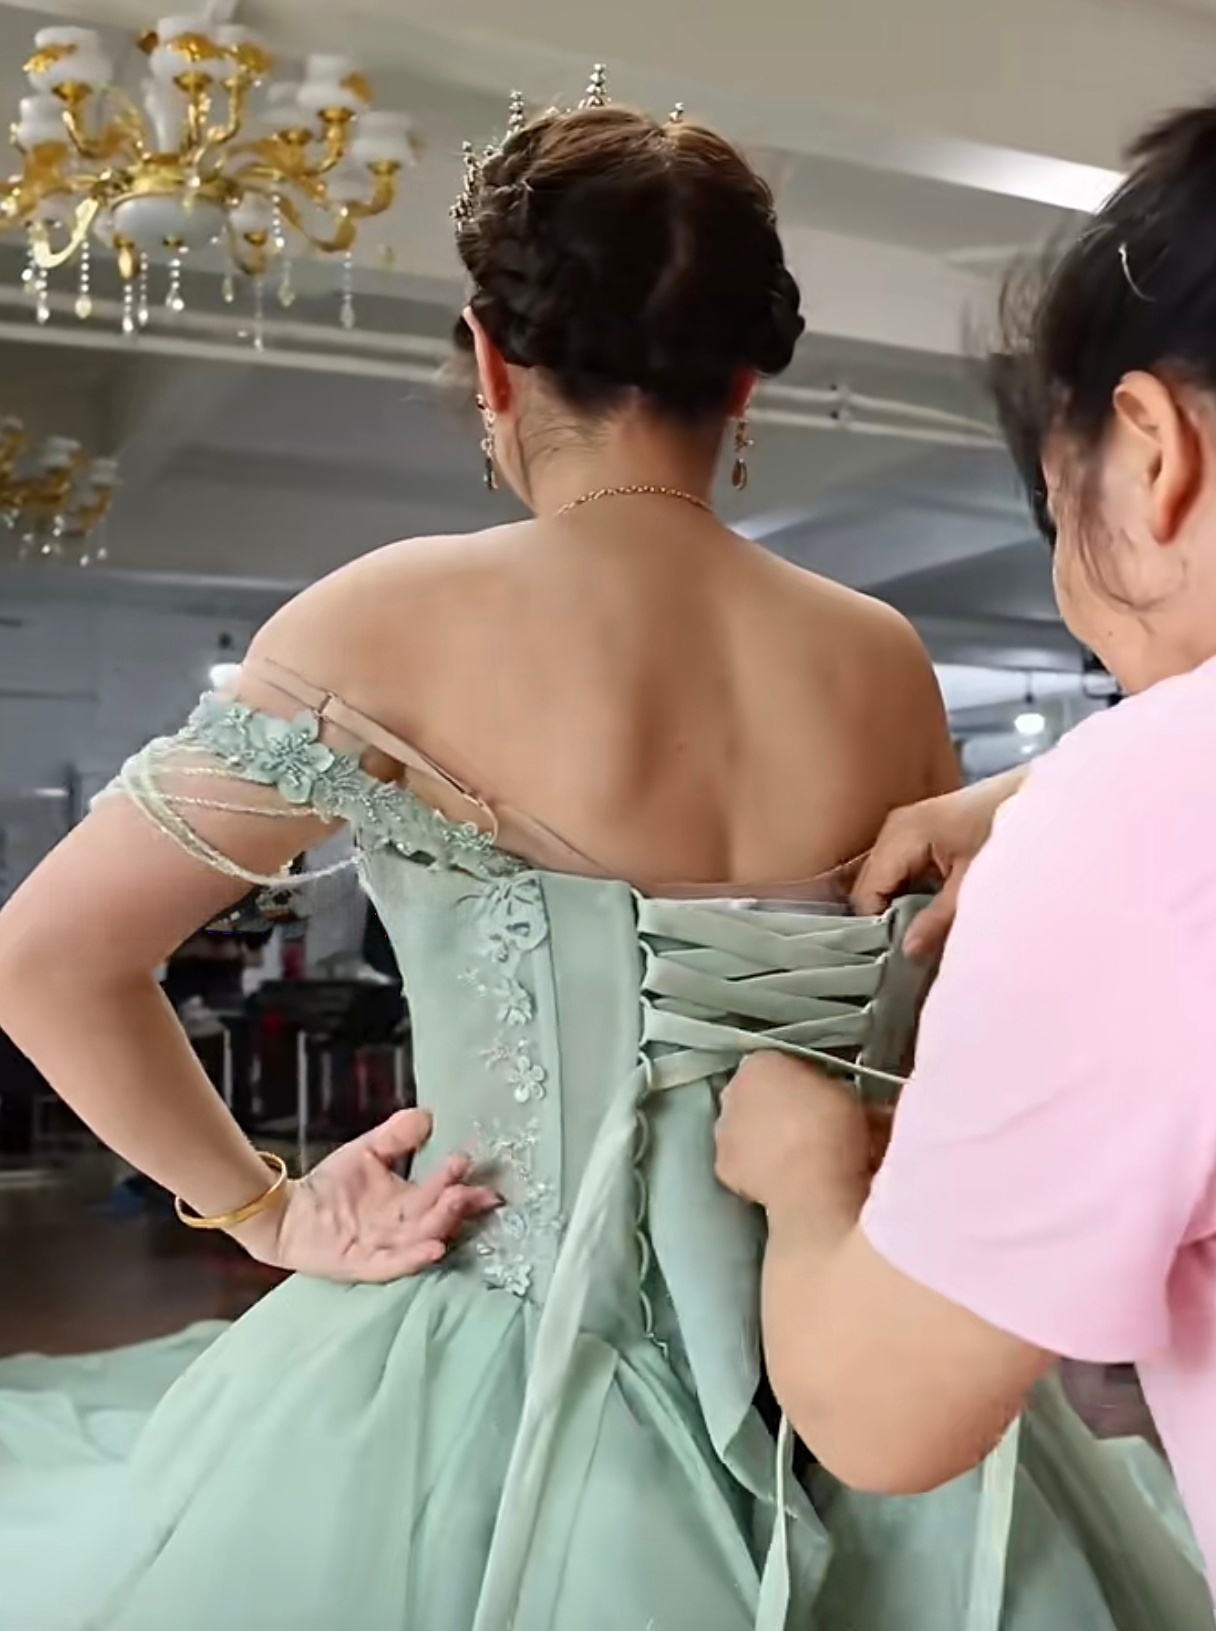
Second version used a full-circle invisible zipper on the train's waistband that attaches to a matching zipper on the inner skirt. That held position but didn't take the weight well—the whole thing sagged on the back.
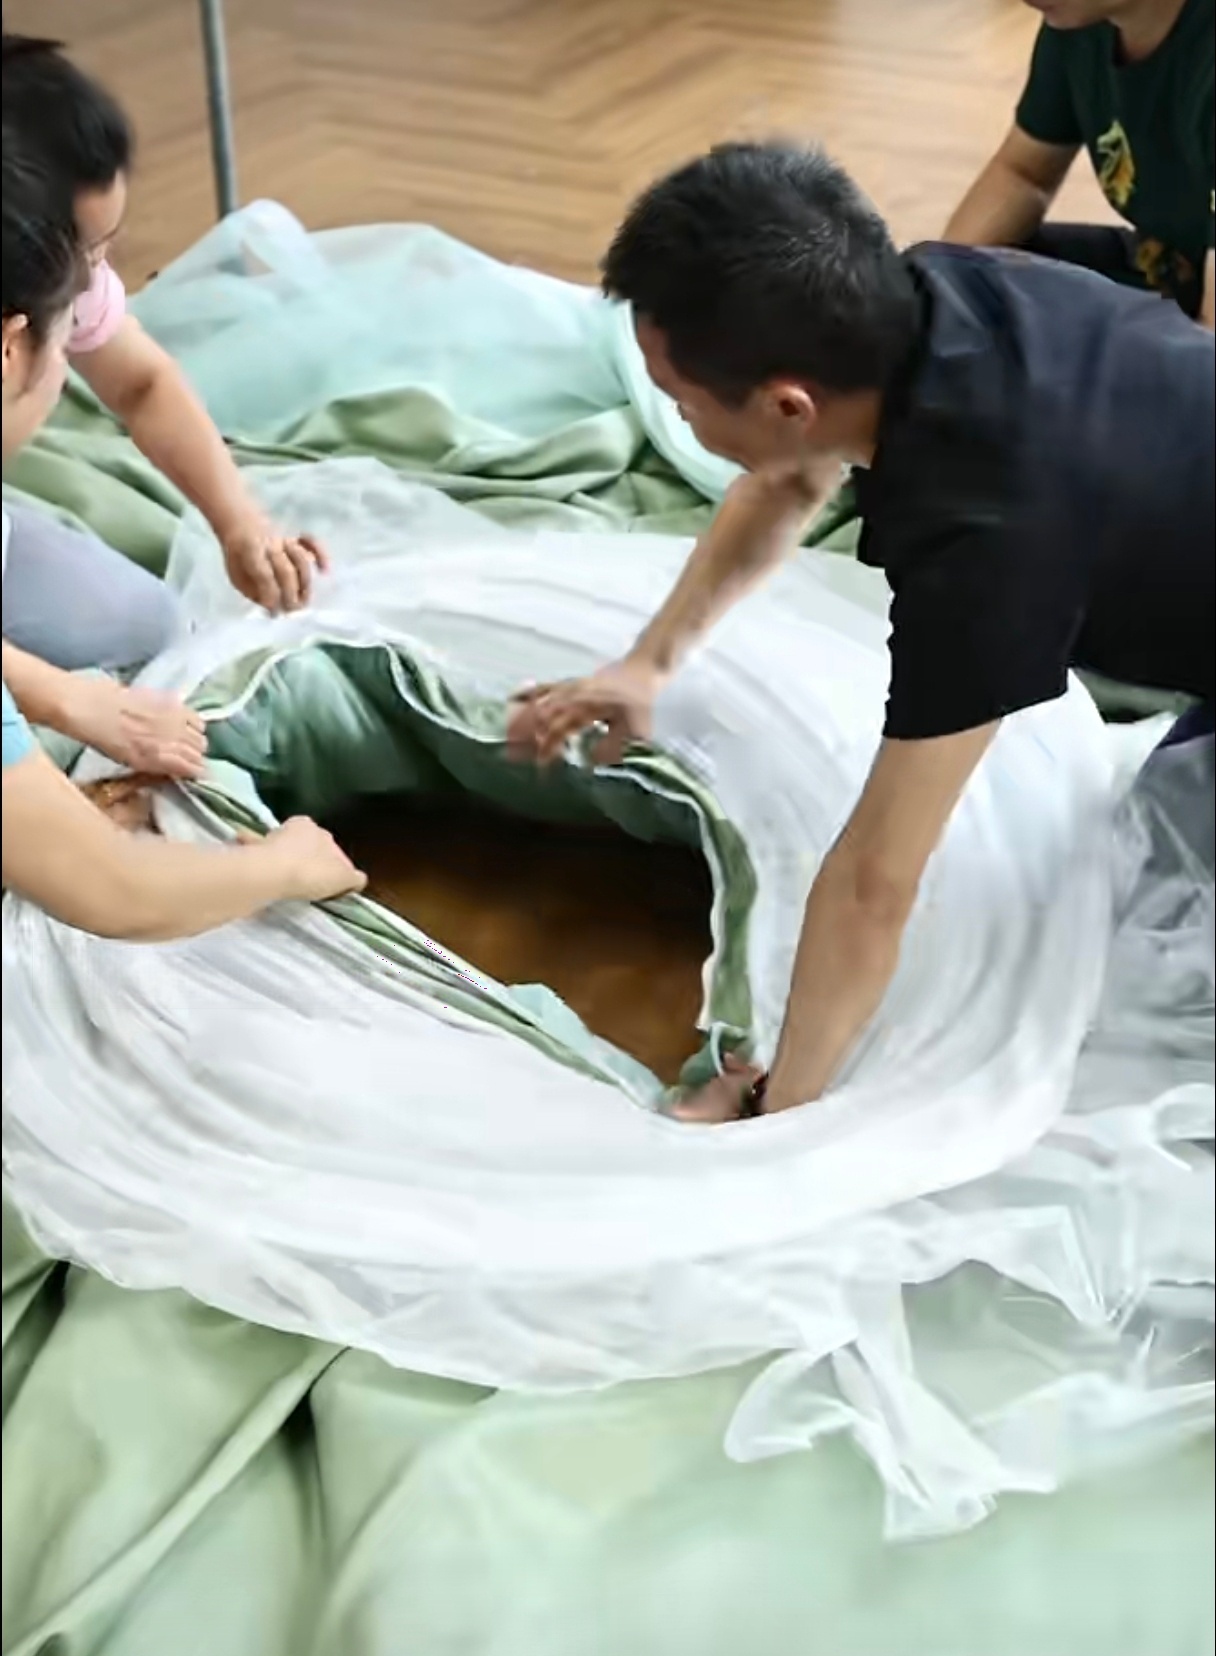
Final version is a two-system deal. The inner skirt has a reinforced waistband with a layer of heavy webbing sewn inside. The outer train has the invisible zipper for alignment plus a series of heavy-duty snap buttons that lock into the webbing. Zipper gets it centered, snaps carry the load. It's over-engineered and I don't care—it works. Takes about two minutes to attach or remove, but you need someone to hold the train up while you line everything up. Once it clicks in, it's solid.
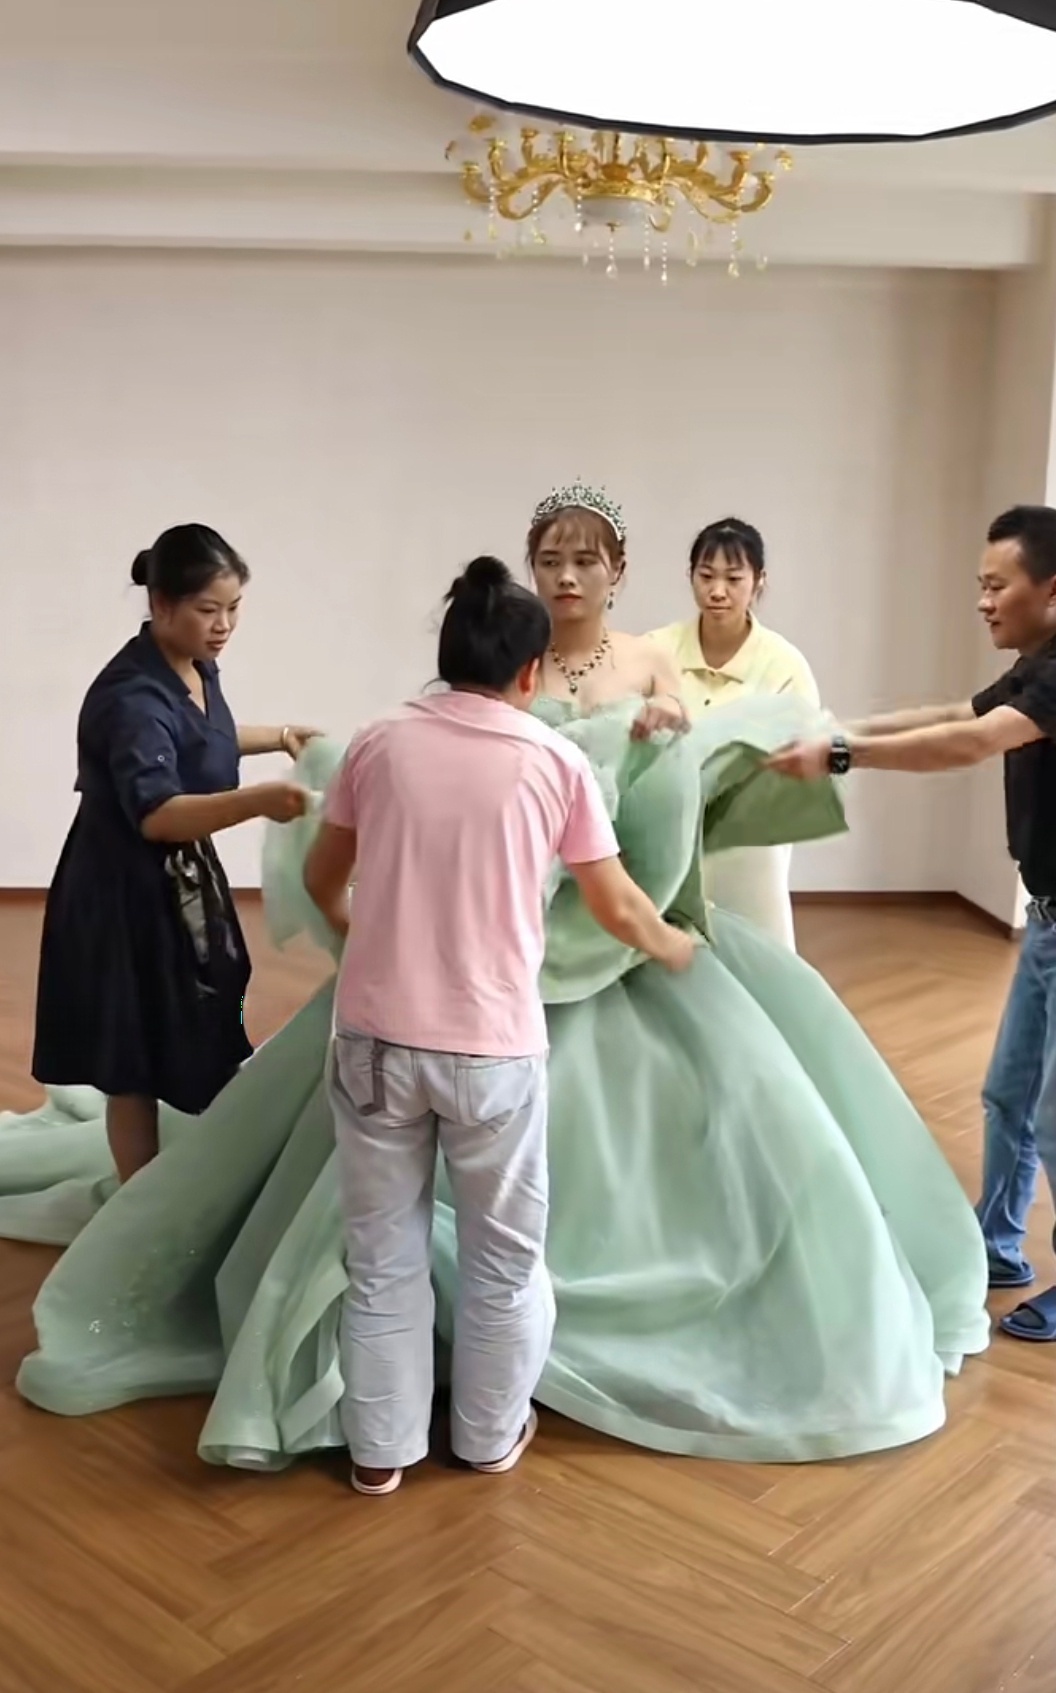
Fittings always humble you.
First round was just the short skirt. Client liked it, but said the side profile felt flat. We went back and increased the gathering on the outermost layer by about thirty percent, concentrated the extra fullness on the sides rather than front and back. That small change fixed the silhouette completely.
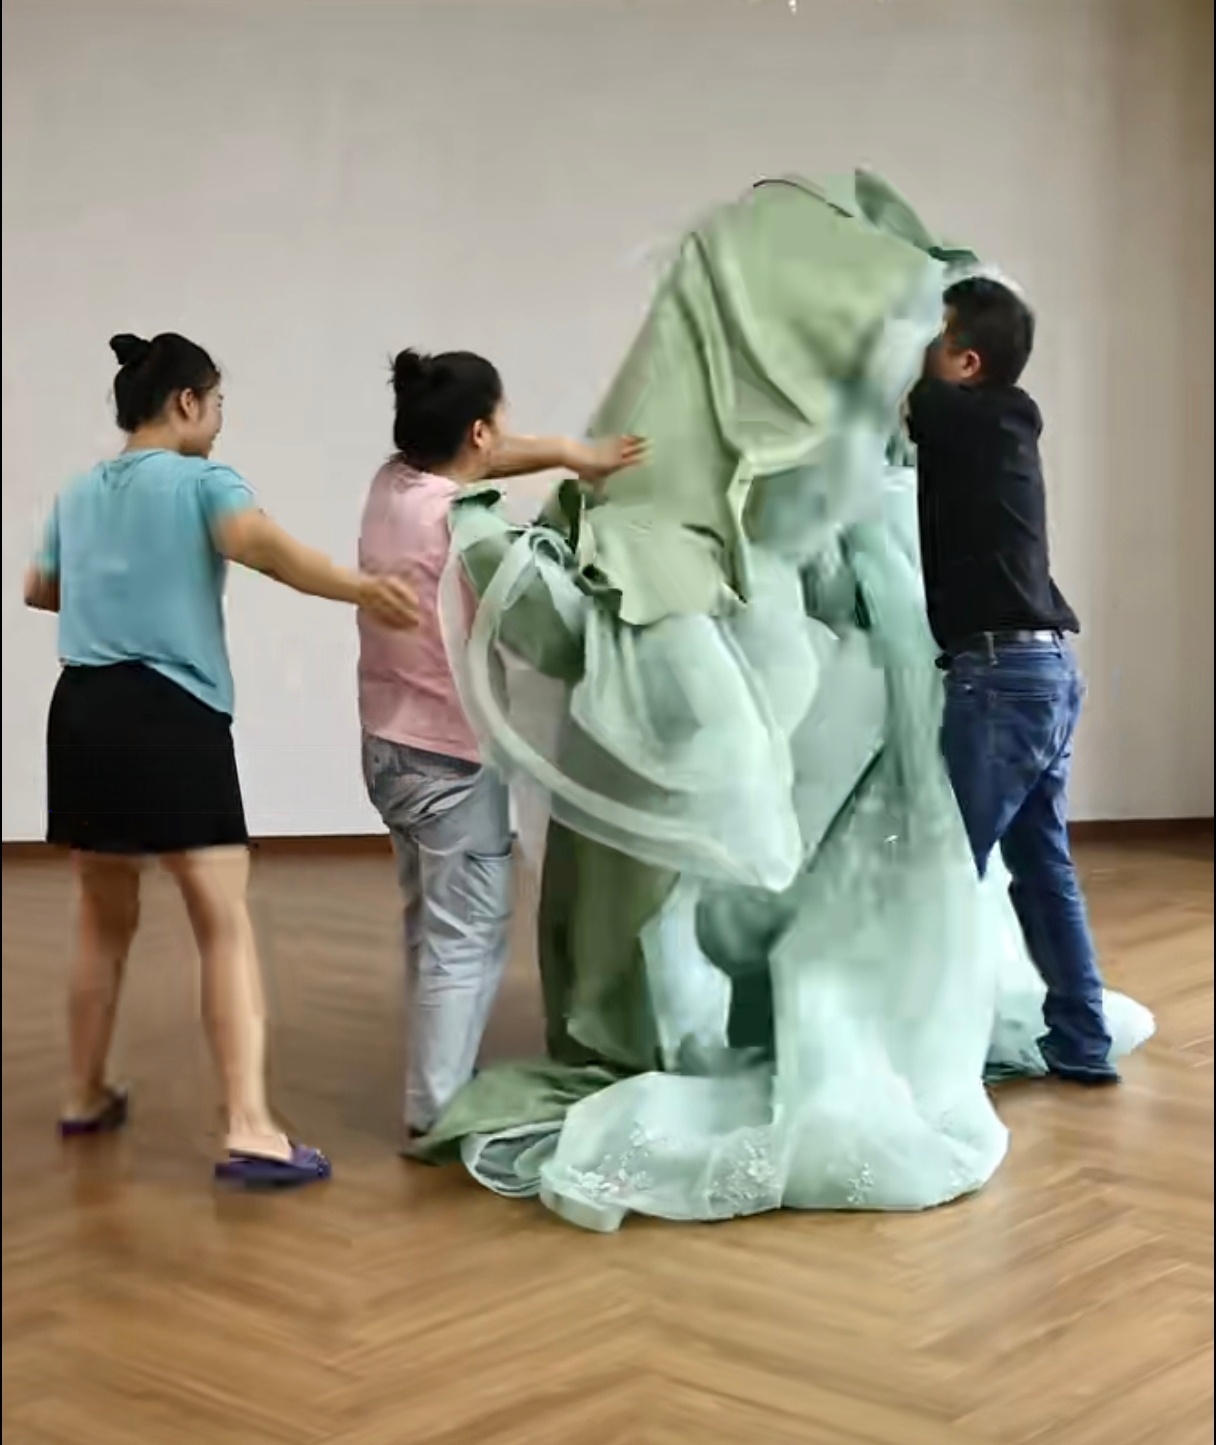
Second round with the full train took three of us just to get it on her. Then we spent twenty minutes smoothing the tulle, adjusting the ruffles, trying to get the train to lie flat without random bulges. Turns out one of the cutting seams was slightly off-grain—maybe half an inch—and it was throwing the tension off across the whole back panel. Couldn't see it on the table. Only showed up when it hung on a moving body. We ripped that seam, recut the panel, resewed it. Flat as glass after that.
Those are the things you can't plan for. You just have to catch them in the fitting room and fix them on the spot.
When it was finally done, we stood back and looked at it.
Short mode: light, bouncy, you can move. You could wear it to dinner, to dancing, to whatever. Long mode: completely different animal—the train spreads out maybe three meters behind, the ruffles stack up at the hips, and it actually reads as a serious formal gown, not just a short dress with a tablecloth pinned to the back.
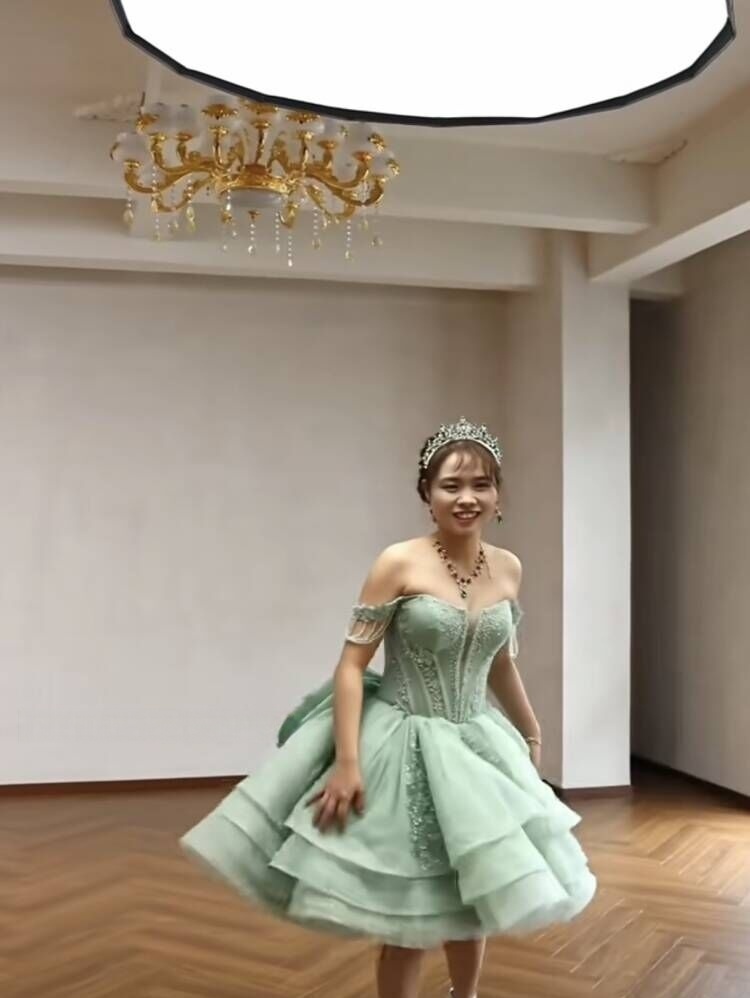
The best part was watching the client switch between them. She walked the ceremony in the long version, then we unclipped it during the cocktail hour and she spent the rest of the night in the short one. No outfit change, no disappearing for thirty minutes, no sacrificing either moment.
That's the whole point, really.
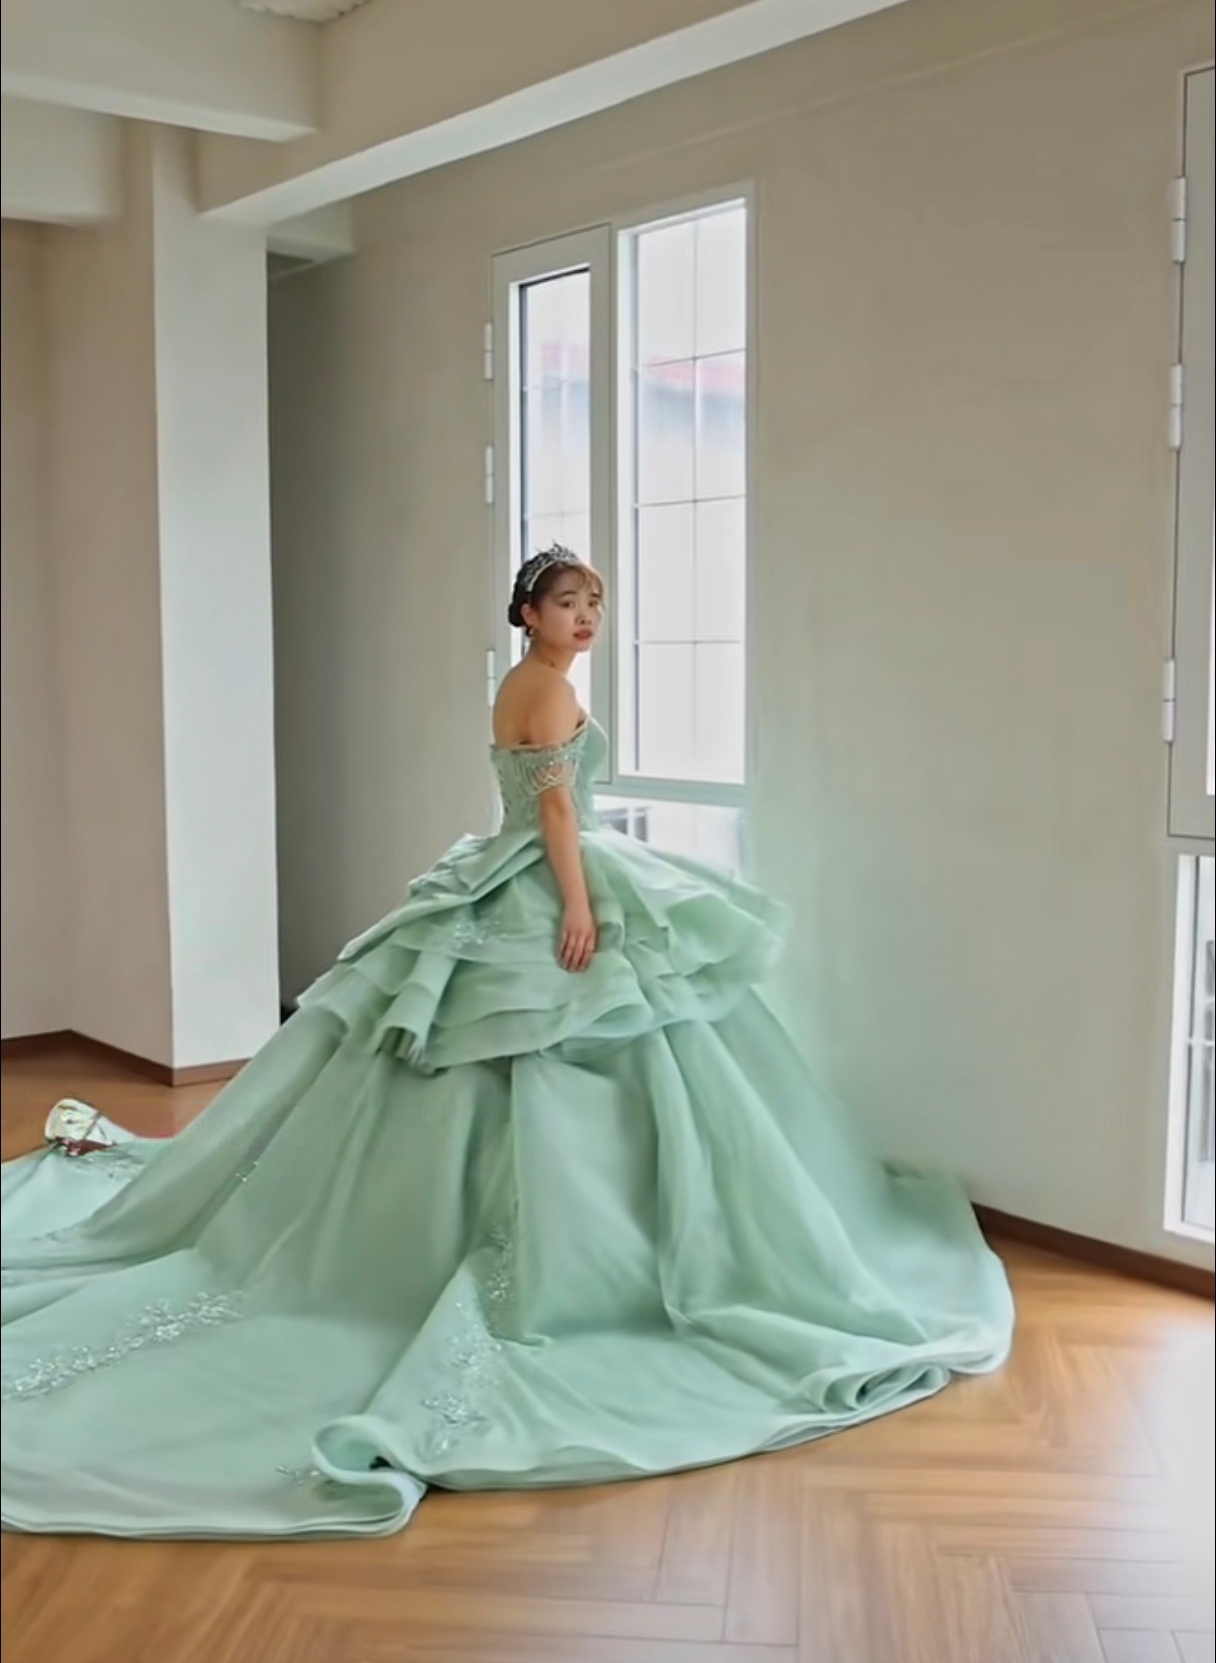
Is it perfect? No. The waist transition could be smoother. The train could use another layer of ruffle at the very end to give it more volume. But those are tweaks, not structural problems.
It does what we set out to do. That's more than most dresses can say.
Written by KEMEDRESS Design Team
Handmade by our professional dressmakers with years of experience in custom gown production.
More Convertible Gown Stories
See how detachable and convertible elements are designed to create more than one occasion look.
Compare the practical benefits and design considerations of convertible bridalwear.
Explore another detachable train construction.
See how styling and construction can create multiple formal looks.
Return to the broader custom dressmaking process.